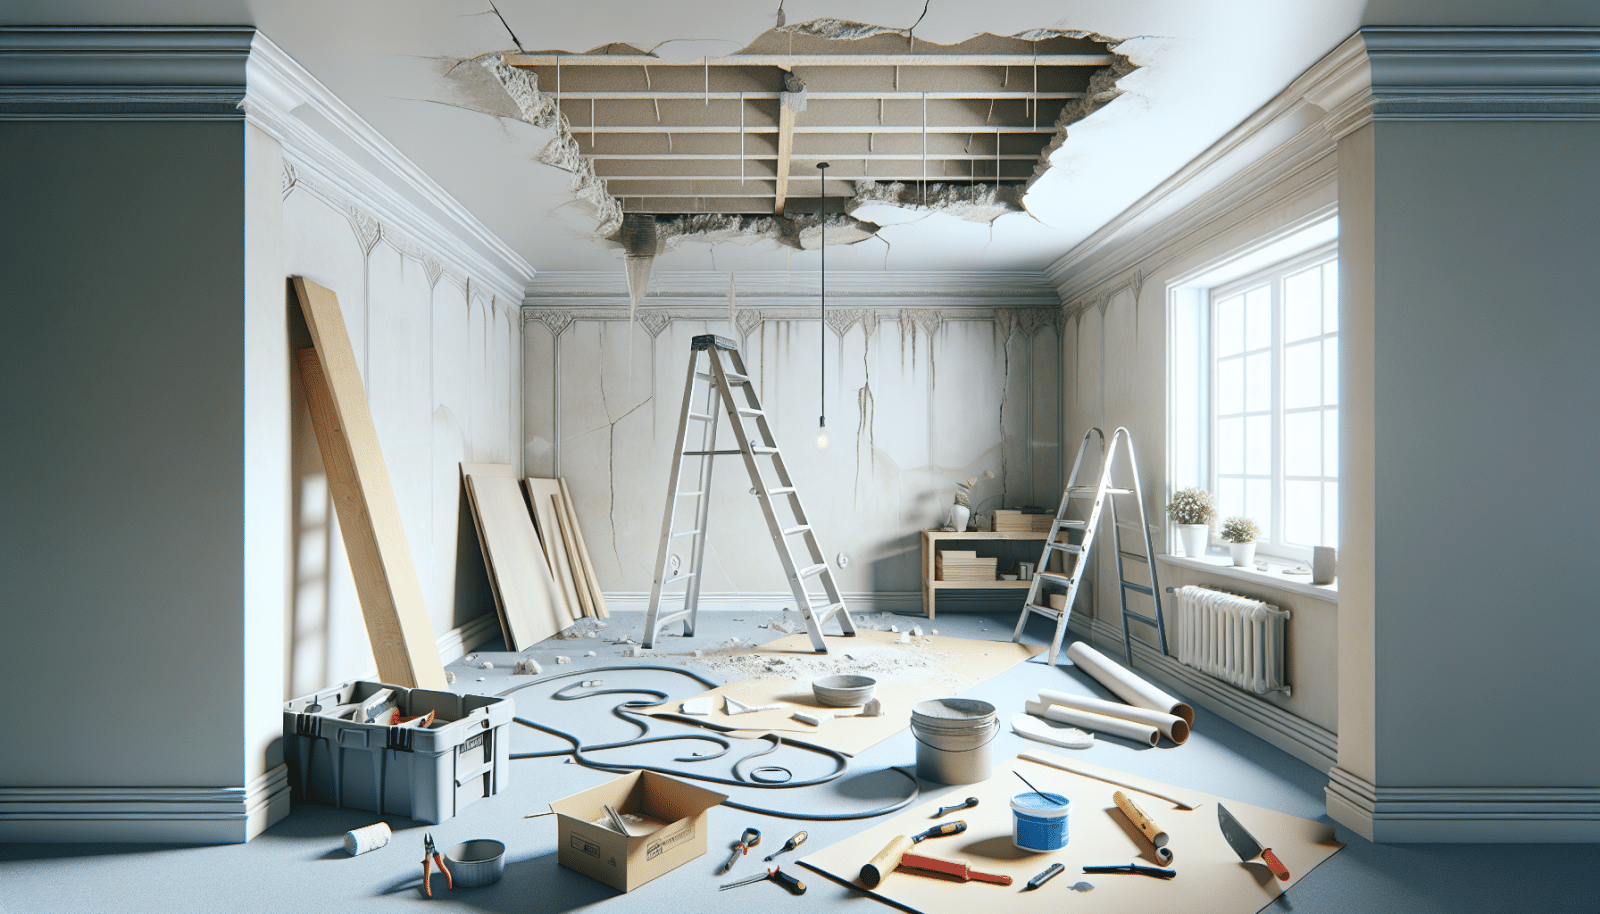
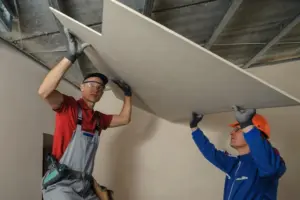
At Utah Drywall & Repair, we understand that dealing with drywall issues can be a real headache. Especially when it comes to ceilings, even the smallest blemish can be an eyesore. Fortunately, we’re here to help! In this guide, we’ll show you how to tackle those pesky Ceiling drywall problems yourself, saving you time and money. So, grab your tools, and let’s dive into DIY ceiling Drywall Repair!
Contents
Understanding Ceiling Drywall Damage
Ceiling drywall problems can stem from various sources, such as water damage, settling of the house, or even accidental impacts. Identifying the root cause is crucial in finding the right solution. When you know what’s causing the issue, you can address it properly and prevent future problems. By understanding the damage, you’ll be more confident in your repair efforts and ensure lasting results.
A common sign of ceiling damage is discoloration, which often indicates water leakage from above. In other cases, cracks or sagging could suggest structural shifts in your home. Even if the damage seems minor, addressing it promptly can prevent further complications. In this article, we’ll guide you through identifying and tackling these common issues.
Tools and Materials You’ll Need
Before rolling up your sleeves and starting the repair, it’s vital to gather all the necessary tools and materials. Preparation is key for any successful DIY project. Equip yourself with the right tools, and you’ll breeze through the repair process.
Essential tools include a utility knife, drywall saw, drywall Tape, joint compound, sandpaper, and a screwdriver. Don’t forget the safety gear; goggles and a dust mask will protect you while you work. Besides these, a step ladder or scaffold will help you reach those tricky ceiling heights, ensuring precise work.
Preparing the Work Area
A well-prepared workspace can make all the difference in your DIY project. Start by laying down a drop cloth or plastic sheeting to protect your floors from debris and dust. Secure it with tape to ensure it stays in place as you move around during the repair.
Next, remove any furniture or items in the vicinity to prevent potential damage or dust accumulation. Ensure the area is well-lit so you can clearly see the damage and work accurately. Having a clean, uncluttered space will make the repair process smoother and more efficient.
Repairing Water Damage
Water stains and damage can be unsightly, but fortunately, they are often straightforward to fix. First and foremost, identify and rectify the source of the water leak before undertaking any repairs on the drywall itself. Otherwise, you’ll face the same issues again in no time.
Once the source is addressed, cut out the damaged portion of the drywall using a utility knife or drywall saw. Remove any soggy insulation and let the area dry completely. After that, install a new piece of drywall, tape the joints, and apply joint compound. Finally, sand it down for a smooth finish, ready for priming and Painting.
Fixing Ceiling Cracks
Ceiling cracks can appear due to the natural settling of your home or changes in humidity. Although they may seem daunting, repairing them can be relatively simple. Begin by widening the crack slightly with a utility knife to allow for better adhesion of the repair materials.
Next, apply a strip of drywall tape over the crack, covering it completely. Use joint compound over the tape, smoothing it out with a putty knife. Once dry, sand the area to blend seamlessly with the surrounding ceiling. With these steps, your ceiling will be crack-free and looking as good as new.
Tackling Sagging Ceilings
Sagging ceilings can be a result of heavy insulation or structural movement over time. It’s crucial to address this issue before it becomes a safety risk. Investigate the cause to avoid a recurrence—whether it’s due to the weight of water-damaged materials or inadequate support.
In some cases, adding support beams or replacing the drywall may be necessary to correct the sagging. Securing furring strips to the ceiling joists can help tighten and stabilize sagging areas. Once corrected, reattach new drywall panels with Screws and finish them with tape and joint compound.
Dealing with Nail Pops
Nail pops are small, annoying blemishes on drywall where nails have loosened and pushed the surface materials outward. These unsightly bumps can be a direct result of seasonal structural shifting or changes in humidity levels.
- Identify Nail Pops: Look for small protrusions or glistening nail heads on your ceiling, often surrounded by minor cracks or indentations. These are classic signs of nail pops.
- Remove Raised Portion: Use a screwdriver or claw hammer to remove the popped nail, ensuring not to damage the surrounding drywall surface.
- Reinsert Screws: Insert a drywall screw into the joist near the original nail location to secure the drywall firmly in place.
- Fill and Finish: Cover the screw with joint compound, smoothing the area for a flush finish. Sand the area once dry.
- Prime and Paint: After ensuring a seamless surface, apply a primer followed by matching ceiling paint.
Patching Holes
Holes in the ceiling can occur from various accidents, such as moving furniture or installing light fixtures. Sometimes, patching these holes seems overwhelming, but rest assured, it’s manageable with patience and care.
Begin with small holes by applying a joint compound and covering them with patching tape or mesh. For larger holes, you’ll need to cut out a square around the hole and insert a new piece of drywall. Secure it with screws before Taping and applying the compound. After Sanding, your ceiling’s surface will be ready for paint!
Perfecting the Finish
Achieving a flawless finish takes patience and attention to detail, but the results are well worth the effort. After filling holes, cracks, or other blemishes, sanding is crucial for a smooth surface. Use fine-grit sandpaper for best results, gently blending the repaired area with the rest of the ceiling.
Once the surface is sanded to your satisfaction, proceed with priming the repaired areas. Priming not only helps the paint adhere better but also ensures an even color over patched areas. Finally, apply a layer of ceiling paint to match the existing ceiling, using a roller for uniform coverage.
When to Call a Professional
Although many ceiling drywall repairs are manageable with DIY techniques, some situations may require professional expertise. If you encounter extensive water damage, large areas of sagging, or discover mold, it’s wise to call in the experts. Such complex issues demand in-depth knowledge and specialized tools that professionals like us at Utah Drywall & Repair can provide.
Remember, safety first! If you’re ever in doubt or feel overwhelmed, we’re just a call away. We’ll ensure your ceiling is restored safely and effectively, eliminating any guesswork on your part.
Reach Out for Expert Help
For any drywall woes beyond your DIY comfort zone, let Utah Drywall & Repair assist you. Contact Us at 801-406-6350 or Request a Free Quote for a reliable, professional solution.


