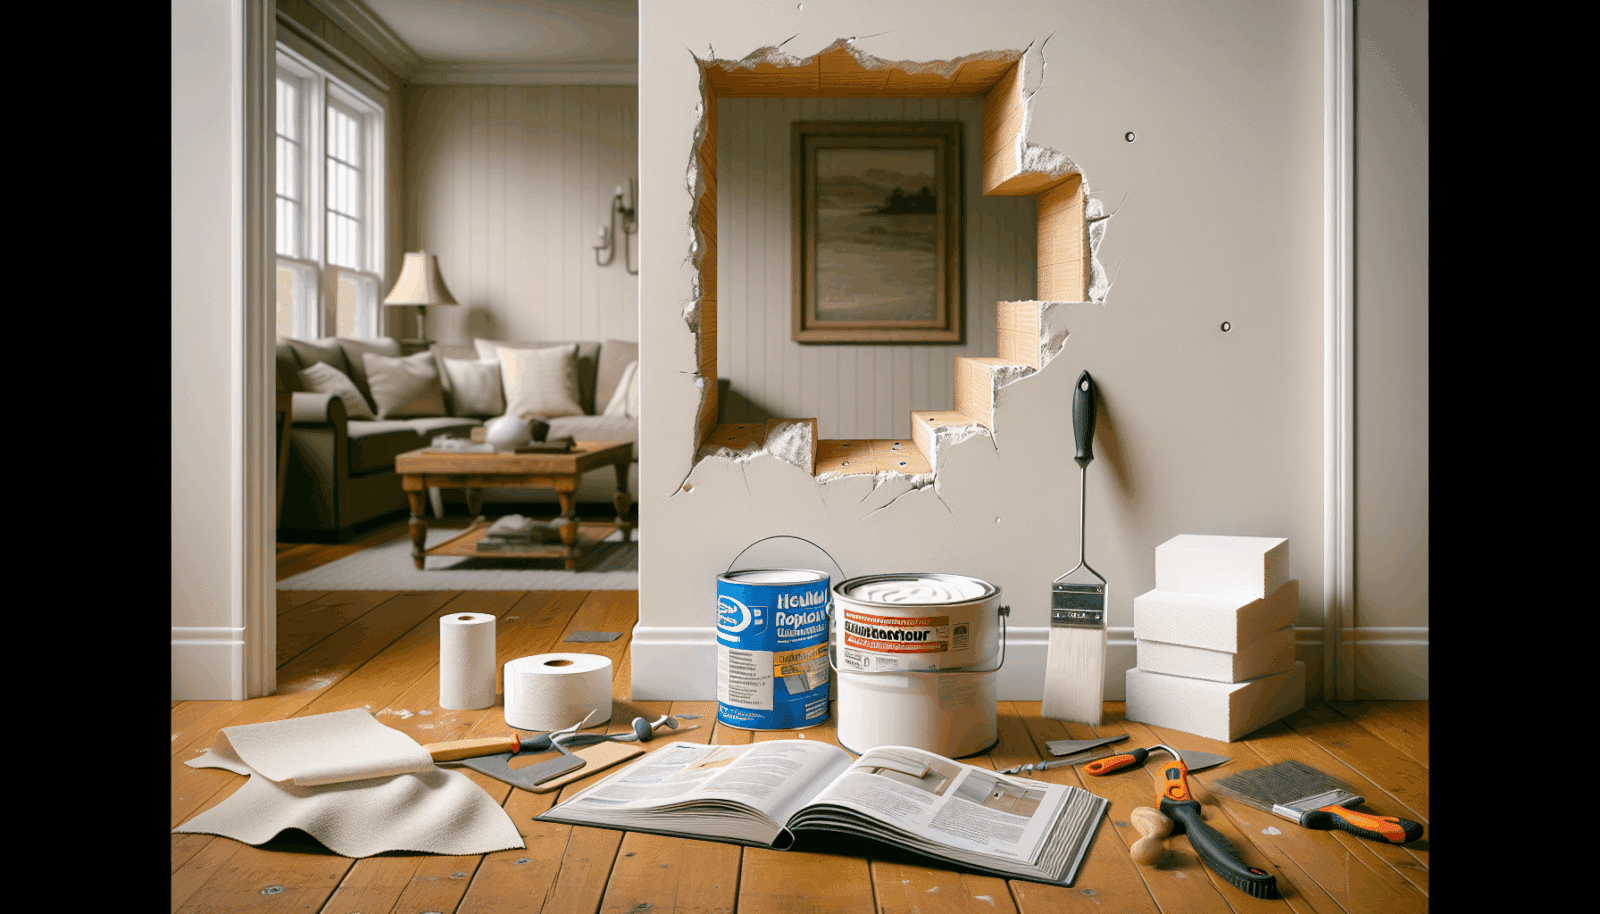
At Utah Drywall & Repair, we understand that dealing with unsightly holes in your drywall can be frustrating for any homeowner. Whether it’s a minor ding or a larger puncture, these imperfections can disrupt the aesthetic of your walls. But worry not! We’re here to guide Salt Lake, Davis, and Utah County residents through some fun and practical DIY drywall hole Patching tips. Get ready to transform your walls with ease and confidence!
Contents
Understanding the Materials You Need
Before you jump into patching those pesky holes, let’s talk materials. The right tools will make your DIY project a breeze. You’ll need joint compound, a putty knife, sandpaper, and some drywall patches. These essentials will be your best friends throughout the process. Trust us; the right supplies set the stage for success.
Don’t forget a sturdy Sanding sponge to ensure your wall is smooth and ready for finishing touches. It’s all about preparing your workspace and setting yourself up for a flawless finish.
Assessing the Damage
First, you need to size up the damage. Is it a small nail hole or a larger puncture from some accidental impact? Understanding the extent of the damage is crucial.
Smaller holes require less complex solutions, while larger ones might demand a bit more work. Knowing this will help you gather the right materials and apply the correct techniques, saving you time and effort.
Small Hole Repair Techniques
For those tiny holes, like those left by nails, a little joint compound goes a long way. Apply it with a putty knife, making sure to cover the hole completely.
After applying the compound, let it dry thoroughly before sanding it down to a smooth finish. Voila! Your wall will look as good as new, minus the hassle and cost of professional repair.
Tackling Medium to Large Holes
Medium to large holes need a bit more attention. Use a self-adhesive patch that covers the entire hole. These patches are incredibly user-friendly.
Once the patch is in place, apply joint compound over it, feathering the edges to blend seamlessly with the existing wall. Let it dry, then sand for a flawless look. You’ll be amazed at how professional your walls will appear.
The Importance of Sanding
Sanding is your ticket to a smooth, imperceptible finish. It removes excess compound and prepares your wall for Painting.
Invest in good quality sandpaper or a sanding sponge to avoid uneven surfaces. Remember, the smoother the wall, the better your paint job will look.
Tips for a Flawless Finish
Finishing touches are everything. After sanding, wipe the wall clean with a damp cloth to remove dust. Your surface should be immaculate prior to painting.
Primer is your next step. This ensures your paint adheres evenly and maintains a uniform appearance. Do not skip this crucial step if you want professional-looking results.
Avoid Common Mistakes
Skipping preparation: Thorough preparation is crucial, so don’t rush it. Over-sanding: Do not sand too aggressively, as it might damage the surrounding drywall. Ignoring drying times: Patience is key; let compounds dry fully for best results. Using the wrong patch size: Ensure your patch fits the hole adequately for proper adhesion. Forgetting to prime: Primer is vital for consistent paint application, so make sure you prime the area before painting.
Painting Like a Pro
Once the primer has dried, it’s time to paint. Match the paint to your existing wall to create a seamless repair.
Use smooth, even strokes and allow for complete drying between coats. Your hard work deserves to shine, so don’t rush through the finishing process.
When to Call a Professional
Sometimes, DIY isn’t the best route. If the damage is extensive or if structural issues are present, it might be best to Contact Us.
We’re here to assist with any repairs beyond your comfort level, ensuring a safe and professional finish every time.
Conclusion
Feeling empowered to tackle your next drywall project? Remember, we’re here to help by phone # 801-406-6350 or Request a Free Quote. Happy patching from Utah Drywall & Repair!


