If you’ve ever found yourself frustrated by unsightly holes or cracks in your drywall, you’re not alone. Here at Utah Drywall & Repair, we understand the importance of maintaining the beauty and integrity of your home. That’s why we’ve created this comprehensive guide about DIY Drywall Repair: Fixing Holes and Cracks with Ease. This article will walk you through each step, providing valuable tips and tricks, so you can tackle drywall repair projects with confidence. Whether you’re a seasoned DIY enthusiast or a homeowner looking to save some money, this guide has something for everyone.
Contents
Understanding Drywall Basics
Before diving into repairs, it’s vital to understand what drywall is and how it functions within the walls of your home. Drywall, also known as gypsum board, is a panel made of calcium sulfate dihydrate, sandwiched between thick sheets of paper. It’s used to construct interior walls and ceilings and is favored for its ease of use and affordability.
Drywall is not immune to damage, and over time, it can suffer from various issues like holes, cracks, or water damage. But don’t worry—these are common problems that many homeowners face. Learning how to repair these yourself can save time and money, not to mention the satisfaction of fixing things with your own two hands.
Common Causes of Drywall Damage
Understanding why your drywall gets damaged can aid in preventing future issues. One common cause is accidental impact. This can occur when heavy furniture bumps into the wall or during lively activities at home.
Another frequent cause is settling of the house, which can lead to cracks. Moisture can also wreak havoc on drywall, especially in areas with poor ventilation. By identifying the root cause, you can better target your repair efforts and take preventative measures moving forward.
The Tools You’ll Need
Before you start the repair process, gather the right tools for the job. Having the appropriate tools ensures a smoother repair process and a more polished finish. Let’s explore some essential items you might need.
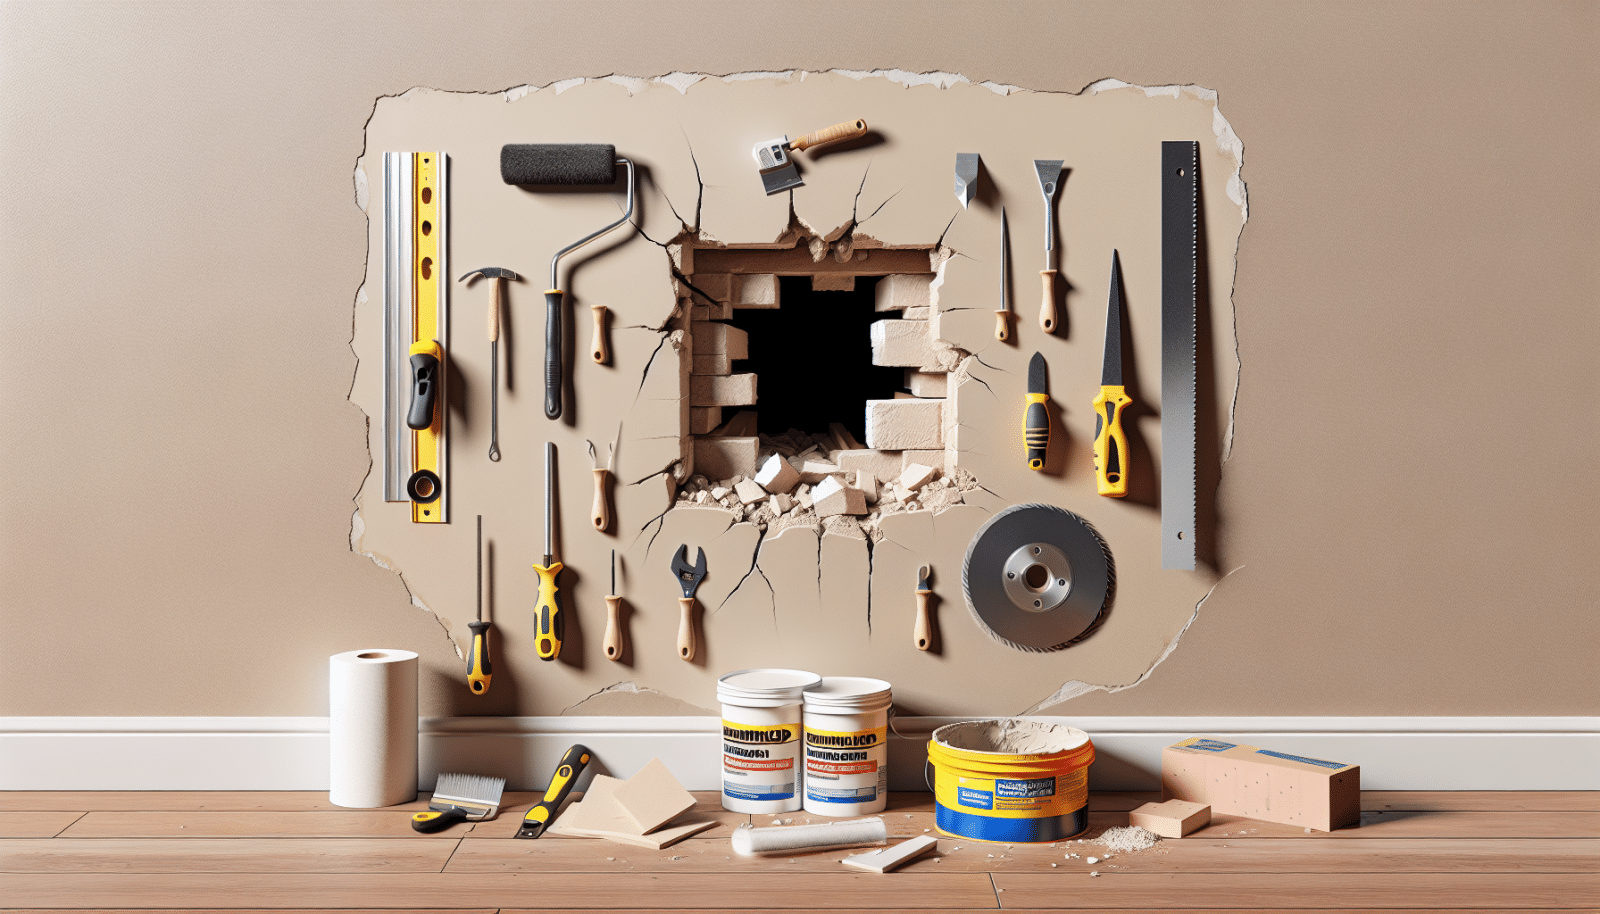
Basic tools for drywall repair include a utility knife, drywall saw, putty knife, and sandpaper. You may also want a drywall patch or mesh Tape, joint compound, and primer or paint matching your wall color. With these tools in hand, you’ll be fully prepared to tackle any drywall repair challenge that comes your way.
Step-by-Step Repair for Small Holes
Small holes are common, typically resulting from nails or Screws. Fortunately, these are among the easiest drywall repairs. Start with a putty knife and some lightweight joint compound.
Begin by cleaning the area around the hole to ensure the surface is dust-free. Apply a small amount of joint compound with the putty knife, spreading it evenly over the hole. Allow the compound to dry completely, then sand it smooth and touch it up with paint if needed. Voila! The hole is now history.
Fixing Larger Holes
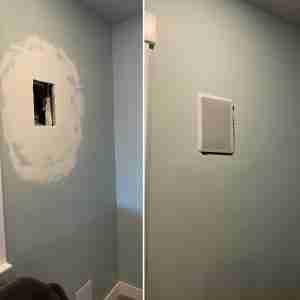
Larger holes can seem intimidating, but fear not—with the right approach, they can also be fixed with ease. For this, you’ll need a drywall patch or mesh tape.
First, cut a piece of drywall or patch to size, slightly larger than the hole. Secure it in place with mesh tape. Apply joint compound over the tape and blend it into the surrounding wall. Let it dry thoroughly, then sand it smooth, ready it for Painting, and admire your handiwork.
Dealing with Cracks
Cracks in drywall may appear due to structural shifts or poor installation. Repairing these requires similar steps to those used for holes but with a focus on preventing recurring issues.
Clean the crack and apply mesh tape along its length. Spread the joint compound over the tape, smoothing it out evenly. After drying, sand it until smooth and touch up with paint. Regularly inspect for new cracks and address them as soon as they appear.
Special Considerations for Textured Walls
Textured walls bring an added layer of complexity to drywall repair, as matching textures can be tricky. It’s essential to be patient and methodical.
Apply joint compound lightly over the patched area, using a sponge or texture brush to mimic the wall’s original texture. Practice makes perfect, so don’t hesitate to experiment on a scrap piece first. Once satisfied with the texture, paint over the repaired area to blend it seamlessly into the rest of the wall.
Preventing Future Damage
Taking steps to prevent future damage can be a game-changer for maintaining pristine walls. Here are some proactive measures to consider:
- Invest in wall bumpers: Install these behind doors and furniture to absorb impact and protect your walls from dings and dents.
- Control humidity levels: Use a dehumidifier in damp areas to prevent moisture buildup that can cause drywall damage.
- Inspect your home regularly: Keep an eye out for signs of damage and address issues promptly to prevent escalation.
- Use touch-up paint wisely: Have paint on hand for quick touch-ups, helping minor imperfections become less noticeable.
- Educate family members: Informing everyone about the importance of avoiding wall impact can aid in maintaining your drywall.
When to Call a Professional
Sometimes, despite our best efforts, a drywall repair may be beyond the scope of a DIY project. At Utah Drywall & Repair, we encourage tackling manageable tasks, but we’re here to support you when the job is too big or complicated.
Signs that you may need a professional include extensive water damage, structural issues, or recurring cracks. Our experienced team is ready to step in and ensure that your drywall repairs are done right the first time.
Conclusion
With these tips and techniques, DIY drywall repair becomes not just manageable, but also rewarding. Should you find yourself needing extra help, don’t hesitate to contact Utah Drywall & Repair by phone # 801-406-6350 or Request a Free Quote.


