Drywall Mudding: The Ultimate Guide for Perfect Walls is crucial for homeowners aiming for neatly finished walls that beam with perfection. Drywall mudding, though seemingly a straightforward task, involves intricacies that could make or mar the aesthetics of a room. Utah Drywall & Repair, serving the communities of Salt Lake, Davis, and Utah County, brings you a comprehensive guide. We aim to empower you with knowledge and skills to achieve those flawlessly smooth walls or decide when it’s best to call in the experts.
Contents
Understanding Drywall Mudding
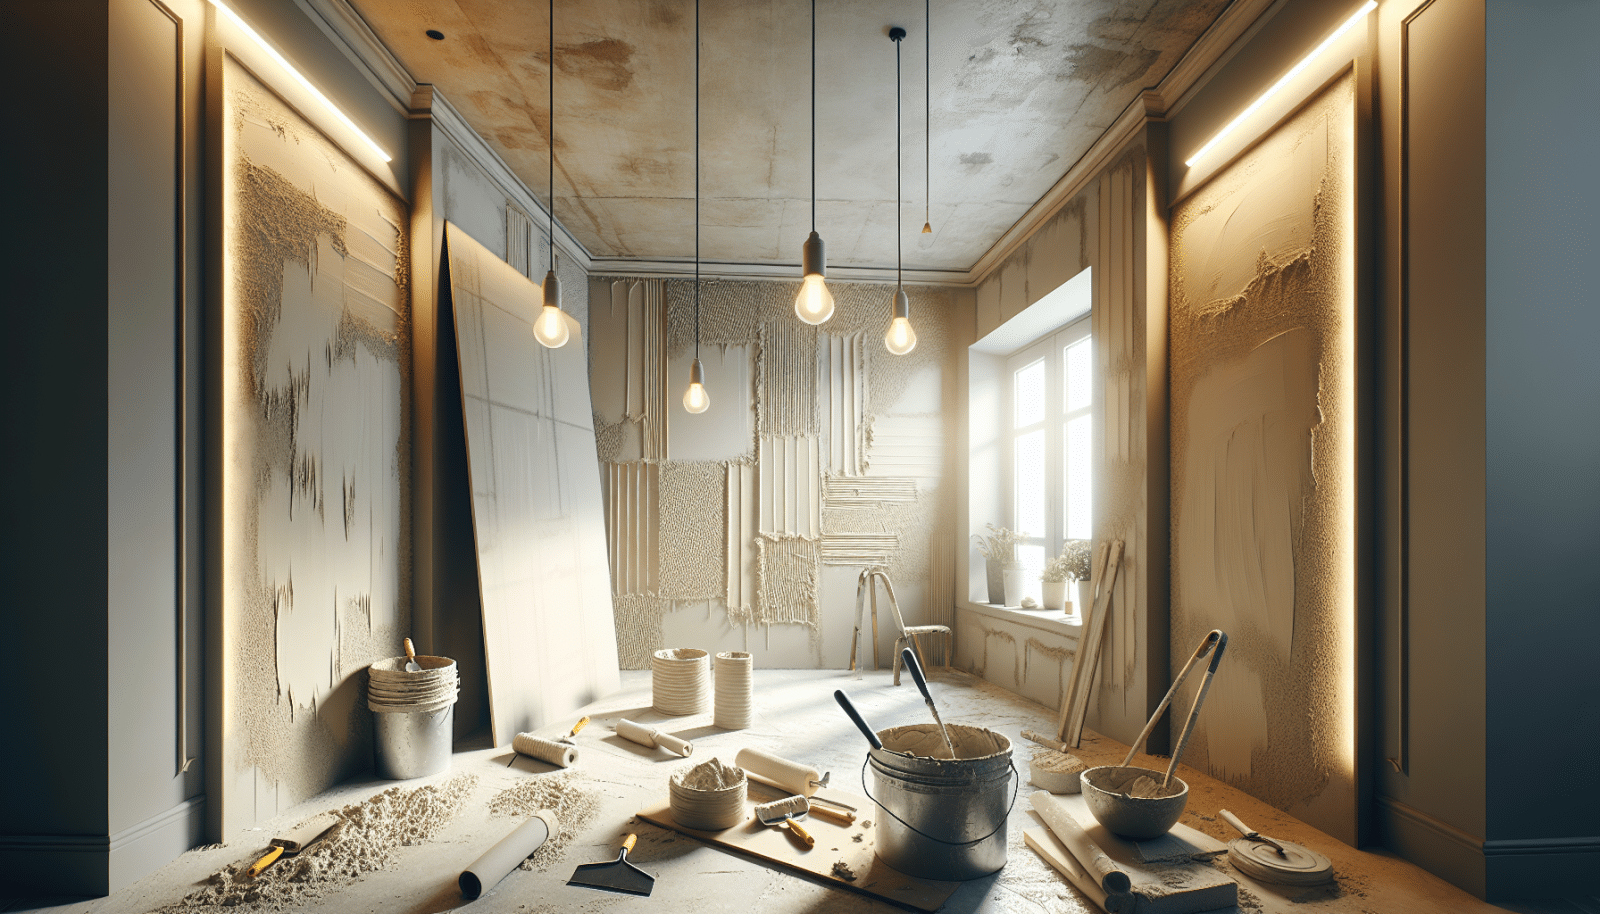
Drywall mudding is the heart of achieving smooth, seamless walls. It involves applying joint compound to cover drywall Screws and seams, a process pivotal in wall finishing. This step is where precision meets patience, transforming a patchwork of panels into a uniform surface ready for paint. At Utah Drywall & Repair, we approach each mudding task with precision, understanding the impact of this step on the overall aesthetic of your space.
Many homeowners feel daunted by the process, fearing bubbles, unevenness, or just the sheer mess it might entail. However, with the right tools and techniques, the task becomes less intimidating. Whether you’re a DIY enthusiast or considering professional help, understanding the basics of drywall mudding is a great first step towards achieving those perfect walls.
Essential Tools and Materials
Before diving into the world of drywall mudding, gathering the right tools and materials is crucial. A successful project requires more than just joint compound; it’s an art that necessitates precision tools. From joint knives to mud pans and Sanding tools, each plays a defined role in crafting the perfect finish.
Equally important is choosing the right type of joint compound, as each variant has its specific application and drying time. At Utah Drywall & Repair, we emphasize the importance of quality materials and tools, as they are the cornerstone of achieving a finish that’s not just good but exceptional.
Preparing Your Workspace
Preparation is key to a smooth mudding process. Ensuring your work area is clean and free from any debris or dust will prevent unwanted textures on your walls. It’s also crucial to apply a primer to the drywall before starting, as this helps in achieving a smoother application and better adhesion of the joint compound.
Proper lighting is another aspect often overlooked. It is essential for identifying imperfections, ensuring that your mudding and sanding efforts lead to a surface that looks impeccable under any light. At Utah Drywall & Repair, we consider workspace preparation as the foundation of a flawless finish.
The Mudding Process Explained
The actual process of applying joint compound is both an art and a science. It starts with mixing your compound to the right consistency, neither too thick nor too thin. Following this, the first coat, often known as the ‘Tape coat’, is applied, embedding the drywall tape over seams and corners for a seamless look.
Subsequent coats, typically the ‘fill coat’ and ‘finish coat’, add layers of smoothness, with each layer applied thinner than the last. Sanding between coats is essential but requires a gentle hand to avoid gouging the wall. At every step, patience and precision are your best tools for achieving that professional-grade finish.
The Art of Sanding and Finishing
Sanding is where your mudding efforts truly come to life, revealing the smooth, seamless walls beneath. However, it’s also a stage where many DIYers feel challenged, concerned about dust or removing too much compound. Using the right sanding tools and techniques can mitigate these concerns, leaving you with walls ready for paint or wallpaper.
Utah Drywall & Repair emphasizes the importance of a delicate touch and the right grit sandpaper. Remember, the goal is to smooth out imperfections, not create new ones. Following thorough sanding, inspect your walls under adequate lighting to catch and rectify any missed spots or imperfections before moving on to Painting or Texturing.
Common Mistakes to Avoid
Rushing through the process or skimping on materials and tools are pitfalls that many fall into. Drywall mudding is not a race – patience and attention to detail are paramount. Another common mistake is inadequate sanding or, conversely, overly aggressive sanding, both of which can lead to undue rework or unsightly blemishes.
Additionally, inconsistency in the application of your joint compound can result in texture variations once painted. Utah Drywall & Repair advocates for taking your time, ensuring consistency in application, and being vigilant during the sanding process to avoid these common missteps.
When to Call in the Professionals
While DIY projects can be rewarding, they’re not for everyone. If you find yourself overwhelmed by the thought of drywall mudding or if the scope of your project is expansive, calling in professional help might be the best route.
Utah Drywall & Repair offers expert Services for those in our service areas, ensuring your walls are in skilled hands. From the initial preparation to the final coat, our team ensures a finish that embodies perfection, making your space look its absolute best.
Tips for a Perfect Finish
- Consistency is key in mixing your joint compound to ensure smooth application and drying.
- Layer your coats thinly, allowing adequate drying time between applications for best results.
- Lighting is essential; always work in a well-lit area to easily spot and correct imperfections.
- Sanding requires a gentle touch; use the right grit sandpaper and don’t rush this crucial step.
- Precision in tool selection can make a significant difference in ease of application and final look.
Maintaining Your Walls Post-Mudding
After achieving those perfectly mudded walls, maintaining their pristine condition is the next step. Regular cleaning and touch-ups of minor dings or scratches will keep your walls looking new. Additionally, understanding the type of paint and finish applied over your mudding work can guide the right maintenance methods.
At Utah Drywall & Repair, we believe in not just providing a service but equipping our clients with the knowledge to maintain the beauty of their spaces. A little care goes a long way, and your perfectly mudded and painted walls are no exception.
Conclusion
Drywall mudding, while intricate, doesn’t have to be daunting. Armed with the right knowledge, tools, and a bit of patience, achieving seamless, beautiful walls is entirely possible. For those projects that seem a bit too much, or if you prefer the expertise of seasoned professionals, don’t hesitate to reach out to us by phone at 801-406-6350 or Request a Free Quote.


