Drywall is an essential part of your home’s interior design, but accidents—or time—can leave it looking less than perfect. Damaged drywall can be a huge eyesore, but worry not because Utah Drywall & Repair is here to help! With our expert tips and guidance, homeowners like you can tackle Drywall Repair with ease. In this article, we’ll simplify the process of Patching holes, making it accessible for everyone while ensuring the results look as good as new.
Contents
Understanding Drywall Damage
Drywall damage can come in all shapes and sizes, and understanding the nature of the problem is the first step toward a successful repair. Often, the damage is caused by regular wear and tear, accidental impacts, or even water damage. Each type of damage may require a slightly different approach, but the good news is that repairing drywall is generally straightforward.
Identifying the cause of the damage not only helps in selecting the correct repair method but also prevents future problems. For instance, if water damage is the culprit, addressing the leak is crucial before patching the hole; otherwise, you might find yourself fixing the same spot repeatedly.
Tools You’ll Need
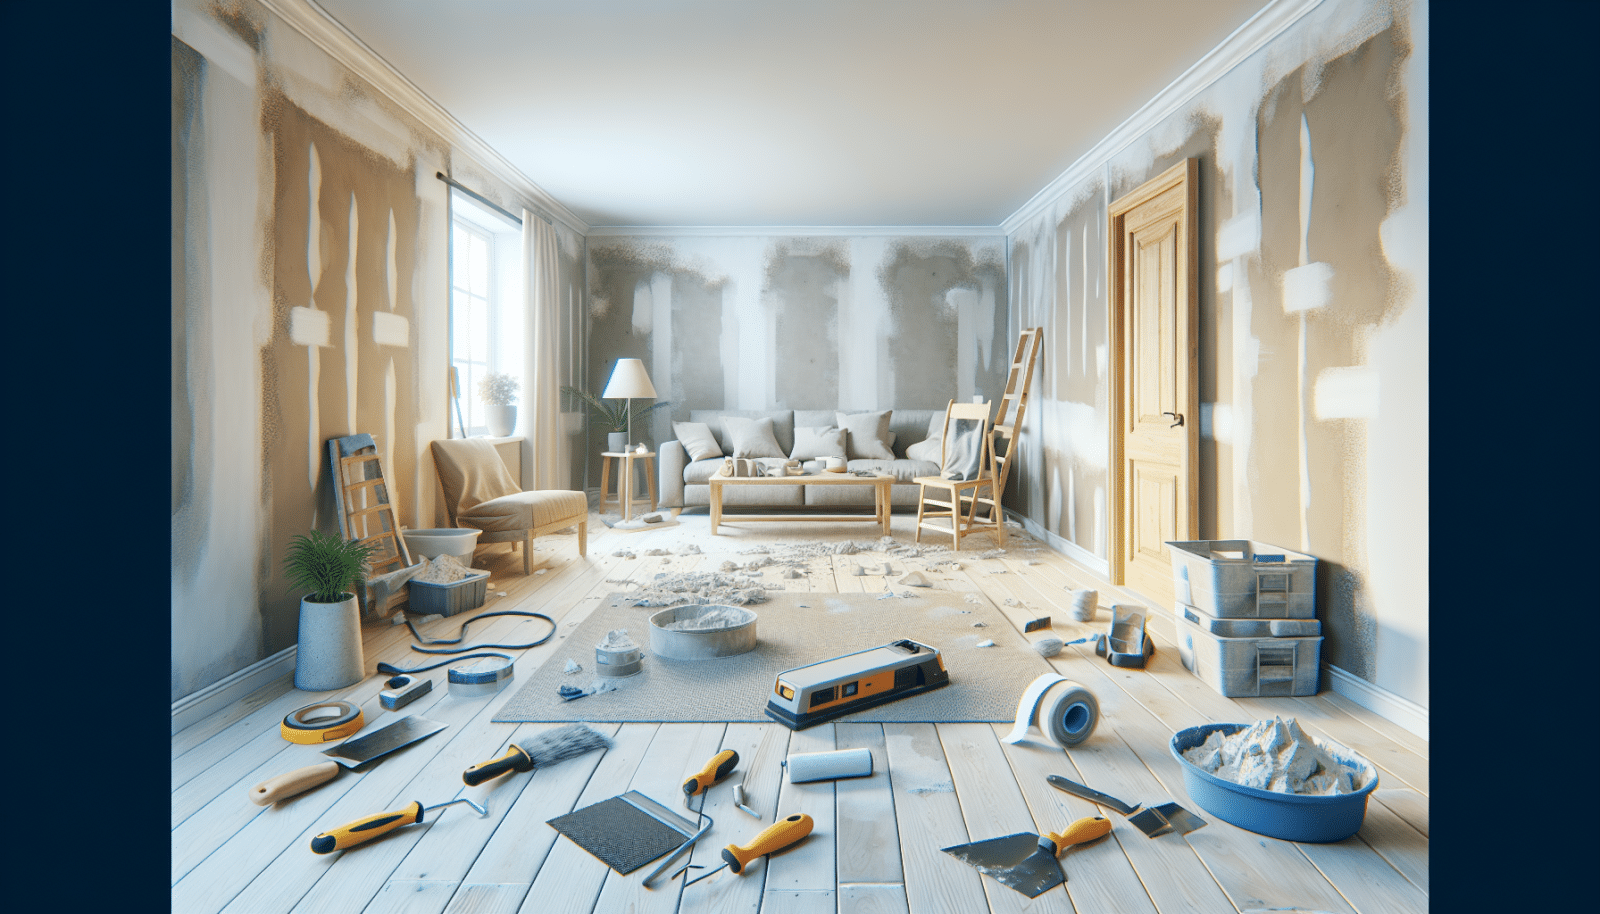
Before jumping into the repair process, it’s important to gather all the necessary tools and materials. Having everything on hand makes the task much easier and helps ensure a smoother workflow. You’ll typically need a utility knife, drywall saw, joint compound, Sanding sponge, and patch material.
Investing in good quality tools can make a noticeable difference in the outcome of your repair. Quality tools ensure even application and a cleaner finish, helping you achieve a professional look with DIY effort.
Prepping the Area
Preparation is a crucial step in drywall repair that can’t be overlooked. Start by cleaning the area around the damage to remove any dust or debris. This creates a clean surface for the new patch to adhere properly. It’s essential to cut away loose or damaged drywall edges with a utility knife.
Marking the area that needs repair with a pencil helps in cutting an even shape. This makes fitting the patch easier and ensures that the joint lines blend seamlessly with the rest of the wall.
Patching Small Holes
Small holes can seem less daunting, but they still require a precise approach to ensure a seamless finish. Start by applying a layer of joint compound over the hole using a putty knife. Spread the compound evenly, feathering the edges to blend with the surrounding wall.
Once the compound is dry, which usually takes several hours, sand the area gently with a sanding sponge to achieve a smooth surface. Applying a second coat of joint compound may be necessary for deeper holes to fully conceal the damage.
Repairing Medium to Large Holes
Bigger holes demand a bit more effort but are definitely repairable. For medium-sized holes, consider using a repair patch that sticks over the hole. This not only saves time but also provides a sturdy base for the joint compound.
Apply joint compound over the patch and the surrounding area, ensuring the patch is fully covered. After drying, sand the area for a smooth finish. For larger holes, cutting a drywall piece to fit the affected area might be necessary. Secure the patch with drywall Screws, and cover it with joint Tape and compound.
The Power of Primer and Paint
After repairing the drywall, primer and paint are the final touches that bring the wall back to life. Always prime the area first, as this helps the paint adhere better and ensures a uniform look across the entire wall. Skipping the primer can lead to color inconsistencies that are difficult to fix later on.
Finally, choose a matching paint color and apply at least two coats for a professional finish. This step is not only about aesthetics but also adds a layer of protection to your wall, ensuring the repair is long-lasting.
Common Mistakes to Avoid
Skipping the Prep: Rushing into patching without proper preparation can lead to a weak repair that won’t last. Take the time to prepare the area thoroughly before applying any compound. Using the Wrong Tools: Inadequate tools make the repair process frustrating and result in a poor finish. Invest in the right tools for the job. Over-Sanding: Sanding too much can damage the surrounding drywall and compromise the texture. Sand gently and check your progress frequently. Not Layering Compound: Applying a thick coat of joint compound can lead to unsightly bumps. Use thin layers and build up gradually if needed. Ignoring Drying Times: Rushing the process by not allowing the compound to dry fully can ruin your hard work. Be patient and follow drying instructions.
Caring for Your Repaired Drywall
Once your drywall is patched and painted, regular maintenance can extend its life and keep it looking fresh. Avoid placing nails or screws near the repaired area, as this could destabilize the patch. Gentle cleaning with a damp cloth helps maintain a pristine surface.
Additionally, inspect your drywall periodically for signs of aging or damage. Early detection of any issues can help you address them promptly, keeping repairs minor and manageable.
When to Call Professionals
While DIY drywall repair is a feasible task, some situations might require professional assistance. Extensive water damage, structural issues, or high ceilings might be beyond a homeowner’s comfort level. Utah Drywall & Repair specializes in handling these complex repairs safely and efficiently.
Calling in professionals ensures that the job is done correctly the first time, saving you time and potential future expenses. We provide expert evaluation and execution that guarantee quality results.
Get in Touch
Ready to fix up your drywall? Let Utah Drywall & Repair be your go-to for all drywall needs. Contact Us by phone # 801-406-6350 or Request a Free Quote today!


