Drywall installation can seem like a daunting task, especially if you’re a homeowner looking to tackle the job yourself. At Utah Drywall & Repair, we understand this challenge and aim to provide you with straightforward solutions. In this comprehensive guide, we will unravel the mystery of drywall installation. Whether you’re a DIY enthusiast or just starting out, this article is your go-to resource for mastering the art of drywall with confidence.
Contents
- 1 The Importance of Good Planning
- 2 Types of Drywall to Consider
- 3 Essential Tools for Drywall Installation
- 4 Preparing Your Workspace
- 5 Step-by-Step Installation Process
- 6 Mudding and Taping Techniques
- 7 Common Mistakes to Avoid
- 8 Safety Precautions During Installation
- 9 Post-Installation Care and Maintenance
- 10 Final Thoughts and Contact Us
The Importance of Good Planning
Before diving into the actual work, good planning is key. Taking the time to plan ensures that you have everything you need when you start your project. It minimizes delays and helps prevent costly mistakes that can cause frustration down the line.
Start by measuring the area you want to cover with drywall. Accurate measurements will help you estimate the amount of drywall and other materials you’ll need. This not only saves you from multiple trips to the store but also helps you stay within budget. With careful planning, your drywall project will run smoother and more efficiently.
Types of Drywall to Consider
As with any project, selecting the right materials is essential. Different types of drywall exist to meet various needs, and knowing the differences can make your project easier. For instance, moisture-resistant drywall is a great choice for bathrooms, while fire-resistant drywall provides added safety in kitchens.
You’ll also find lightweight drywall that’s easier to install, which can be a boon if you’re working alone. Take into account the specific needs of your space when choosing drywall to ensure durability and functionality. This preliminary research pays off when it comes to performance and longevity.
Essential Tools for Drywall Installation
Having the right tools at your disposal is crucial for any installation. Drywall projects demand specific tools that can streamline your workflow and deliver a professional finish.
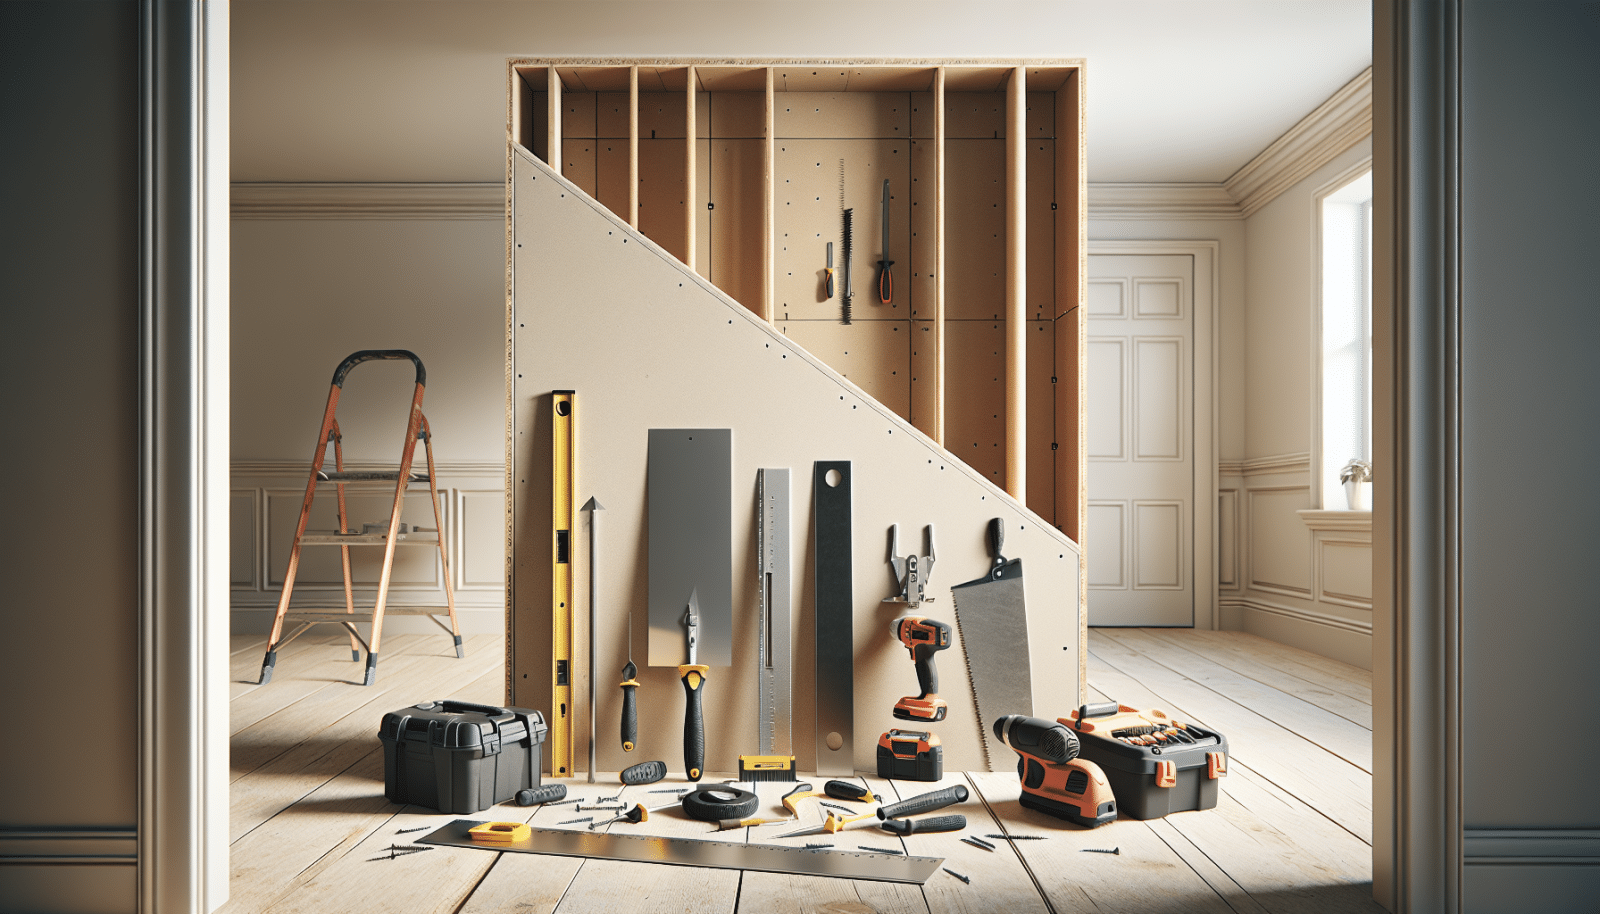
A drywall knife is a must-have for cutting and fitting pieces perfectly. A Tape measure ensures accurate cuts and installations. A level helps you install everything perfectly straight. Lastly, a screw gun or drill is essential for securing the drywall in place quickly. With these tools in your arsenal, you’re well on your way to achieving a flawless drywall installation.
Preparing Your Workspace
To achieve a successful installation, your workspace needs to be organized and conducive to the task at hand. Start by clearing the area of any obstacles and laying out a clean, flat surface where you can work. This prevents accidents and makes the job more enjoyable.
Next, ensure that the walls are clean and free of debris. Dust and dirt can interfere with the adhesion of the drywall compound, leading to imperfections. Preparation might seem like an extra step, but it truly sets the foundation for quality outcomes.
Step-by-Step Installation Process
Once you’re equipped with the right tools and your workspace is ready, it’s time to start the installation. Follow these steps for a seamless process: Begin by attaching the drywall to the framing using Screws, ensuring the sheets are properly aligned.
Use your level to make sure the drywall is straight and adjust as needed. Continue securing the sheets until your wall is covered. Each step requires patience and precision, but the end result will be rewarding.
Mudding and Taping Techniques
Mudding and taping are critical for achieving a smooth, professional look. This process covers seams and fasteners, creating the illusion of a continuous surface. Begin by spreading a thin, even layer of joint compound over your seams with a taping knife.
Press drywall tape into the compound and run over it with the knife to remove any air bubbles. Apply additional layers of compound as needed, Sanding between coats to ensure a perfect finish. Mastery of these techniques transforms ordinary drywall into stunning, seamless walls.
Common Mistakes to Avoid
Even seasoned DIYers can fall prey to common drywall mistakes. Here are some pitfalls to steer clear of and tips on how to avoid them:
- Over-Screwing: Driving screws too deep into the drywall can weaken its structure. Always ensure screws are slightly recessed without compromising the surface integrity.
- Skipping Sanding: Rushing through or skipping the sanding process leaves uneven surfaces. Take your time to achieve a smooth finish.
- Improper Joint Compound Application: Applying too much compound leads to lumps. Thin, even coats yield the best results.
- Wrong Drywall Type: Each area has specific requirements, so match the drywall type to the room’s needs to ensure durability.
- Inadequate Taping: Failing to tape seams properly creates visible cracks. Precision in taping is key to a flawless look.
Safety Precautions During Installation
Safety should never be an afterthought, even for experienced installers. Always wear safety goggles to protect your eyes from dust and debris. Secure the ladder before climbing, and ensure your work area is well-lit.
Additionally, wearing a dust mask prevents inhalation of harmful particles. Remember, safety is not just essential—it’s part of the craftsmanship.
Post-Installation Care and Maintenance
Once your drywall is installed, maintaining its pristine condition is important. Regularly inspect walls for signs of damage, such as cracks or watermarks. Addressing small issues early prevents bigger problems later.
Keep your walls clean by regularly dusting and occasionally washing them with gentle cleansers. Proper care and maintenance ensure your walls look great for years to come, preserving the integrity of your home.
Final Thoughts and Contact Us
Mastering drywall installation takes practice and patience, but it’s truly rewarding. For more help, contact us at Utah Drywall & Repair by phone # 801-406-6350 or Request a Free Quote.


