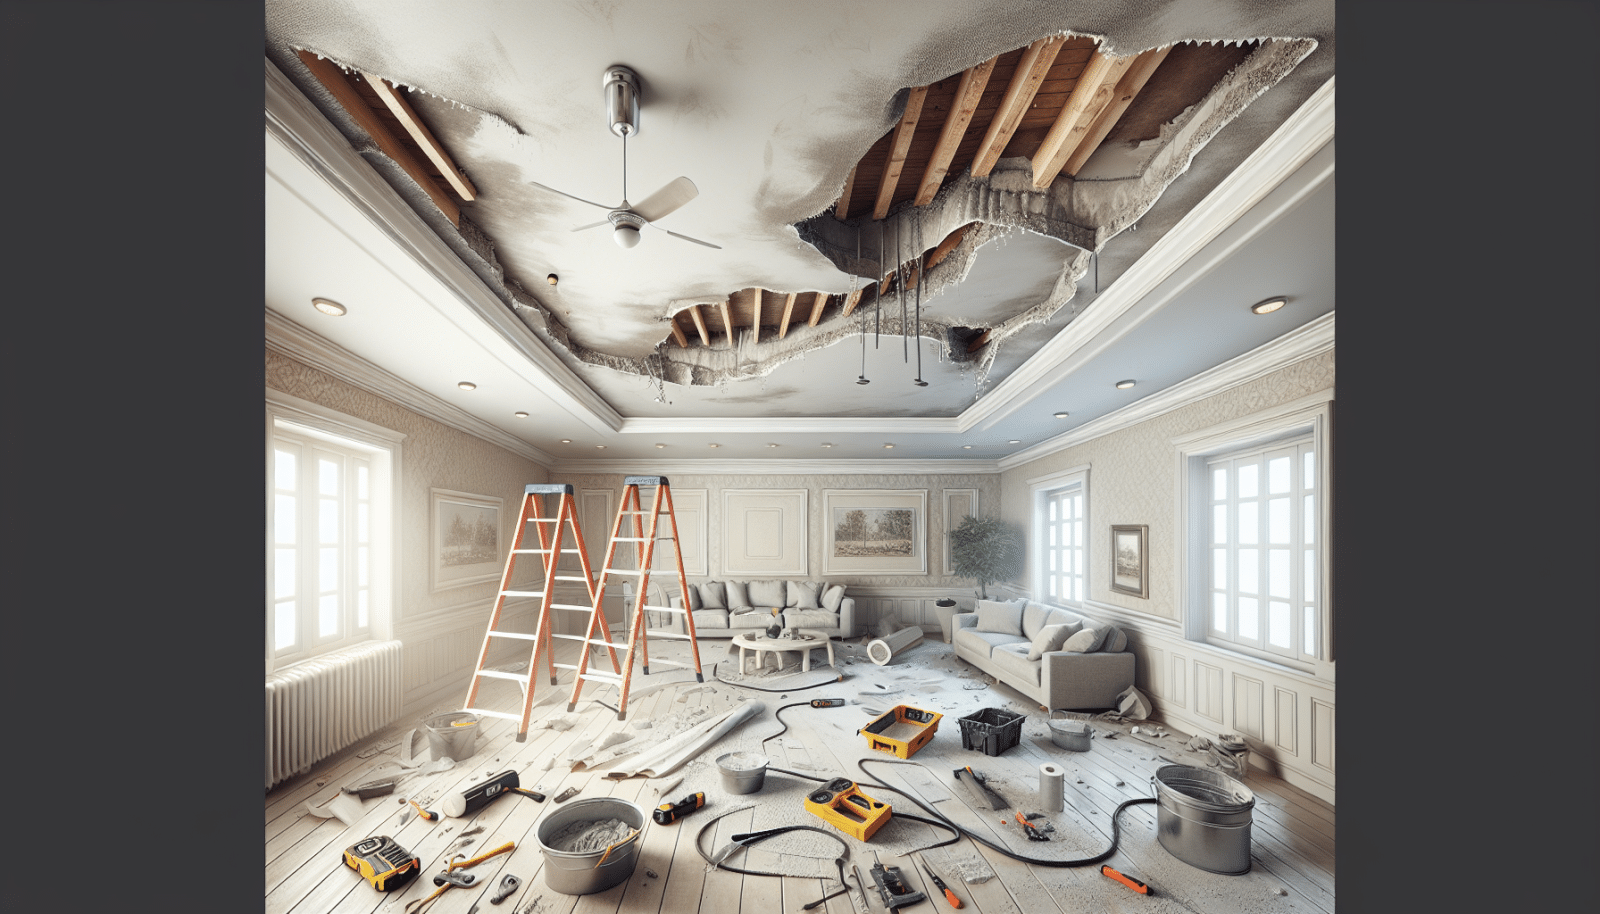
Ceiling Drywall Repair might not be the first thing on your mind, but when a crack or hole makes its presence known, it transforms from an afterthought to a top priority swiftly. That’s where we come in. At Utah Drywall & Repair, we understand the nuances of navigating through ceiling drywall repair to transform your headache into relief. This ultimate guide is tailored to provide homeowners with actionable tips and tricks, ensuring your ceilings are in impeccable condition.
Contents
- 1 Understanding Ceiling Drywall Damage
- 2 The Right Tools for the Job
- 3 Prepping the Area
- 4 Step-by-Step Guide to Repairing a Small Hole
- 5 Handling Larger Repairs
- 6 Finishing Touches: Painting and Texture Matching
- 7 Maintenance Tips to Prevent Future Damage
- 8 When to Call the Professionals
- 9 The Cost of Ceiling Drywall Repair
- 10 Why Choose Us for Your Ceiling Drywall Repair
- 11 Ready to Get Started?
Understanding Ceiling Drywall Damage
Drywall damage on the ceiling can happen due to various reasons ranging from water leakage to structural issues. Recognizing the cause is the first step in effective repair. We often find that identifying the root problem not only helps in addressing the current damage but also in preventing future issues.
Water damage is a common culprit, leaving stains or causing the drywall to sag. However, it’s essential not to jump to conclusions without a thorough examination. Sometimes, the problem could be as minimal as a slight imperfection during installation showing up years later.
The Right Tools for the Job
Before diving into the repair process, gathering the right tools is crucial. These include a drywall saw, joint compound, sandpaper, and a putty knife. Having the right tools at your disposal can make the difference between a smooth repair process and a potentially frustrating experience.
Additionally, don’t forget safety gear. Dust masks and safety glasses are indispensable when Sanding drywall or cutting it. Ensuring you’re well-prepared beforehand can save you a lot of hassle down the line.
Prepping the Area
Preparation is key to a successful ceiling drywall repair. This involves removing any furniture or valuables from the area to avoid damage and covering the floor with a drop cloth. The last thing you want is for your repair efforts to lead to more cleaning work.
Furthermore, it’s advised to ensure the room is well-ventilated. Sanding drywall can produce a significant amount of dust, and proper ventilation can help in maintaining a healthy working environment.
Step-by-Step Guide to Repairing a Small Hole
Facing a small hole in your ceiling? Don’t worry. With a bit of spackle, a putty knife, and some sandpaper, you can make that hole disappear. Applying a thin layer of spackle and allowing it to dry thoroughly before sanding it smooth is the trick.
For an invisible repair, apply a second coat of spackle after sanding the first one smooth. This ensures that the repair blends seamlessly with the rest of the ceiling.
Handling Larger Repairs
Larger drywall repairs might seem daunting, but with the right approach, they’re completely manageable. It involves cutting a square around the damaged area, using a piece of drywall as a patch, and securing it with drywall Tape and joint compound.
The key to a smooth finish is patience during the drying process and meticulous sanding. It might take several layers of joint compound to achieve a surface flush with the existing ceiling.
Finishing Touches: Painting and Texture Matching
Once your repair is sanded smooth, it’s time for painting. Using a primer before the final paint coat can ensure a uniform finish that blends well with the surrounding area.
If your ceiling has a texture, replicating it can be the most challenging part of the process. However, with a bit of practice and the right tools, achieving a close match is possible. This is where hiring professionals like us can save a lot of time and ensure a seamless finish.
Maintenance Tips to Prevent Future Damage
- Regular Inspections: Periodically check your ceilings for signs of damage or wear. Early detection can prevent minor issues from becoming major problems.
- Avoid Water Damage: Ensure that any room fixtures or roofing above the ceiling are well-maintained to prevent leaks.
- Proper Installation: When installing new drywall, make sure it’s done correctly to avoid future sagging or cracking.
- Humidity Control: Use dehumidifiers or ensure adequate ventilation in your home to prevent moisture buildup that can damage drywall.
- Avoid DIY for Major Repairs: While small repairs are manageable, larger issues might require professional expertise to ensure a lasting solution.
When to Call the Professionals
While many drywall repairs can be a DIY project, certain situations call for professional intervention. This includes significant water damage, structural issues, or when the texture needs precise matching. Our team is equipped to handle these complex situations, ensuring your ceiling looks as good as new.
Moreover, consulting with professionals can save you time and guarantee that the repair is handled correctly from the start. This peace of mind is invaluable, especially when dealing with the integral parts of your home’s structure.
The Cost of Ceiling Drywall Repair
Cost is always a consideration in home repair projects. The price of ceiling drywall repair can vary depending on the size of the repair, the complexity, and whether or not specialist skills are required for Texturing.
At Utah Drywall & Repair, we pride ourselves on providing transparent and fair pricing. We understand that every repair is unique, and we’re committed to offering solutions that meet both your needs and your budget.
Why Choose Us for Your Ceiling Drywall Repair
Choosing the right team to entrust with your ceiling drywall repair can make all the difference. Our expertise, attention to detail, and commitment to customer satisfaction set us apart. We treat every project, regardless of size, with the utmost care and professionalism.
Moreover, understanding the unique challenges of the service areas we cover allows us to provide tailored advice and solutions. Your home is safe in our hands, and we strive to ensure the repair process is as smooth and hassle-free as possible for you.
Ready to Get Started?
Feeling overwhelmed by your ceiling drywall repair project? Don’t be. We’re here to help every step of the way. Contact Us today at 801-406-6350 or Request a Free Quote online. Our team is ready to bring your ceilings back to their former glory.


