Do you find yourself staring at the walls, puzzled about where to even begin with drywall installation? You’re not alone. At Utah Drywall & Repair, we’ve seen many homeowners overwhelmed by the process. That’s why we’ve compiled this Ultimate Guide to Drywall Hanging, designed specifically to demystify the steps and provide you with a smooth, headache-free experience, whether you’re a seasoned DIYer or a first-timer eager to tackle home improvements.
Contents
- 1 Understanding Drywall: What You Need to Know
- 2 Tools and Materials: Preparing for Success
- 3 Measuring and Cutting Drywall: Accuracy is Key
- 4 Step-by-Step Drywall Hanging
- 5 Taping and Mudding Drywall Joints: The Path to Smooth Walls
- 6 Sanding for a Perfect Finish
- 7 Patching and Repair
- 8 Priming and Painting: The Final Touches
- 9 Clean-Up and Maintenance
- 10 Wrapping Up
Understanding Drywall: What You Need to Know
Before diving into the hanging process, let’s get familiar with drywall itself. Drywall, also known as gypsum board, is a durable building material used in wall construction. It’s beloved by homeowners and Contractors alike for its fire resistance and ease of installation. Choosing the right type of drywall for your project is crucial. The most common types include regular, moisture-resistant (green board), and fire-resistant (Type X).
Knowing the thickness you need is also essential. For walls, the standard thickness is half an inch, while ceilings often require a slightly thicker option to prevent sagging. Understanding these basics ensures you start your project on the right foot.
Tools and Materials: Preparing for Success
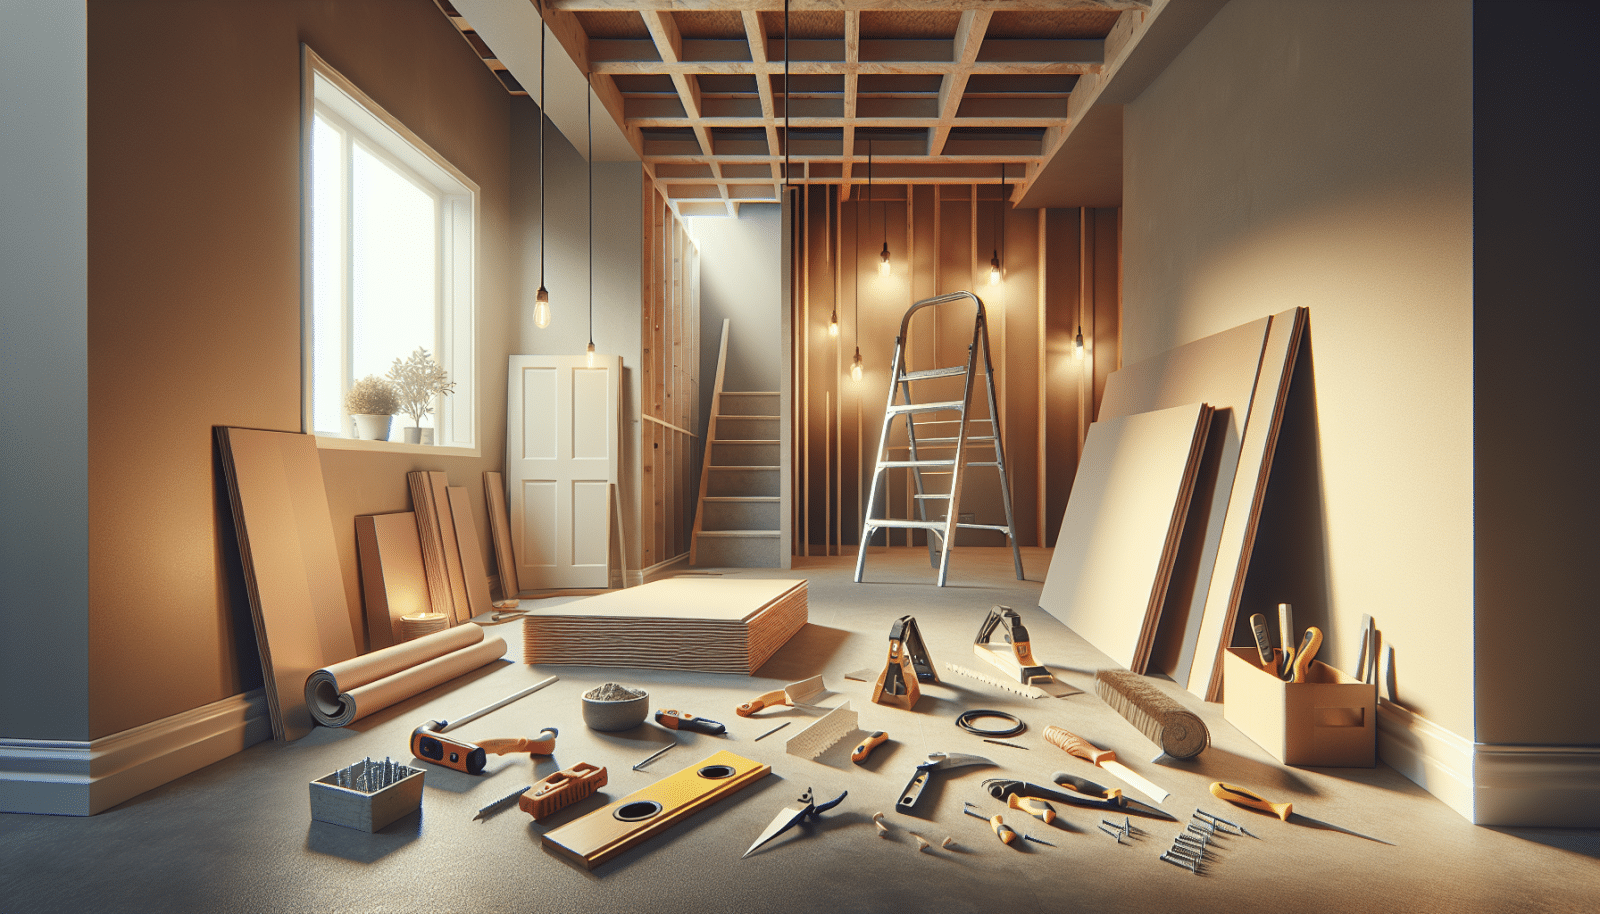
Preparation is key to a successful drywall installation. First, gather all the necessary tools and materials. You’ll need drywall sheets, drywall Screws, a drill, a drywall saw, a utility knife, a Tape measure, a level, and joint tape. Also, don’t forget about safety equipment such as goggles and gloves.
Organize your workspace and ensure you have enough room to maneuver large drywall sheets. Taking the time to prepare before you begin can save you time and frustration down the line.
Measuring and Cutting Drywall: Accuracy is Key
Measuring twice and cutting once is the golden rule of drywall installation. Start by measuring the wall or Ceiling where the drywall will be installed. Use a pencil to mark your measurements on the drywall sheet before making any cuts.
To cut the drywall, score the marked line with a utility knife, then snap the drywall along the scored line. For cutouts like electrical outlets, use a drywall saw for precision. Remember, accurate measurements and cuts are crucial for a seamless installation.
Step-by-Step Drywall Hanging
- Starting Point: Begin at the top corner of your wall and work your way down. This technique helps support the weight of the drywall and prevents unnecessary stress on the panels.
- Applying Adhesive: While not always necessary, applying a drywall adhesive to the studs can provide additional support and reduce the amount of screws needed.
- Screwing in Drywall: Secure the drywall to the studs using drywall screws. Ensure screws are sunk slightly below the surface but do not tear the paper.
- Staggering Seams: For a stronger wall, make sure to stagger the seams of the drywall sheets. This approach minimizes the risk of cracking.
- Checking for Gaps: After hanging each panel, check for gaps between sheets. Small gaps can be filled during the finishing process, but larger gaps may require adjustment.
Taping and Mudding Drywall Joints: The Path to Smooth Walls
The next step is taping and mudding the seams between drywall sheets. Apply a thin layer of drywall compound (mud) along each seam, then press drywall tape into the wet mud. Smooth it out to remove air bubbles and excess mud. Once the tape is applied, add another layer of mud over the top, smoothing it out as you go.
Allow the mud to dry completely, then sand it smooth before applying a second (and possibly third) layer. This step is vital for creating a smooth, seamless surface ready for Painting or wallpaper.
Sanding for a Perfect Finish
Once the mudding process is complete, sanding is your next step. Use a fine-grit sandpaper to smooth out any imperfections and create a surface that’s ready for finishing touches. Be sure to sand lightly to avoid damaging the drywall.
Wear a mask to avoid inhaling drywall dust, and consider using a sanding sponge for corners and difficult-to-reach areas. A smooth, even surface is crucial for a professional-quality finish.
Patching and Repair
Sometimes, despite your best efforts, you might encounter minor damage or imperfections in the drywall. Luckily, patching these areas is straightforward. Use a small amount of drywall compound to fill nicks, dents, or holes. Once dry, sand the area until it’s flush with the surrounding surface.
For larger repairs, you may need to use a drywall patch or even replace entire sections. However, with proper installation techniques, such issues should be minimal.
Priming and Painting: The Final Touches
Before grabbing your paintbrush, applying a good quality primer is crucial. Primer helps the paint adhere better and provides a more uniform finish. Choose a primer specifically designed for drywall to ensure the best results.
Once the primer is dry, you’re ready to paint. Use a roller for large surfaces and a brush for edges and corners. Applying paint evenly and allowing each coat to dry thoroughly will result in a professional-looking finish that you can be proud of.
Clean-Up and Maintenance
After your drywall project is complete, cleaning up is essential for a tidy workspace and ensures your tools are ready for the next project. Collect and dispose of all drywall scraps and dust. Clean your tools with soap and water, and store them properly to prevent damage.
For maintenance, regularly inspect your drywall for cracks or damage. Addressing these issues early can prevent more significant problems down the road. With proper care, your drywall will look great for years to come.
Wrapping Up
We hope this Ultimate Guide to Drywall Hanging empowers you to tackle your project with confidence. If you’ve followed these steps but still feel a bit out of your depth, don’t hesitate to Contact Us at Utah Drywall & Repair. Our team is here to help, whether you need expert advice or professional installation Services. Call us today at 801-406-6350 or Request a Free Quote to get started on transforming your space.


