Considering a DIY drywall installation but feeling overwhelmed? You’re in the right place! We at Utah Drywall & Repair are dedicated to helping you transform your living space with a seamless drywall installation. This comprehensive guide is your go-to resource, combining our expertise with step-by-step instructions to ensure your project runs smoothly. Whether you’re a seasoned DIY enthusiast or trying this for the first time, we’ve got you covered.
Contents
- 1 Understanding Drywall Basics
- 2 Gathering Necessary Tools and Materials
- 3 Preparing the Workspace
- 4 Measuring and Cutting Drywall
- 5 Steps to Secure Drywall
- 6 Taping and Applying Joint Compound
- 7 Finishing Touches: Sanding and Smoothing
- 8 Addressing Common Challenges
- 9 Ensuring Safety During Installation
- 10 Conclusion and Professional Help
Understanding Drywall Basics
Deciding to install drywall yourself requires a grasp of the fundamentals. Drywall, or gypsum board, is a versatile material used to create walls and ceilings. It’s favored for its fire resistance and ease of installation. Crucially, understanding its properties will empower you to handle your installation confidently.
When we think of drywall, it’s essential to recognize its composition. Made of gypsum sandwiched between two thick sheets of paper, drywall comes in various sizes and thicknesses. For most Residential projects, the standard 1/2-inch thickness suffices, but in areas like kitchens or bathrooms, moisture and mold-resistant options might be necessary.
Gathering Necessary Tools and Materials
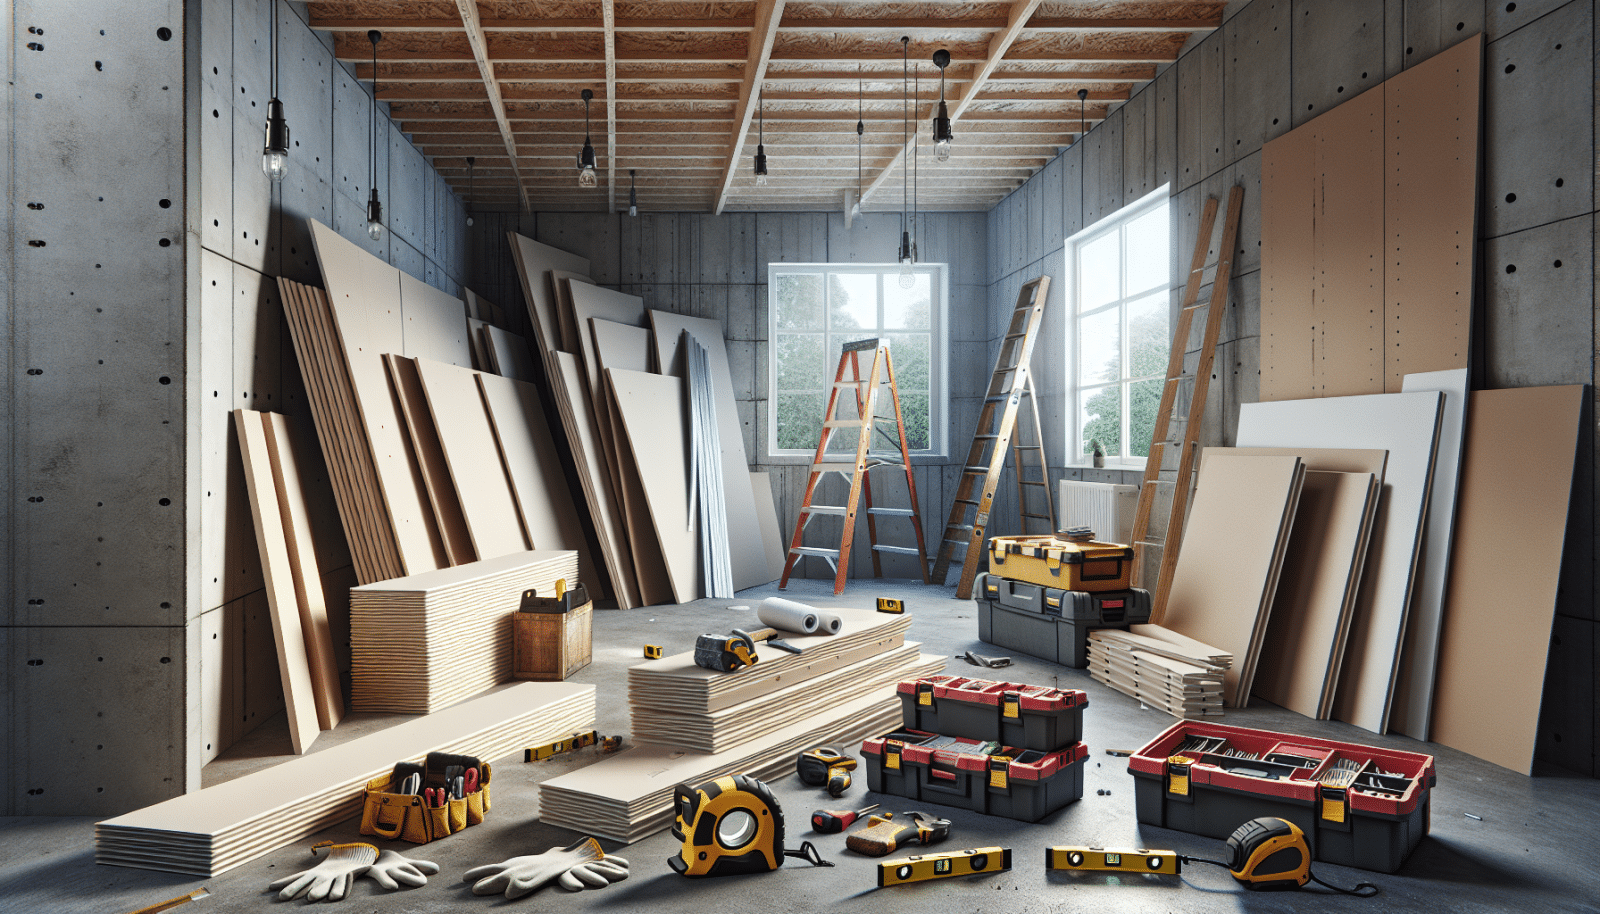
To embark on this DIY endeavor, preparation is key. Before diving in, ensure that you have all the necessary tools and materials ready. This step not only saves time but also minimizes interruptions during the installation process.
Some essential tools include a Tape measure, utility knife, T-square, and a drill or screwdriver. Additionally, you’ll need supplies like Screws, joint compound, and drywall tape. Familiarizing yourself with these tools and materials can make your work more efficient and hassle-free.
Preparing the Workspace
A well-prepared workspace lays the groundwork for a successful drywall installation. Start by clearing the area of furniture and other obstructions, which can ensure safety and ease of movement as you work.
Next, inspect the walls and Ceiling for any plumbing or electrical wiring issues. Addressing such challenges beforehand avoids complications during installation. Cover floors and other surfaces with drop cloths to protect them from dust and debris.
Measuring and Cutting Drywall
Accurate measurements are crucial in ensuring a seamless fit for your drywall panels. Measure the height and width of the wall or ceiling, noting any windows, doors, or electrical boxes.
Once measurements are complete, transfer them to the drywall and use a T-square or straight edge for precise cutting. Always double-check your measurements before making cuts, as accuracy here can save you significant rework time.
Steps to Secure Drywall
Now that you’ve prepared your drywall, it’s time to secure it to the studs or joists. Start at one corner of the room and work your way around, attaching panels with screws or nails.
Place screws about eight inches apart along the edges and every twelve inches in the center of the panel. Ensuring screws are slightly recessed without breaking the drywall surface is essential to avoid future Patching difficulties.
Taping and Applying Joint Compound
With the drywall in place, the next task involves taping seams and applying the joint compound to create a smooth surface ready for Painting.
Tape the joints with paper or mesh tape and apply a thin layer of joint compound over the tape using a putty knife. Allow the first coat to dry completely before applying additional layers to achieve a seamless finish. Sand between coats for a polished look.
Finishing Touches: Sanding and Smoothing
Once the compound is dry, sanding becomes necessary to smooth out the surface. This step is crucial in achieving a flawless wall that’s ready for painting or other finishes.
Begin with a medium-grit sandpaper, progressing to a fine grit for a smoother finish. Always wear a dust mask and goggles to protect yourself from fine dust particles. Thoroughly wipe down surfaces after sanding to remove remaining dust.
Addressing Common Challenges
Even seasoned DIY-ers can face unexpected challenges during drywall installation. From uneven surfaces to improper cuts, understanding and addressing these issues is vital.
For mild imperfections, additional layers of joint compound can help. More significant problems might require re-cutting or re-securing certain panels. Staying patient and being willing to adjust your approach can significantly enhance your project’s outcome.
Ensuring Safety During Installation
Safety should never be compromised in any DIY project. To have a secure drywall installation experience, adhere to some essential safety practices.
- Wear Protective Gear: Dust masks, safety goggles, and gloves prevent injury and discomfort from dust and sharp tools.
- Use Proper Ladders: Ensure ladders are stable and adequately positioned when reaching high spaces.
- Handle Tools Carefully: Keep tools sharp and store them securely to avoid accidents; always unplug power tools when not in use.
- Avoid Overlifting: Drywall sheets can be heavy, so consider asking for help or using a drywall lift.
- Work in Well-Ventilated Areas: Proper ventilation helps disperse dust and fumes from joint compounds and other materials.
Conclusion and Professional Help
In conclusion, a DIY drywall installation can be a rewarding project when approached with preparation and patience. For questions or assistance, reach out to the drywall experts at Utah Drywall & Repair. Contact Us by phone at 801-406-6350 or Request a Free Quote today.


