
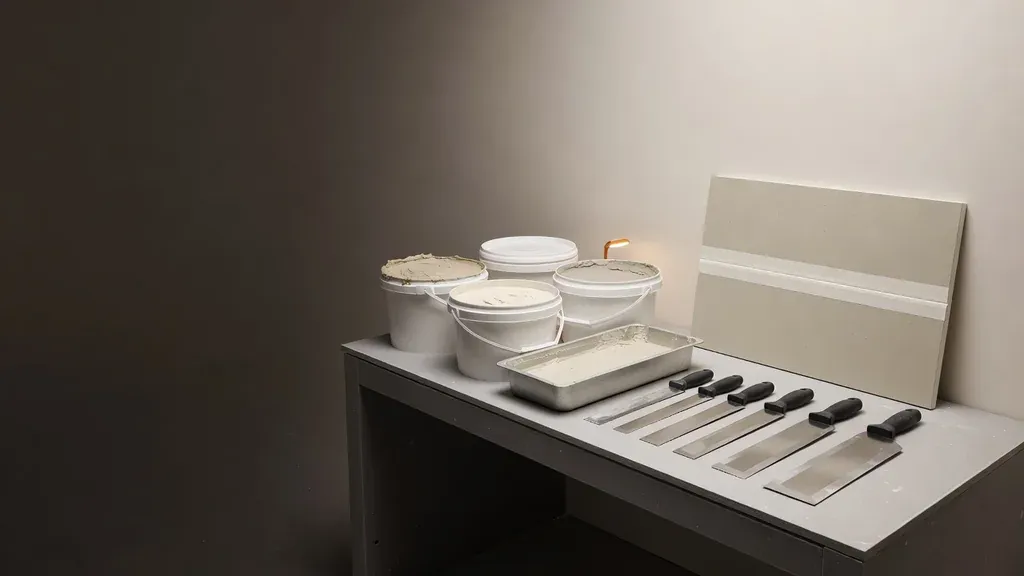
Drywall joint compound is not one interchangeable product. Taping, topping, all-purpose, lightweight, and setting-type compounds have different bond, shrinkage, working time, hardness, and sanding characteristics. The right choice depends on whether you are embedding tape, prefilling a gap, building a patch, coating fasteners, finishing corners, skim coating a wall, or making the final feathered pass.
A small repair may be completed with one compatible all-purpose product. A full room often benefits from a system: stronger compound for tape, easier-working material for fill coats, and a lower-shrink or easier-sanding topping product for the finish. Always follow the panel, tape, bead, and compound manufacturers as a compatible system.
Compare the main compound families
| Compound | Form and cure | Common strengths | Common limitations |
|---|---|---|---|
| All-purpose | Usually ready-mixed, drying type | Versatile for paper tape, fill coats, fasteners, and small repairs when the label permits | More shrinkage and harder sanding than some topping or lightweight products |
| Taping | Ready-mixed drying type or system-specific product | Strong bond for embedding paper tape and first coats | Usually harder to sand and not intended as the easiest final coat |
| Topping | Ready-mixed drying type | Lower shrinkage, smooth application, and easier sanding for later coats | Not intended for embedding tape unless the manufacturer explicitly allows it |
| Lightweight all-purpose | Ready-mixed drying type | Easier handling and sanding for broad finish work | Bond and application limits vary, so verify use for tape and trim |
| Setting-type | Powder mixed with clean water; hardens by chemical set | Useful for prefills, deeper repairs, time-sensitive stages, and compatible fiberglass-mesh systems | Fixed working time, harder cleanup, and can be difficult to sand depending on product |
| Purpose-made skim material | Ready-mixed or powder, depending on product | Formulated for thin full-surface application | Not automatically approved for tape embedding, deep fills, or every substrate |
“Lightweight,” “midweight,” “plus 3,” “20,” “45,” and “90” are product designations, not universal performance promises. A setting-time number generally describes a nominal set category under test conditions, not the exact number of minutes you have in every room. Temperature, water, mixing, batch age, and application conditions can change useful working time.
Drying-type and setting-type are not the same
Drying-type compound
Ready-mixed compound hardens as water leaves the material. Thick fills, cool rooms, high humidity, and limited airflow slow drying and increase shrinkage. A surface can look dry before the deepest area is ready for another coat. Keep coats controlled and allow the product’s required drying time.
Setting-type compound
Setting compound uses a chemical reaction to harden after mixing. It can support a faster sequence and reduce shrinkage in deeper fills. It does not make the project immune to moisture. Excess mix water and water in adjacent materials still need to leave before primer and paint. Once the reaction begins, adding more water does not restore the original working properties.
Pro tip: Mix setting compound in small batches with clean tools and clean water. Hardened crumbs in the pan can shorten working time and leave drag marks in the finish.
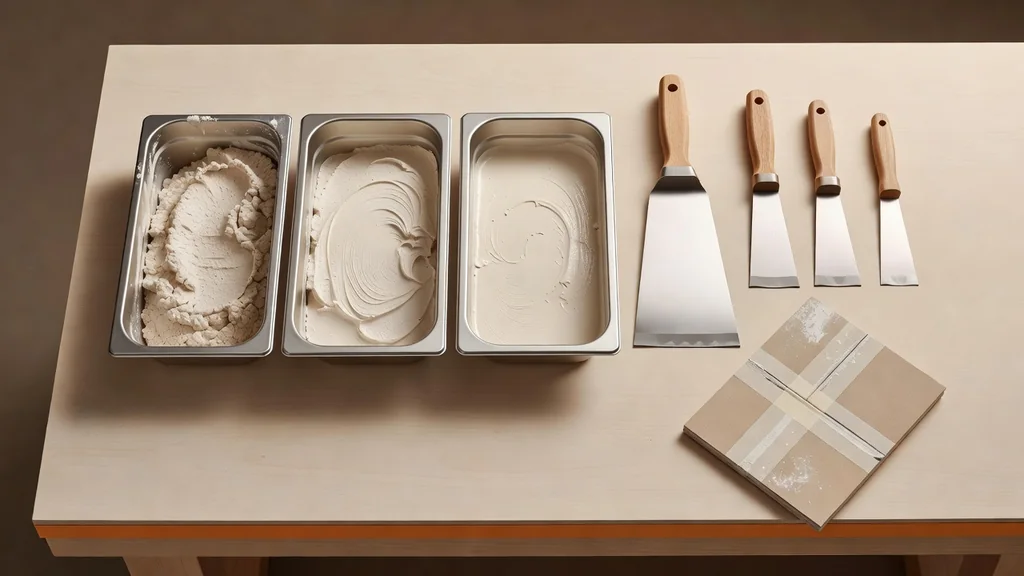
Choose by task, not by one-bucket convenience
Embedding paper tape
Tape needs a continuous bed of compatible compound with enough bond and working time to remove excess without starving the joint. Taping compound or a label-approved all-purpose compound is commonly used. Topping compound is generally not intended for this first stage.
Paper tape and fiberglass mesh do not use identical systems. USG specifies setting-type compounds for the first coat over its fiberglass tape in the cited product guidance. Follow the exact tape manufacturer’s directions rather than placing drying-type compound under mesh by habit.
Prefilling gaps and damaged areas
Large voids should not be hidden under tape. Correct panel fit and backing first. A compatible setting-type compound is often selected for controlled prefills because it shrinks less than a heavy mass of drying compound. Deep damage may need a drywall patch rather than compound alone.
Fill and finish coats
Later coats widen the joint and reduce the visual crown. All-purpose, lightweight, and topping products may be used depending on the system. Topping compound generally offers easier sanding and lower shrinkage but lacks the tape-embedding role of taping compound.
Small patches
For a shallow dent, fastener dimple, or narrow stable repair, a ready-mixed all-purpose or patching product can be convenient. A hole with missing board, loose paper, or no backing needs proper repair before compound. Quick-setting material can shorten the sequence, but its working time is less forgiving.
Skim coating
Broad skim work favors a product approved for thin full-surface application, good slip, and manageable sanding. The substrate may need cleaning, deglossing, sealing, or bonding preparation. See the drywall skim-coating guide before thinning a bucket and rolling it over an unknown painted wall.
Texture
Some joint compounds can be used for hand texture or with approved texture systems, but a dedicated spray texture has different application properties. Do not assume that leftover taping mud will spray consistently. Follow the texture-product instructions and test a sample.
A selection checklist
Before buying compound, write down:
- Substrate: paper-faced gypsum, glass-mat panel, plaster, painted drywall, or another surface.
- Repair stage: prefill, tape, fill, finish, skim, or texture.
- Tape and trim: paper tape, fiberglass mesh, metal bead, paper-faced bead, or proprietary accessory.
- Depth and area: shallow finish coat, deep fill, isolated patch, full room, wall, or ceiling.
- Working time: how much material can be applied and cleaned before it sets or dries at the edge.
- Environmental conditions: room temperature, humidity, airflow, and whether the building is occupied.
- Finish expectation: heavy texture, light texture, smooth wall, paint sheen, and side lighting.
- Product system: current labels and technical sheets for the compound, tape, panel, primer, and coating.
Mixing and handling without guesswork
Ready-mixed compound can separate in storage. Mix only as the label allows. If water addition is permitted, add small measured amounts and record the ratio so later batches behave consistently. Too much water can increase shrinkage, weaken the applied film, cause splatter, and change working properties.
Setting-type compound should be mixed only in the quantity that can be placed during its useful working period. Do not return mixed material to the bag or bucket. Keep powder dry. Do not wash compound into drains where it can harden or accumulate.
Protect ready-mixed compound from freezing and contamination according to the label. Discard material with an unusual odor, discoloration, or signs of spoilage rather than trying to rescue it.
Application fundamentals
A compound cannot compensate for unsupported board, dirty tools, or rushed drying.
- Correct framing, backing, panel fit, and fasteners.
- Remove loose material and repair torn paper through a compatible method.
- Prefill significant gaps or damage as specified and let the fill become ready for the next stage.
- Apply a continuous tape bed and embed the tape without squeezing out all compound.
- Let each coat dry or set as directed.
- Widen later coats rather than building a narrow hump.
- Keep knife edges clean and remove ridges before they require heavy sanding.
- Inspect with raking light.
- Sand with source capture and appropriate protection.
- Prime the completed surface before decorative paint.
Safety note: Joint-compound dust can irritate the eyes and respiratory system, and some formulations may contain ingredients that require specific exposure controls. Review the current safety data sheet. NIOSH recommends vacuum sanding systems to reduce drywall sanding dust. Older painted surfaces may also involve lead, so hazard evaluation comes before routine sanding.
Troubleshoot common compound problems
| Problem | Possible causes | Better response |
|---|---|---|
| Tape bubbles | Dry spots under tape, poor embed, contamination, or movement | Remove failed sections as needed and rebuild with a full compatible tape bed |
| Cracks over a fill | Excess thickness, shrinkage, movement, or premature coating | Diagnose movement and use the correct repair or setting fill rather than another surface coat |
| Pinholes | Trapped air, porous substrate, or loose application | Use a tight finish pass and adjust technique or substrate preparation |
| Excessive sanding | Coats left too heavy or ridged | Apply thinner, wider coats and scrape high tool lines between stages |
| Compound stays dark or soft | Thick drying-type coat, cool or humid room, limited airflow, or moisture below | Allow drying and investigate the environment or substrate |
| Finish flashes after paint | Unequal porosity, sanding variation, or inadequate primer | Correct the surface and use a gypsum-compatible full, even primer coat |
| Setting mix hardens in the pan | Batch too large, dirty tools, warm water, or expired working period | Clean tools and mix a smaller fresh batch |
How finish level changes compound work
A utility area, textured wall, smooth living-room wall, and dark feature wall under large windows do not demand the same finish. The Gypsum Association’s GA-214 defines Levels 0 through 5 as a common reference. The selected level should match the final decoration, lighting, and project documents.
Higher finish expectations usually mean wider and more controlled coats, more complete defect correction, and stronger primer and paint planning. They do not mean piling on thicker compound. Level 5 includes a full-surface skim within a defined finish system. It is not a marketing label for any smooth-looking wall.
For a repair or full-room finish, the team can choose the compound around the tape, depth of fill, working time, sanding, texture, and final paint. The estimate also says where the company’s finish work stops, so “paint-ready” does not mean something different to everyone on the job.
For connected topics, see drywall finishing services, smooth mudding techniques, how to paint repaired drywall, or request an estimate.
Frequently asked questions
Can all-purpose compound be used for every coat?
Some all-purpose products are approved for tape embedding, fill, and finish coats, making them practical for small jobs. A dedicated taping or topping product may perform better for a larger project. Verify the current label and the tape or trim system.
What is the difference between 20-, 45-, and 90-minute compound?
Those are nominal setting categories used by product lines. They do not guarantee exact pan life or time to paint. Mix size, water temperature, room conditions, and application thickness affect the work. Follow the specific technical sheet.
Can I use ready-mixed compound with fiberglass mesh tape?
Do not assume so. Many fiberglass mesh systems require setting-type compound for the first coat because the mesh does not provide the same crack resistance as paper tape in a drying-type system. Follow the tape and compound manufacturers together.
Is lightweight compound weaker?
“Lightweight” covers several formulations. It often means easier handling and sanding, not a universal bond rating. Some lightweight all-purpose products are approved for taping, while others are better for later coats. Use the published application rather than the category name alone.
When is joint compound not enough for a repair?
Compound alone is not a substitute for backing, replacement board, tape, or correction of active moisture and movement. Missing panel sections, soft gypsum, failed joints, and repeated cracks need the underlying repair before surface finishing.
Authoritative references
- USG, Joint Treatment Selection Guide
- USG, Sheetrock Brand Topping Joint Compound
- USG, Sheetrock Brand Taping Joint Compound
- ASTM International, ASTM C475/C475M-17(2022) Standard Specification for Joint Compound and Joint Tape
- Gypsum Association, GA-214-2021 Levels of Finish for Gypsum Panel Products
- NIOSH, Control of Drywall Sanding Dust Exposures