Sometimes, tackling drywall Hanging can feel overwhelming for homeowners, but that’s where we come in. At Utah Drywall & Repair, we aim to make this task straightforward and achievable, whether you’re a seasoned DIY enthusiast or just starting. With our expert tips and guidance, this blog post will empower you to hang your drywall with confidence and ease. Let’s dive into simplifying the drywall hanging process!
Contents
- 1 Understanding the Basics of Drywall
- 2 Gathering Necessary Tools and Materials
- 3 Preparing the Workspace
- 4 Measuring and Cutting Drywall
- 5 Installing Drywall Sheets
- 6 Applying Joint Tape and Compound
- 7 Sanding for a Smooth Finish
- 8 Applying Primer and Paint
- 9 Common Mistakes to Avoid
- 10 Hiring a Professional
- 11 Conclusion
Understanding the Basics of Drywall
Before jumping into the hands-on part, it’s essential to understand what drywall is. Essentially, drywall is a construction material used to create walls and ceilings. It’s a popular choice due to its ease of installation and affordability.
Drywall comes in various sizes and thicknesses, which means you can choose the best fit for your project. Understanding the types and sizes will help you make informed decisions, ensuring your project goes smoothly from start to finish.
Gathering Necessary Tools and Materials
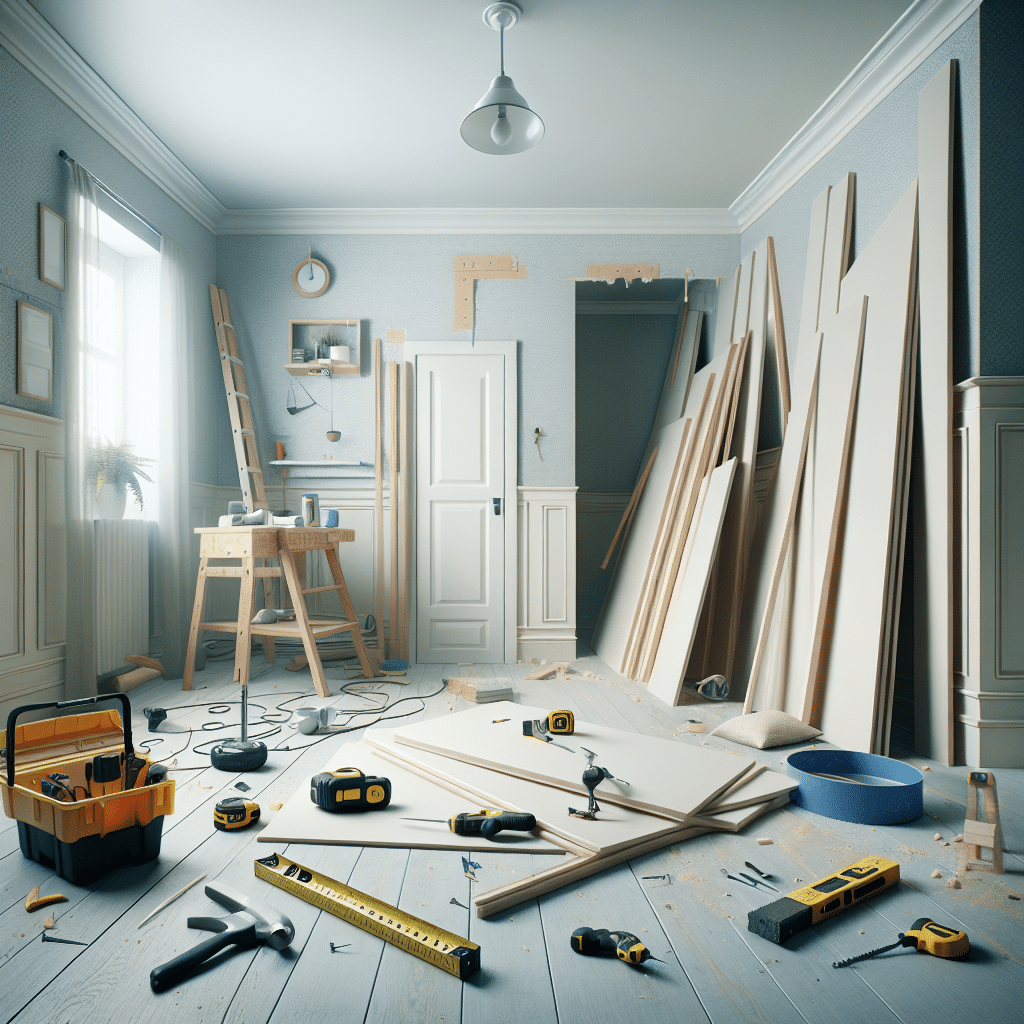
Having the right tools and materials is crucial when hanging drywall. At Utah Drywall & Repair, we believe preparation is key. First, you’ll need drywall sheets, a Tape measure, and a utility knife.
Additionally, a drywall saw, power drill, and drywall Screws will make your task much easier. Using the proper tools not only saves time but also ensures quality results that you’ll be proud of.
Preparing the Workspace
Before you begin hanging, it’s essential to prepare your space. Clear the area of any furniture and cover floors to protect them from dust and debris. A clean and organized workspace will make the process more efficient and enjoyable.
Also, make sure to check for any existing electricity or plumbing that might be hidden in your walls. Safety should always be your first concern, and a little precaution goes a long way in preventing accidents.
Measuring and Cutting Drywall
Accuracy in measurement is your best ally when it comes to drywall installation. Use a tape measure to measure the dimensions of the area where you’ll be hanging the drywall. Double-checking measurements can prevent costly errors and rework.
Once measured, cut the drywall using a utility knife or drywall saw. It’s better to cut slightly larger and shave down than to cut too short. Remember, precision here will save you plenty of headaches later!
Installing Drywall Sheets
Now it’s time for the exciting part—hanging the drywall. Start from the top and work your way down. Secure each sheet with drywall screws, ensuring they are evenly placed.
Be mindful of edges; they should align perfectly with the adjacent sheets. Consistent Screwing patterns help avoid bumps, making the surface ready for finishing touches.
Applying Joint Tape and Compound
Joint tape and compound are your secret weapons for a flawless finish. First, apply the joint tape over the seams between drywall sheets. This tape will reinforce the seams and prevent cracking.
Next, cover the tape with joint compound using a Taping knife. Smooth it out carefully to avoid lumps. This process ensures a seamless wall ready for Painting or wallpapering.
Sanding for a Smooth Finish
Once the joint compound is dry, it’s time to sand. Sanding eliminates any rough spots and prepares the surface for painting. Use a sanding block or electric sander for best results.
It’s advisable to wear a mask to protect yourself from dust. A smooth wall will enhance the appearance and make subsequent decoration easier.
Applying Primer and Paint
Primer is crucial for a uniform paint job. It seals the drywall, ensuring the paint adheres well. Apply a coat of primer and let it dry completely before painting.
Choose a paint that complements your space and apply it evenly. Proper priming and painting will give your walls a professional look that stands the test of time.
Common Mistakes to Avoid
- Improper Measurements: Failing to measure correctly can result in wasted materials and time. Double-check your dimensions to avoid this mistake.
- Over-Sanding: Sanding too much can damage the drywall. Aim for a balanced approach to achieve a smooth surface without compromising the integrity.
- Skipping the Primer: Skipping primer might seem tempting, but it can lead to uneven paint and poor adhesion. Always include a primer coat.
- Using Incorrect Tools: Using the wrong tools can result in poor workmanship. Invest in proper tools for quality outcomes.
- Rushing the Process: Patience is key. Rushing through steps can lead to mistakes that are harder to fix later.
Hiring a Professional
While DIY drywall hanging is an achievable task, some projects may require professional intervention, especially if they involve complex structural work. At Utah Drywall & Repair, we’re here to help whether you need full service or just a bit of guidance.
Engaging a professional ensures that your project is completed efficiently and meets all safety standards. Plus, it gives you peace of mind knowing your home is in capable hands.
Conclusion
With the right information and preparation, DIY drywall hanging can be a rewarding experience. However, achieving those perfectly smooth walls can sometimes require expert help. Contact Us today at Utah Drywall & Repair for any assistance you might need. Reach out by phone at 801-406-6350 or Request a Free Quote.


