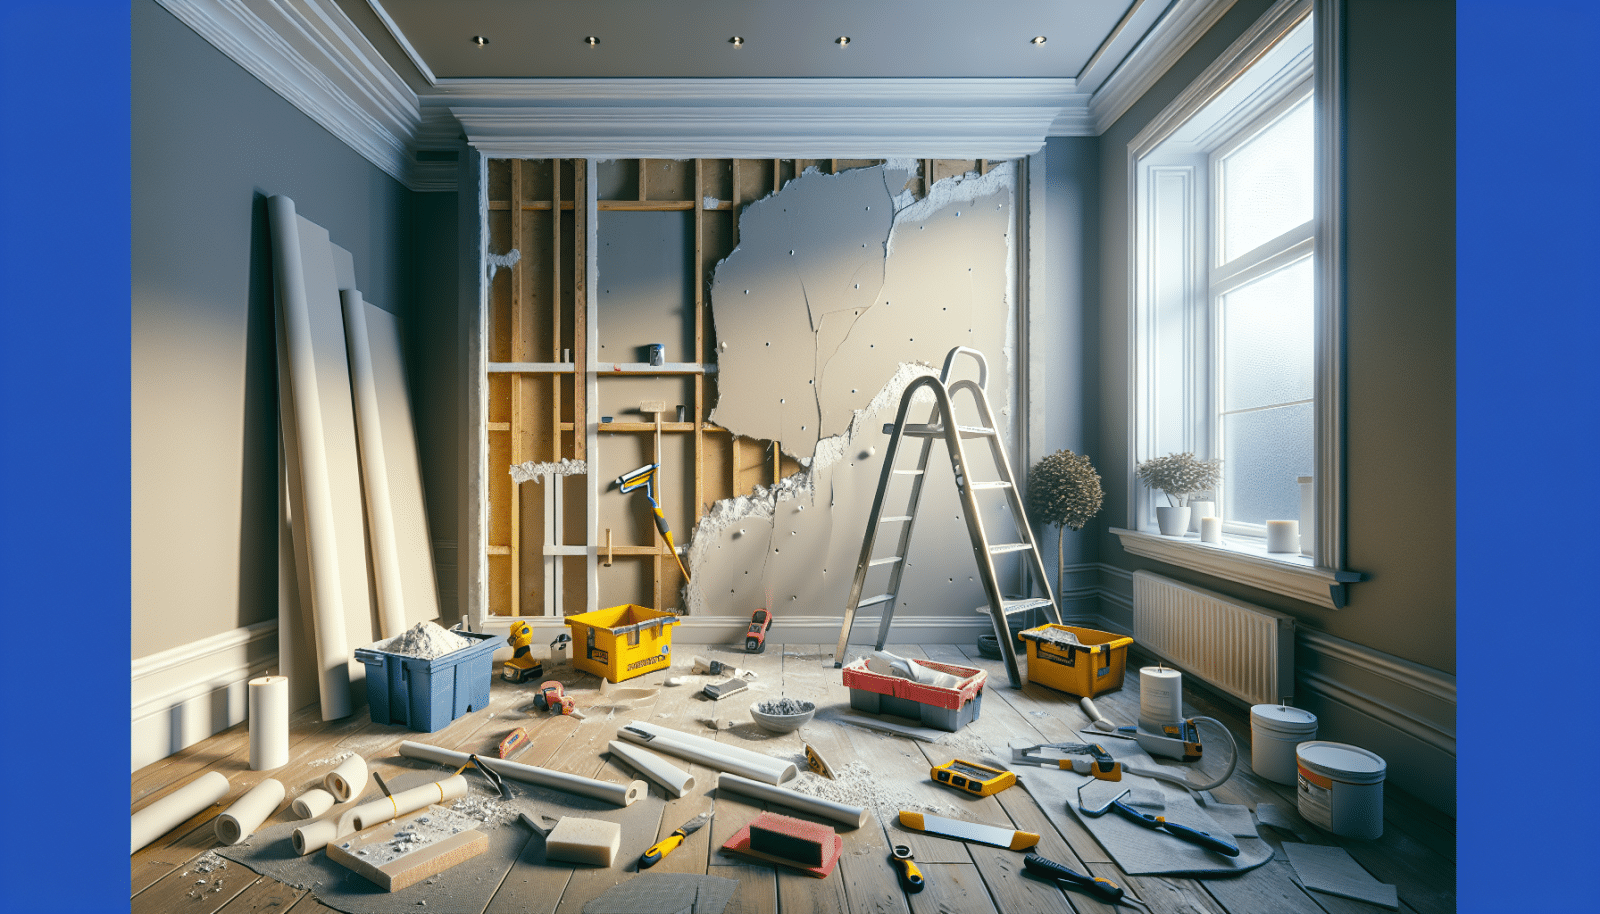
At Utah Drywall & Repair, we understand that damaged drywall can be a real eyesore and something that can significantly affect the appeal of your home. Fortunately, repairing drywall doesn’t need to be a daunting task anymore! In this comprehensive guide, we’re here to make DIY Drywall Repair a breeze for all homeowners who are keen on tackling this common household issue themselves. With our tips and tricks, you’ll be able to maintain your home’s aesthetic appeal all by yourself.
Contents
Understanding Drywall Damage
Before we jump into the ‘how,’ let’s talk about the ‘why.’ Drywall can get damaged due to a variety of reasons, such as accidental impacts, temperature changes, or even routine wear and tear. When you start to see holes or cracks, it’s time to spring into action. Recognizing the type of damage is crucial in determining the correct repair method. Remember, early intervention can save you a ton of work down the line!
Understanding the types of damage not only helps in identifying the repair method but also in choosing the right materials. Whether it’s a small nail hole or a large crack, each type of damage requires specific solutions. So, buckle up as we take you through each type of damage and guide you on how to handle them effectively.
Gathering Your Tools and Materials
Before diving into the repairs, make sure you have all the essential tools and materials ready. Having everything on hand will keep the process smooth and efficient. You’ll need:
- Spackle or joint compound: This is the magic material that fills in your drywall holes and cracks. Choose a high-quality product for a smooth finish.
- Putty knife: Choose a flexible one for better control. It’s used to apply the spackle smoothly over the damaged areas.
- Sandpaper: Essential for smoothing out the spackle, ensuring your wall ends up looking seamless.
- Drywall Tape: This helps reinforce joints or larger cracks, adding stability and preventing future cracking.
- Utility knife: For cutting drywall, tape, or trimming edges. A sharp blade is key for cleaner cuts.
Drywall repair may seem intimidating at first, but with the right materials and tools, you’re already halfway there. It’s crucial to prepare beforehand and create a dedicated space where you can easily access all your tools.
Assessing the Damage
Once you’ve got your tools, it’s time to take a closer look at that damage. Suppose you’ve got a small ding or a significant hole; how you assess it will determine your repair strategy. Smaller imperfections often require a lighter touch, while larger holes might need more extensive work.
Determining the scale of the damage early on also guides your decisions on whether you may need extra materials, like additional drywall pieces or more joint compound. Therefore, a thorough assessment saves time and gives you a clear roadmap for the repairs ahead.
Small Repairs: Holes and Dings
For those pesky small holes and dings, you’re in luck because these are typically the easiest to repair! Start by cleaning the affected area. Use your flexible putty knife to apply a small amount of spackle over the hole. Smooth it out evenly and allow it to dry thoroughly before Sanding.
Once dried, gently sand the area until it’s flush with the surrounding wall. Be careful not to sand too vigorously; you just want to create a smooth, even surface. With a bit of touch-up paint, your wall should look as good as new!
Medium Repairs: Cracks and Small Holes
When dealing with cracks or slightly larger holes, drywall tape becomes your best friend. First, widen the crack using your utility knife. This might seem counterproductive, but it allows for better adhesion of the spackle. Apply the tape over the crack, press firmly, and apply spackle over the tape with your putty knife.
Be sure to feather the edges of the compound to blend with the rest of the wall. Allow it to dry completely and then sand for a smooth finish. You might need to apply a second coat and repeat the sanding process for the best results before giving it a coat of paint.
Advanced Repairs: Large Holes and Damage
Larger holes require a little more skill and patience, but don’t worry. Cut out a rectangular section around the damaged area using your utility knife. You’ll need a piece of drywall that matches this cutout, so it fits perfectly.
Secure the new piece of drywall in place using drywall Screws. Next, apply joint tape over the seams and cover with a generous layer of joint compound. Be prepared to apply multiple coats, sanding between each to ensure a smooth, even finish before Painting.
Perfecting the Finish
Achieving that perfect finish is all about patience and precision. Once your repairs are complete and sanded, it’s time to repaint the wall. Choose a paint that matches the existing wall color or repaint the entire wall if necessary for a uniform look.
Begin with a primer coat to ensure the paint adheres evenly, giving you a consistent color. Once the primer dries, apply your topcoat. Voila! Your wall should look brand new, with no traces of the previous damages visible.
Safety First
We can’t stress enough the importance of safety during any DIY project. Always wear a dust mask when sanding to protect your lungs from drywall dust. Safety goggles are essential to protect your eyes from dust and debris.
Work in a well-ventilated area and ensure you’re using your tools correctly to avoid any accidents. Following these safety measures ensures not only a successful repair but also your well-being.
When to Call the Experts
Of course, not all drywall problems can be tackled single-handedly. There will be instances where professional assistance might be necessary, especially if the damage is extensive or recurring.
Don’t hesitate to reach out to us when you need an expert touch. We’re always ready to lend a hand and ensure your drywall is in top-notch condition, restoring the beauty and functionality of your home’s walls.
And there you have it—your go-to guide for drywall repair! We hope you find this guide helpful in addressing your drywall woes confidently. For more assistance, Contact Us by phone at 801-406-6350 or Request a Free Quote today!


