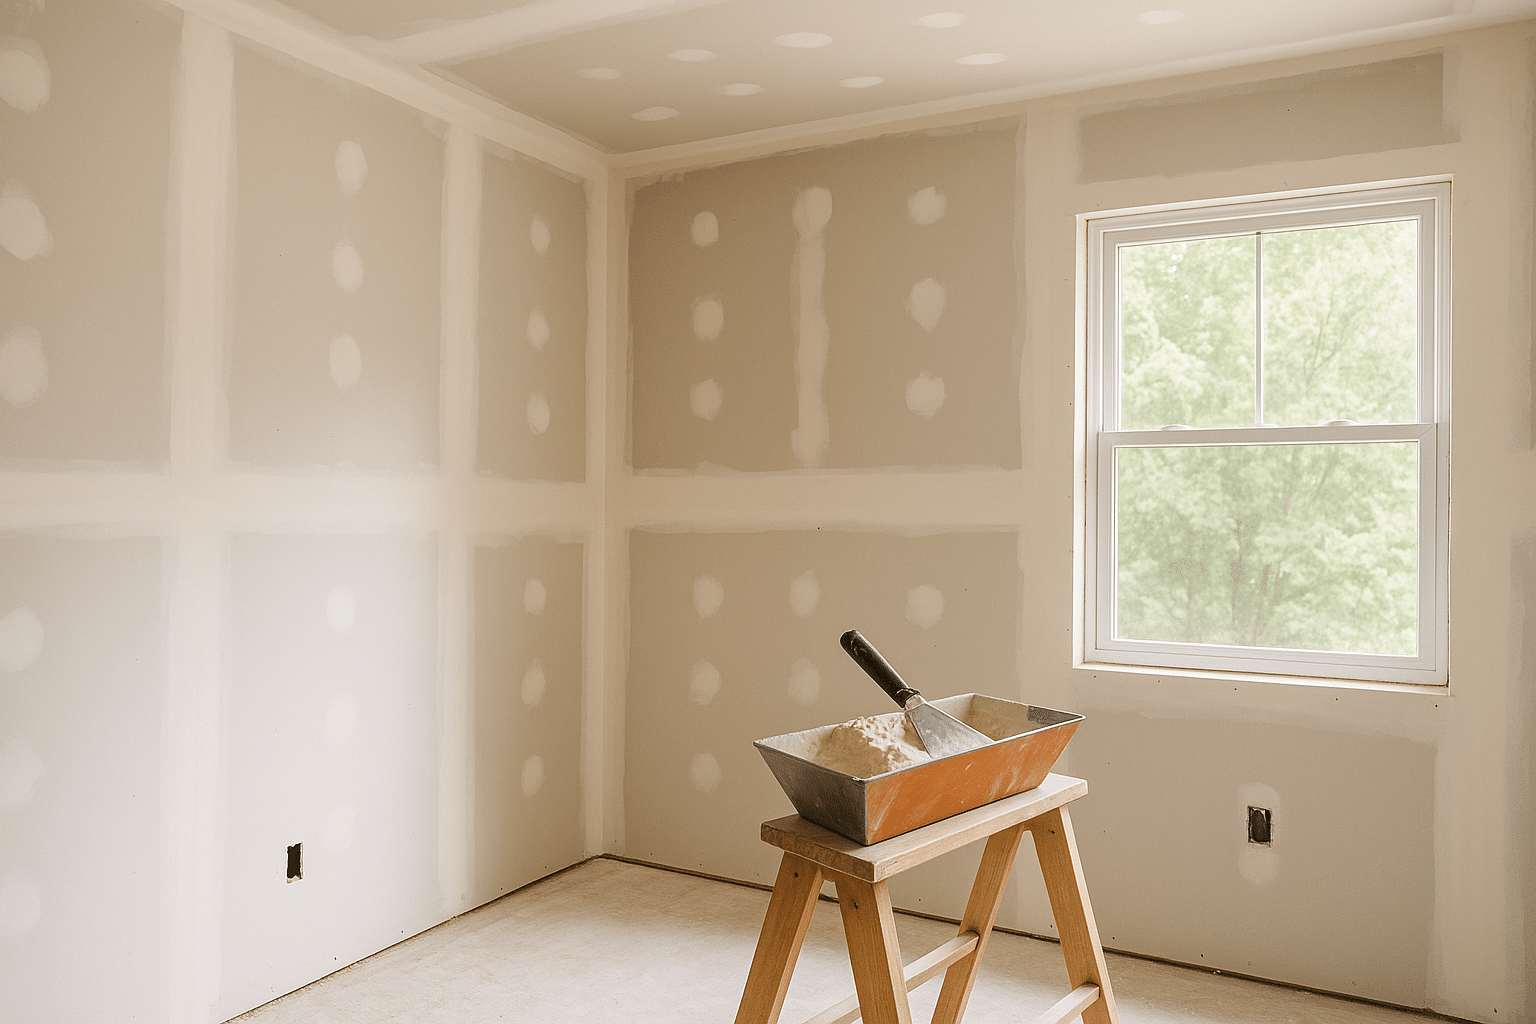
Smooth, invisible seams on your walls don’t happen by accident. They’re the result of good technique, the right tools, patience, and a few little tricks that pros keep to themselves. If you’re a homeowner in Salt Lake County, Davis County, or Utah County and you want your rooms to look finished—not patched—this is for you. Let me explain how drywall Taping leads to smooth finishes, what to watch for, and when it makes sense to call in Utah Drywall & Repair.
Contents
- 1 Why smooth finishes matter — and who this is really for
- 2 Tools and materials that actually help (no mystery)
- 3 Step-by-step: how to get that smooth, flat finish
- 4 Common mistakes (and simple repairs)
- 5 Finishing touches: paint, texture, and Utah-specific tips
- 6 When to DIY and when to call in help
- 7 Need help? We’re right here in Salt Lake, Davis, and Utah Counties
Why smooth finishes matter — and who this is really for
A smooth wall changes how a room feels. Light bounces evenly. Paint sits nicer. Trim and fixtures read like they belong. Homeowners selling a house, updating a tired room, or finally finishing a Basement—this matters to you.
You know what? It’s not just vanity. Proper drywall taping hides structural lines, prevents hairline cracks, and reduces touch-ups later. Honest work up front saves headaches later. That’s why you’ll hear pros talk about feathering, compound set times, and paper versus mesh Tape—terms that sound fancy but really mean: less Patching down the road.
Tools and materials that actually help (no mystery)
Here’s the gear that makes a smooth outcome probable, not just hopeful.
- Knives: 6-inch and 12-inch taping knives (Warner or Dura-Block are common). Wider knives mean fewer seams to feather.
- Taping tools: 4.5-inch and 5.5-inch banjos or hand tapers—helps lay tape fast and neat.
- Compounds: Setting compound (Durabond) for fast jobs and high-strength; all-purpose for general use; topping compound for final skim coats.
- Tape: Paper tape for inside seams; fiber mesh for quick repairs. Paper hides better when done right.
- Sanding: Pole sander with 120–220 grit or a sponge sander (wet sanding makes less dust).
- Misc: Corner bead, hawk, mud pan, and a good shop vac—Milwaukee or Bosch vacs keep dust down.
These aren’t just gadgets. They change what’s possible on your wall—faster, cleaner, and with fewer do-overs.
Step-by-step: how to get that smooth, flat finish
Here’s a friendly, practical route from raw seams to seamless walls. Short version first: clean, tape, mud, feather, sand, repeat. Longer version next—stick with me.
Prep: Make sure drywall Screws are set just below the paper but not tearing it. Fill obvious gaps. Lightly dust the seams.
Step 1 — Embed the tape: Apply a thin layer of setting compound, press paper tape into it, and smooth with a 6-inch knife. You want no air pockets. Honest, this step is where most problems start.
Step 2 — First coat: Cover tape edges with compound. Keep edges thin. Let it set. If humidity is high—yes, drying times lengthen; if it’s winter in Utah with low indoor humidity, things go faster.
Step 3 — Second coat: Use a wider knife (8–12 inch) and feather the compound beyond the original edges. The goal is to transition the compound into the wall with a thin feather.
Step 4 — Final skim: One very thin full skim with topping compound evens out texture differences. This is where you get that “factory wall” look.
Sanding: Light touch. Use a 120–150 grit for leveling. Move to a sponge for final smoothing. Here’s the mild contradiction: sanding is necessary, but too much sanding means you’ll need more compound later. Sand enough to remove high ridges, but not to groove the seam.
Tip: Wet-sanding with a sponge reduces dust and is kinder to paint finish later. Honestly, your lungs will thank you.
Common mistakes (and simple repairs)
People mess up in predictable ways. Recognizing them early saves time.
- Too much compound: Heavy coats crack. Fix by sanding and applying thinner follow-up coats.
- Air bubbles under tape: Usually from rushing. Cut the tape, pull back, reapply compound and tape.
- Over-sanding: Sanding through the tape or creating grooves. Patch with thin compound and feather out.
- Visible seams after paint: Often inadequate feathering or wrong light angle. Add a light skim coat and re-paint using a satin or flat sheen to hide low spots.
- Popped screws: Fasten, spot-tape, and skimp on compound—then it shows. Reset or replace fastener and mud again properly.
These fixes are usually straightforward. But sometimes a seam needs re-doing. That’s when pros step in and save a lot of time.
Finishing touches: paint, texture, and Utah-specific tips
Once the wall is smooth, paint prep is critical. Clean dust off, prime with a good acrylic primer (Zinsser, Sherwin-Williams primers are staples), and then paint. Two coats usually.
Texture: Want a smooth modern wall? Skip heavy textures. Want a bit of character? Light orange peel or knockdown hides minor flaws and is popular in many Utah homes. Trends shift—right now clean, neutral walls with subtle texture sell well.
Seasonal tips for our area: Utah summers can be dry, but afternoon storms raise humidity; winters are dry and warm inside. That affects compound set times. Keep a dehumidifier or use controlled heat when finishing in winter. Also, if you’re finishing a basement, consider mold-resistant compounds and drywall.
When to DIY and when to call in help
DIY? Great for small patches and beginner projects. Taping an entire living room seam-to-seam? That’s a bigger lift. You’ll save money on small jobs. But for vaulted ceilings, high-traffic walls, or if a flawless finish is non-negotiable—call a pro.
Why hire pros like Utah Drywall & Repair? We bring consistent feathering, quick-setting compounds when timelines demand, and experience with local climate quirks. Plus, we carry Commercial-grade tools that make a difference—you’ll notice it in the final paint job.
Need help? We’re right here in Salt Lake, Davis, and Utah Counties
If this sounds like a lot—and honestly, it can be—give us a ring. We work with homeowners across Salt Lake County, Davis County, and Utah County. We’ll assess, give a clear price, and get your walls looking like they belong in a magazine.
Call 801-406-6350 or click Request a Free Quote to get started with Utah Drywall & Repair. We’ll handle the seams so your rooms feel finished, calm, and ready for life.


