
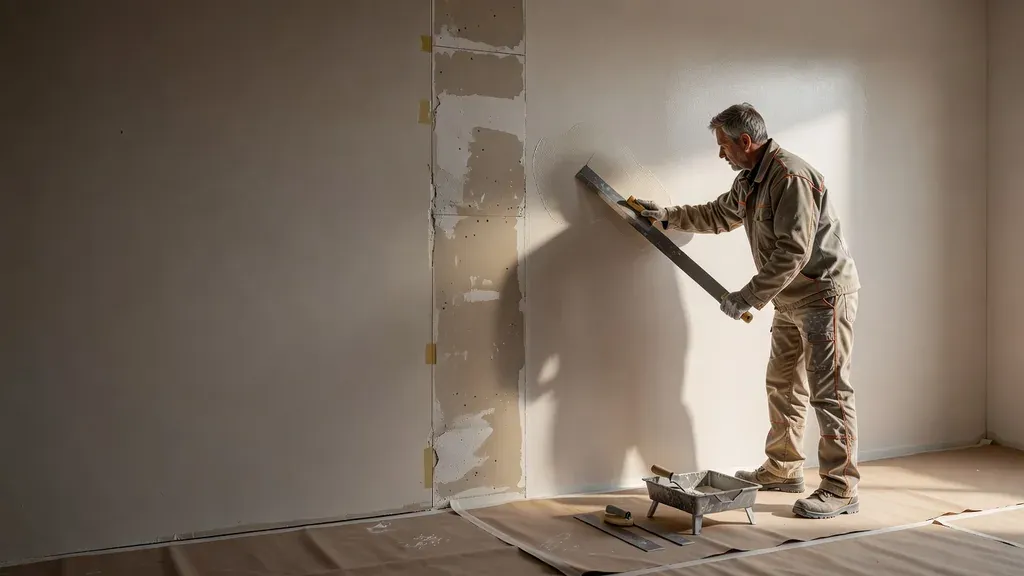
Skim coating is the application of a thin coat of joint compound or a material made for skim coating across an entire wall or ceiling surface. It is used to reduce broad texture variation, unify widespread repairs, and prepare a surface for a demanding smooth finish. It is not the right answer for every dent, crack, or uneven wall.
A skim coat follows the plane that is already there. It can fill shallow surface variation, but it does not straighten framing, secure loose drywall, stop movement, solve moisture, or replace proper tape and patch repairs. The quality of the result depends on the substrate, compound choice, coat control, drying conditions, sanding discipline, primer, paint, and light.
Skim coat, spot repair, texture, or replacement?
| Condition | Likely approach | Why |
|---|---|---|
| One small dent or fastener dimple | Spot repair | Coating the full wall adds unnecessary work |
| Localized hole or failed tape | Structural patch or tape repair, then local finishing | Skim compound alone cannot bridge unsupported damage or stabilize a joint |
| Many shallow repairs or widespread roughness | Full-surface skim may be appropriate | A continuous coat can unify porosity and profile more effectively than dozens of isolated edges |
| Sound but unwanted light texture | Test adhesion, reduce high points, then skim as specified | Several thin coats may be needed to fill the pattern without excessive buildup |
| Heavy or loose texture | Removal, stabilization, overlay, or replacement assessment | Skimming over a weak or deep profile can fail or require impractical thickness |
| Sagging, soft, delaminated, or wet drywall | Correct the cause and replace damaged material as needed | A finish coat cannot restore a compromised panel or assembly |
| Strong side light with a smooth design | Higher finish expectation, often including full skim and careful primer | Light and reflective paint expose surface variation |
Skim coating is sometimes discussed as if it were identical to a Level 5 finish. It is not. The Gypsum Association’s Level 5 is a defined system based on Level 4 joint treatment plus a skim coat across the entire surface, with the specified preparation before decoration. Project specifications, product instructions, lighting, and final coating still control the result.
Read the wall before choosing the method
Use raking light to inspect the surface from several directions. Note ridges, hollows, cracks, loose tape, glossy paint, chalking, torn drywall paper, old wallpaper adhesive, texture height, and previous repairs. Check whether the surface is structurally sound and dry.
Ask these questions:
- Is the problem in the finish or in the framing and panel plane?
- Is the existing paint firmly bonded?
- Is there active water intrusion, recurring condensation, or damp material?
- Are cracks stable, or do they reflect movement that needs diagnosis?
- Is the texture shallow enough for a practical skim system?
- Will the wall receive flat paint, a higher sheen, dark color, or critical side lighting?
- Does an older coating or texture require lead or asbestos evaluation before sanding or scraping?
Safety note: Do not sand or scrape older painted or textured surfaces until lead and asbestos concerns have been considered. EPA’s lead-safe requirements apply to covered paid renovation work in pre-1978 housing and child-occupied facilities. Drywall sanding also creates high dust exposure. NIOSH documents vacuum sanding as an effective source-control approach. Ordinary dust control is not a substitute for hazard-specific containment or abatement.
Tools and materials for controlled skim work
The exact setup depends on wall size and application method. Typical tools include:
- broad taping knives or skimming blades in several widths;
- a clean mud pan, hawk, or compound tray;
- a mixing drill and clean paddle when the selected product permits mixing;
- ready-mixed or setting-type compound selected for the specific stage;
- rollers or specialty applicators when used within a documented skim method;
- sanding blocks or vacuum-assisted sanding equipment;
- raking lights;
- floor, trim, fixture, doorway, and HVAC protection;
- eye, skin, and respiratory protection appropriate to the product and task.
Use the compound manufacturer’s mixing, thinning, temperature, working-time, drying, and sanding instructions. Do not assume that every all-purpose compound can be diluted or applied at the same thickness.
Prepare the substrate
Resolve causes and complete repairs
Fix active leaks and allow assemblies to dry. Replace soft or unsound board. Retape failed joints, repair holes with sound backing, address damaged paper with a compatible sealer or repair method, and correct loose corner bead. A skim coat should be the surface-unifying stage, not the structural patch.
Clean and test adhesion
Remove dust, grease, loose paint, and incompatible residue without saturating the wall. Glossy or difficult surfaces may require deglossing, a bonding primer, or another manufacturer-approved preparation. Test a small area and let it dry before committing to a full room.
Wallpaper adhesive is a common failure point. Residue can react with water in joint compound or prevent a reliable bond. Remove or isolate it through a compatible, tested system rather than coating over an unknown film.
Protect the room
Skim coating moves a large amount of wet compound across a broad surface, and sanding can create fine dust. Protect floors, trim, windows, cabinets, fixtures, and adjacent rooms. Manage air movement so dust is not distributed through the building. Utah Drywall & Repair uses tarps and suitable containment when required by the project.
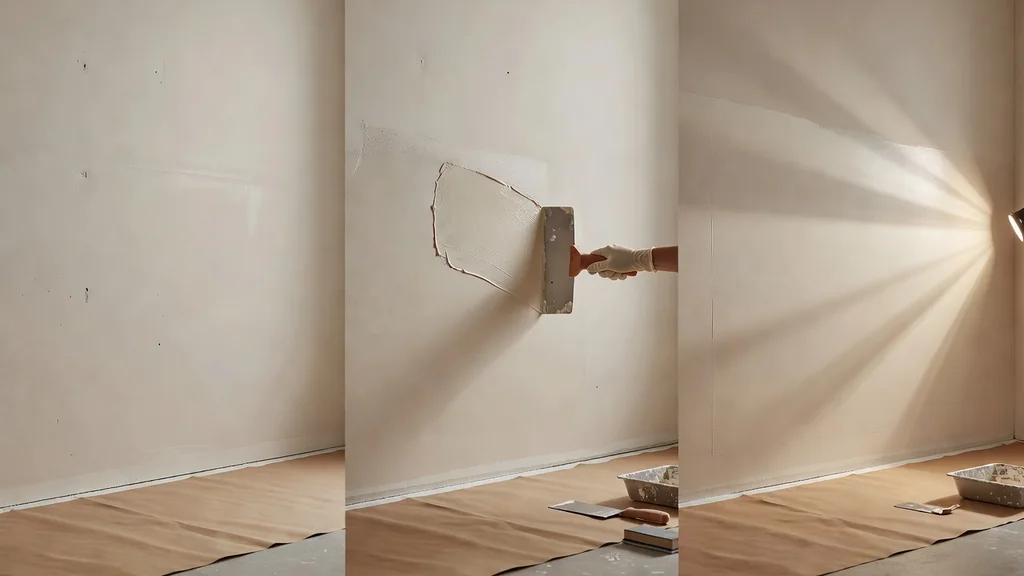
A practical skim-coating sequence
1. Establish the target plane
Use a long straightedge and raking light to identify high and low areas. Scrape or sand only stable high ridges that can be safely reduced. Mark broad depressions. If the wall is substantially out of plane, discuss overlay or replacement instead of building an excessively thick skim.
2. Choose the compound for the stage
A setting-type compound can be useful for specific fills and time-sensitive repairs. Ready-mixed drying-type compounds are commonly used for broad finishing because they remain workable and can be easier to sand, depending on the product. A dedicated skim product may have different application limits. See How to Choose Drywall Joint Compound before selecting one bucket for every stage.
3. Apply a thin, controlled coat
Load the surface evenly, then remove excess with the blade held at a consistent angle. Keep a wet edge. Work in sections small enough to control before the material drags. The goal is not to leave a thick blanket. It is to fill low texture and create a continuous film with minimal ridges.
4. Let the coat dry or set as directed
Color change at the surface is not always proof that a thick area is ready. Airflow, humidity, temperature, compound type, and film thickness affect timing. Setting-type material can harden before all moisture has left the coat, so follow its instructions before covering or painting.
5. Remove ridges without over-sanding
Use the next coat to do most of the leveling. Scrape isolated nibs or tool lines when the material is ready. Sand only as much as necessary, with source capture where practical. Aggressive sanding can dish low areas, expose paper, polish compound, and make the final porosity less uniform.
6. Apply additional coats in a deliberate direction
A second thin coat may run perpendicular to the first to reduce directional grooves. Some surfaces need more than two passes. Do not chase a deep texture with one heavy application. Keep edges and corners clean and avoid leaving a compound shelf at trim.
7. Inspect with raking light
After the final coat dries, inspect the full surface. Circle pinholes, scratches, ridges, chatter marks, and missed low spots. Correct those defects, then repeat the light check. Evaluate from normal room positions as well as close range.
8. Remove dust and prime the full surface
Use a compatible gypsum-board primer or surface equalizer. Full-surface priming matters because the skim coat is porous. Primer is also a quality-control stage. It can expose scratches or profile changes that were hard to see in raw compound.
9. Apply the selected finish paint
Paint sheen, color depth, roller texture, and lighting affect how the finished wall reads. Flat coatings are generally more forgiving than gloss, but the room’s performance needs still matter. For a uniform result, read Painting Patched Drywall for a Uniform Finish.
Pro tip: The best time to remove a ridge is often before it becomes a sanding project. Keep blades clean, avoid dried compound in the mix, and correct tool lines at the next controlled pass.
Common skim-coating failures and their causes
| Symptom | Likely cause | Corrective direction |
|---|---|---|
| Bubbles or blisters | Poor bond, trapped air, glossy paint, residue, or incompatible substrate | Stop, identify the bond issue, remove failed material, and test the corrected preparation |
| Cracks | Excess buildup, movement, failed underlying tape, or premature recoating | Diagnose the cause rather than covering it with another skim |
| Heavy ridges | Too much material, dirty blade, poor angle control, or section too large | Scrape stable high points and use thinner controlled passes |
| Pinholes | Air in compound, porous substrate, or application technique | Fill with a tight finish pass and follow product guidance |
| Soft or slow-drying areas | Heavy coat, cool or humid conditions, limited airflow, or moisture below | Allow proper drying and reassess the substrate before covering |
| Peeling coat | Loose paint, contamination, moisture, or missing bond preparation | Remove unsound material and rebuild on a verified substrate |
| Flashing after paint | Inconsistent porosity, inadequate primer, or uneven paint application | Correct the finish, prime uniformly, and repaint the full plane as needed |
Skim coating ceilings
Ceilings deserve a separate assessment. Gravity, access, fixture protection, wide light paths, and existing texture make the work less forgiving. Popcorn texture may also require asbestos and lead evaluation before disturbance. When the substrate is sound and cleared, the finish sequence may include removal or stabilization, joint repairs, broad skim work, full primer, and ceiling paint.
Review Popcorn Ceiling Removal and Refinishing in Utah before treating an older textured ceiling as a normal skim project.
When to call a drywall finisher
Professional help is sensible when an entire occupied room needs containment, the wall has recurring cracks, the substrate is glossy or contaminated, texture removal is involved, the ceiling has strong side light, or the desired finish is smooth under a higher-sheen or dark coating. Broad skim work rewards speed, consistent pressure, and the ability to read the plane before material begins to drag.
Skimming a whole room is slow, physical finish work, and mistakes tend to show only after primer or side light hits the wall. The team handles skim coating as part of repair and finishing projects, with protection, sanding, texture, primer, and paint handoff defined before the work begins.
See drywall finishing services, smooth drywall mudding techniques, or request an estimate with photos taken straight on and under side light.
Frequently asked questions
Is skim coating the same as plastering?
No. A drywall skim coat is commonly a thin layer of joint compound or a purpose-made skim material over a prepared surface. Plaster systems use different materials, substrates, bonding methods, and application practices. Identify the existing wall before selecting a repair system.
Can I skim directly over painted walls?
Sometimes, if the paint is sound, clean, compatible, and prepared according to the compound or bonding-product manufacturer. Gloss, grease, chalking, wallpaper adhesive, moisture, and loose paint can cause failure. Test adhesion before coating a complete room.
How many skim coats does a wall need?
There is no universal number. Shallow variation may need one or two controlled passes, while a rough or directional texture may need more. Deep, loose, or heavily uneven surfaces may be better candidates for removal, overlay, or replacement.
Must every coat be sanded?
No. Good knife control and scraping isolated ridges can reduce sanding. Sand when needed to correct a stable defect and prepare the next stage, using dust control. Over-sanding can damage paper and create new low spots.
Does skim coating guarantee a flat-looking wall?
No. It improves surface profile but follows the underlying panel and framing plane. Side light, glossy paint, dark color, and structural variation can still reveal the wall. The target finish, primer, paint, and lighting should be defined before work starts.
Authoritative references
- Gypsum Association, GA-214-2021 Levels of Finish for Gypsum Panel Products
- Gypsum Association, Terms and Definitions
- Gypsum Association, Repair and Painting of Gypsum Board
- USG, Installation and Finishing Guide
- NIOSH, Control of Drywall Sanding Dust Exposures
- U.S. EPA, Lead-Safe Renovations for DIYers