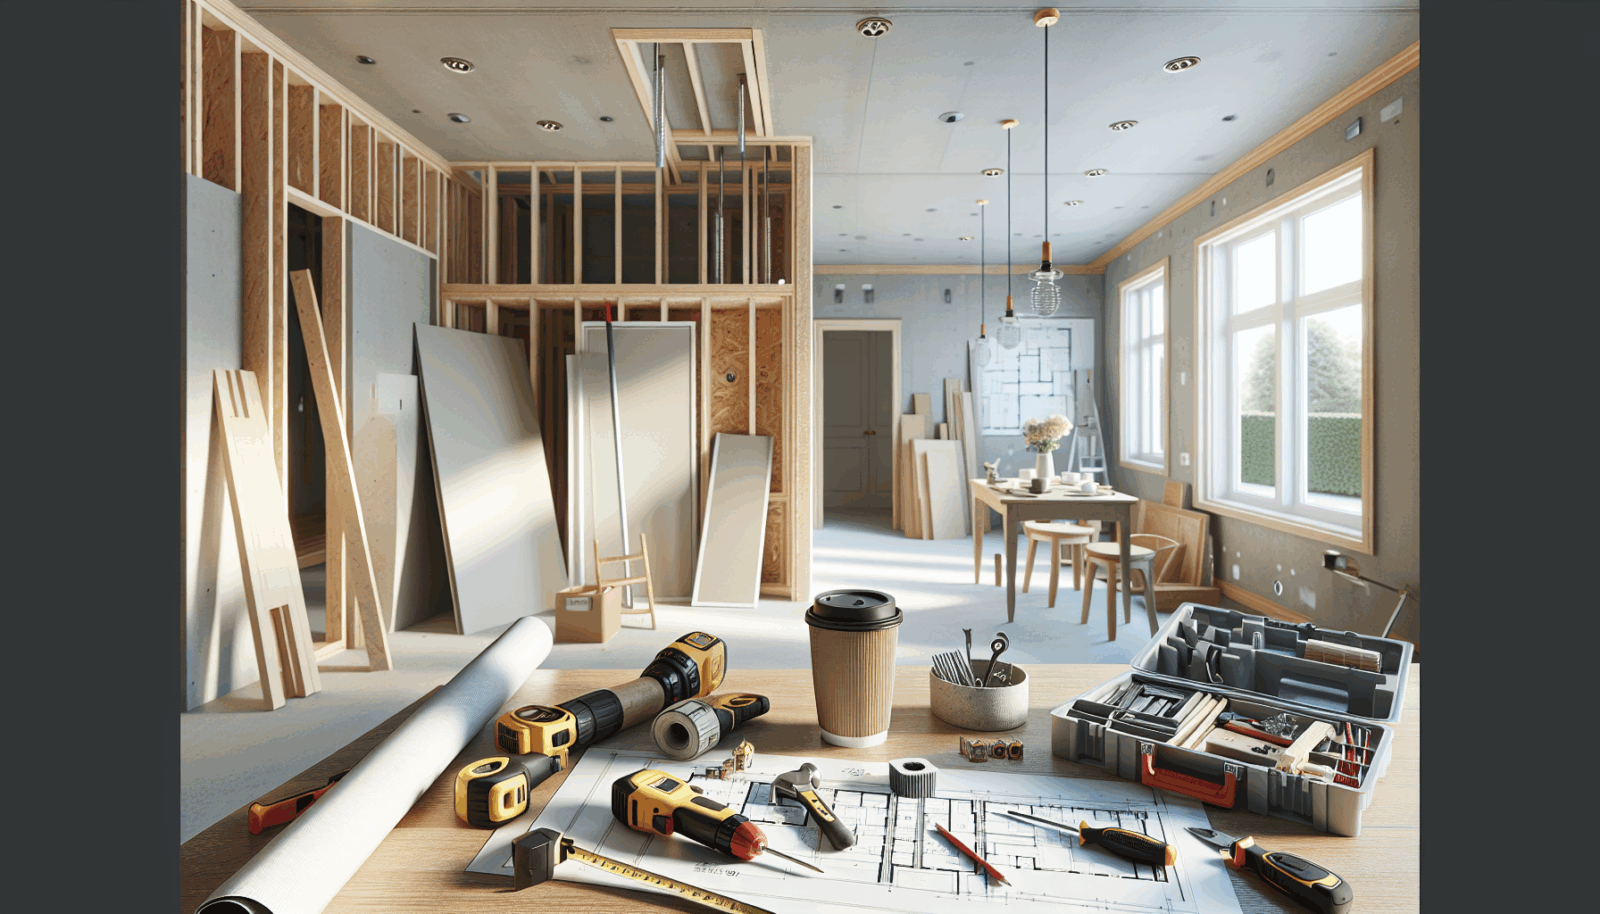
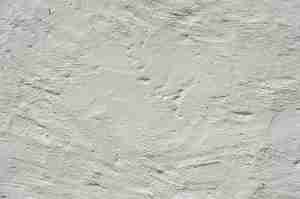
Gypsum board — plain drywall to some, Sheetrock to others — is the backbone of most homes here along the Wasatch Front. It’s clean, forgiving, and when installed right, practically disappears into the room. But when it’s done clumsily? Oh boy — uneven seams, fastener pops, and hairline cracks that show up just when you’re trying to relax. This guide will walk you through the essentials of gypsum board installation with practical tips, Utah-flavored insights, and a few honest confessions from people who’ve spent too many nights Sanding mud under bad shop lights.
Contents
- 1 So what exactly is gypsum board — and why should you care?
- 2 Tools and materials you’ll actually use (not the stuff that gathers dust)
- 3 Prep like someone who wants a calm finish
- 4 Hanging gypsum board — speed without sloppiness
- 5 Taping, Mudding, and finishing — patience is the secret sauce
- 6 Common headaches in our local climate — and simple fixes
- 7 When to DIY and when to call the pros (a little humility goes a long way)
- 8 Ready to get it done right in Salt Lake, Davis, or Utah County?
So what exactly is gypsum board — and why should you care?
Here’s the thing: gypsum board is a gypsum core pressed between paper facings. Sounds boring, but it’s everything between your paint and the studs. Different types exist — regular, moisture-resistant (green board), and fire-rated (Type X). In Salt Lake, Davis, and Utah counties, choosing the right type matters: bathrooms and basements need moisture resistance; attached garages or furnace closets might want fire-rated panels.
Tools and materials you’ll actually use (not the stuff that gathers dust)
You don’t need a truckload of gear, but a few quality tools make a world of difference. You know what? Cheap tools can cost more in time and frustration.
- Drywall saw/rotary tool: for cutouts around outlets (Milwaukee or DeWalt work well).
- Utility knife & T-square: for clean scoring — you’ll be glad you bought a fresh blade.
- Screw gun or drill with drywall bit: consistent drive depth saves Patching later (Makita or DeWalt are common on job sites).
- Taping knives & mud pan: 6″, 10″, 12″ knives — get comfortable with at least two sizes.
- Joint compound: pre-mixed all-purpose and setting-type “hot mud” (USG is a familiar brand).
- Tape: paper tape for most inside joints; fiberglass mesh for quick repairs — both have their moments.
Prep like someone who wants a calm finish
Check your framing and insulation first. Studs should be straight; insulation should be snug. If walls are drafty or framing is bowed, drywall will show it. Stopping problems before the board goes up is way easier than correcting them later.
Seal big gaps, run electrical and plumbing hookups, and mark fastener Locations where needed. If it’s winter in Utah County and your house is heated unevenly, let the home reach a normal living temperature before you hang and finish. Moisture and temperature swings affect drying times — and nobody likes surprise shrinkage cracks.
Hanging gypsum board — speed without sloppiness
Start with ceilings first. That reduces crumbs and rework. Use a lift if you can; your shoulders will thank you.
But here’s a little contradiction: you’ve got to work fast — you can’t let boards sag — yet slow down for clean cuts. Balance matters. Stagger end joints by at least 24 inches when running multiple sheets up a wall. That seam staggering adds strength and reduces visible lines after finishing.
Screw spacing: roughly 12″ on ceilings and 16″ on walls for standard framing, tighter for corners or where local code demands it. Drive Screws until the paper just dimple—don’t tear it. Torn paper equals a repair job you didn’t want.
Taping, Mudding, and finishing — patience is the secret sauce
Honestly, most homeowners underestimate this phase. It’s not glamorous. It’s not quick. But it’s where your room either looks factory-made or like a DIY weekend project gone sideways.
Three-coat system works well: a thin tape coat, a fill coat, and a finish coat. Sand lightly between coats with a pole sander and a vacuum attachment — dust control matters if you like breathing clean air (and you do).
Paper tape gives the flattest finish, but mesh tape can be a lifesaver for quick repairs. For inside corners, use a 6″ knife first, then feather with a 10″ or 12″. For outside corners, metal corner bead is tough and crisp; plastic bead is forgiving and rust-free — choose based on the room.
Common headaches in our local climate — and simple fixes
Utah’s seasons are full of surprises — dry winters, spring humidity, and the occasional wet Basement. That means drywall may respond differently across the year.
Cracking and nail pops: Usually caused by framing movement or humidity shifts. Recess the fastener, patch, and add an extra screw if the stud’s loose. If cracks reappear, check for underlying movement — sometimes the problem is structural, not cosmetic.
Mold concerns: Use moisture-resistant board in bathrooms and near foundation walls. For actual wet areas (showers), use cement backer board — gypsum just isn’t built for standing water.
When to DIY and when to call the pros (a little humility goes a long way)
DIY hanging can save money — but finishing is deceptively hard. You can certainly hang sheets and do small patches yourself. But if you want invisible seams, crisp corners, and minimal sanding dust, a pro will usually be worth the cost.
Also, if the job involves fire-rated assemblies, high ceilings, complex curves, or a time crunch (spring is busy here — Contractors fill up), call someone who’s done it hundreds of times. You’ll save headaches, and frankly, time is money.
Ready to get it done right in Salt Lake, Davis, or Utah County?
If you’re planning a remodel, repairing water damage, or starting fresh, Utah Drywall & Repair is local, experienced, and ready to help. Call us at 801-406-6350 — or Request a Free Quote today. Let’s make your walls disappear the way they should: smooth, steady, and stress-free.


