
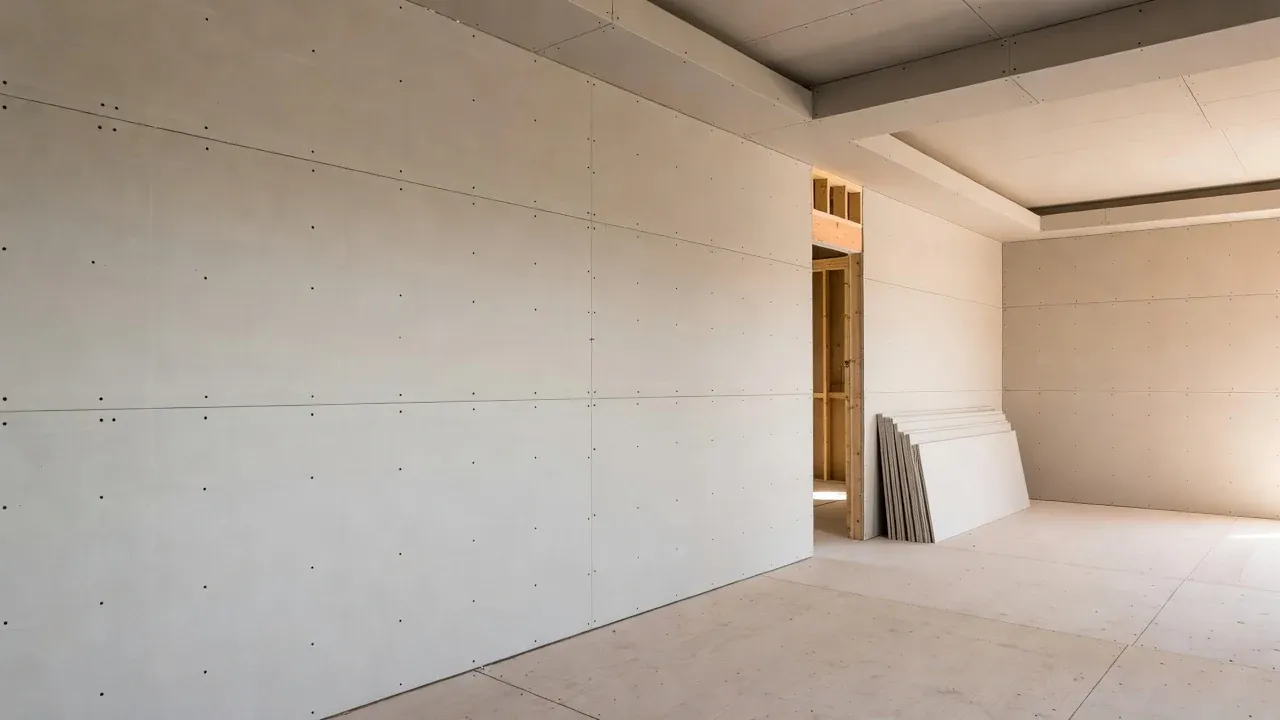
Projects
Real drywall repairs, installations, and finished rooms
Photos from Utah Drywall & Repair projects, including opened repairs, fitted board, ceiling patches, joint finishing, and completed rooms.
Real Project Work
Photos from the open repair through the finished surface.
These are real photos from Utah Drywall & Repair projects. The captions explain the visible work while keeping customer addresses and personal details private.
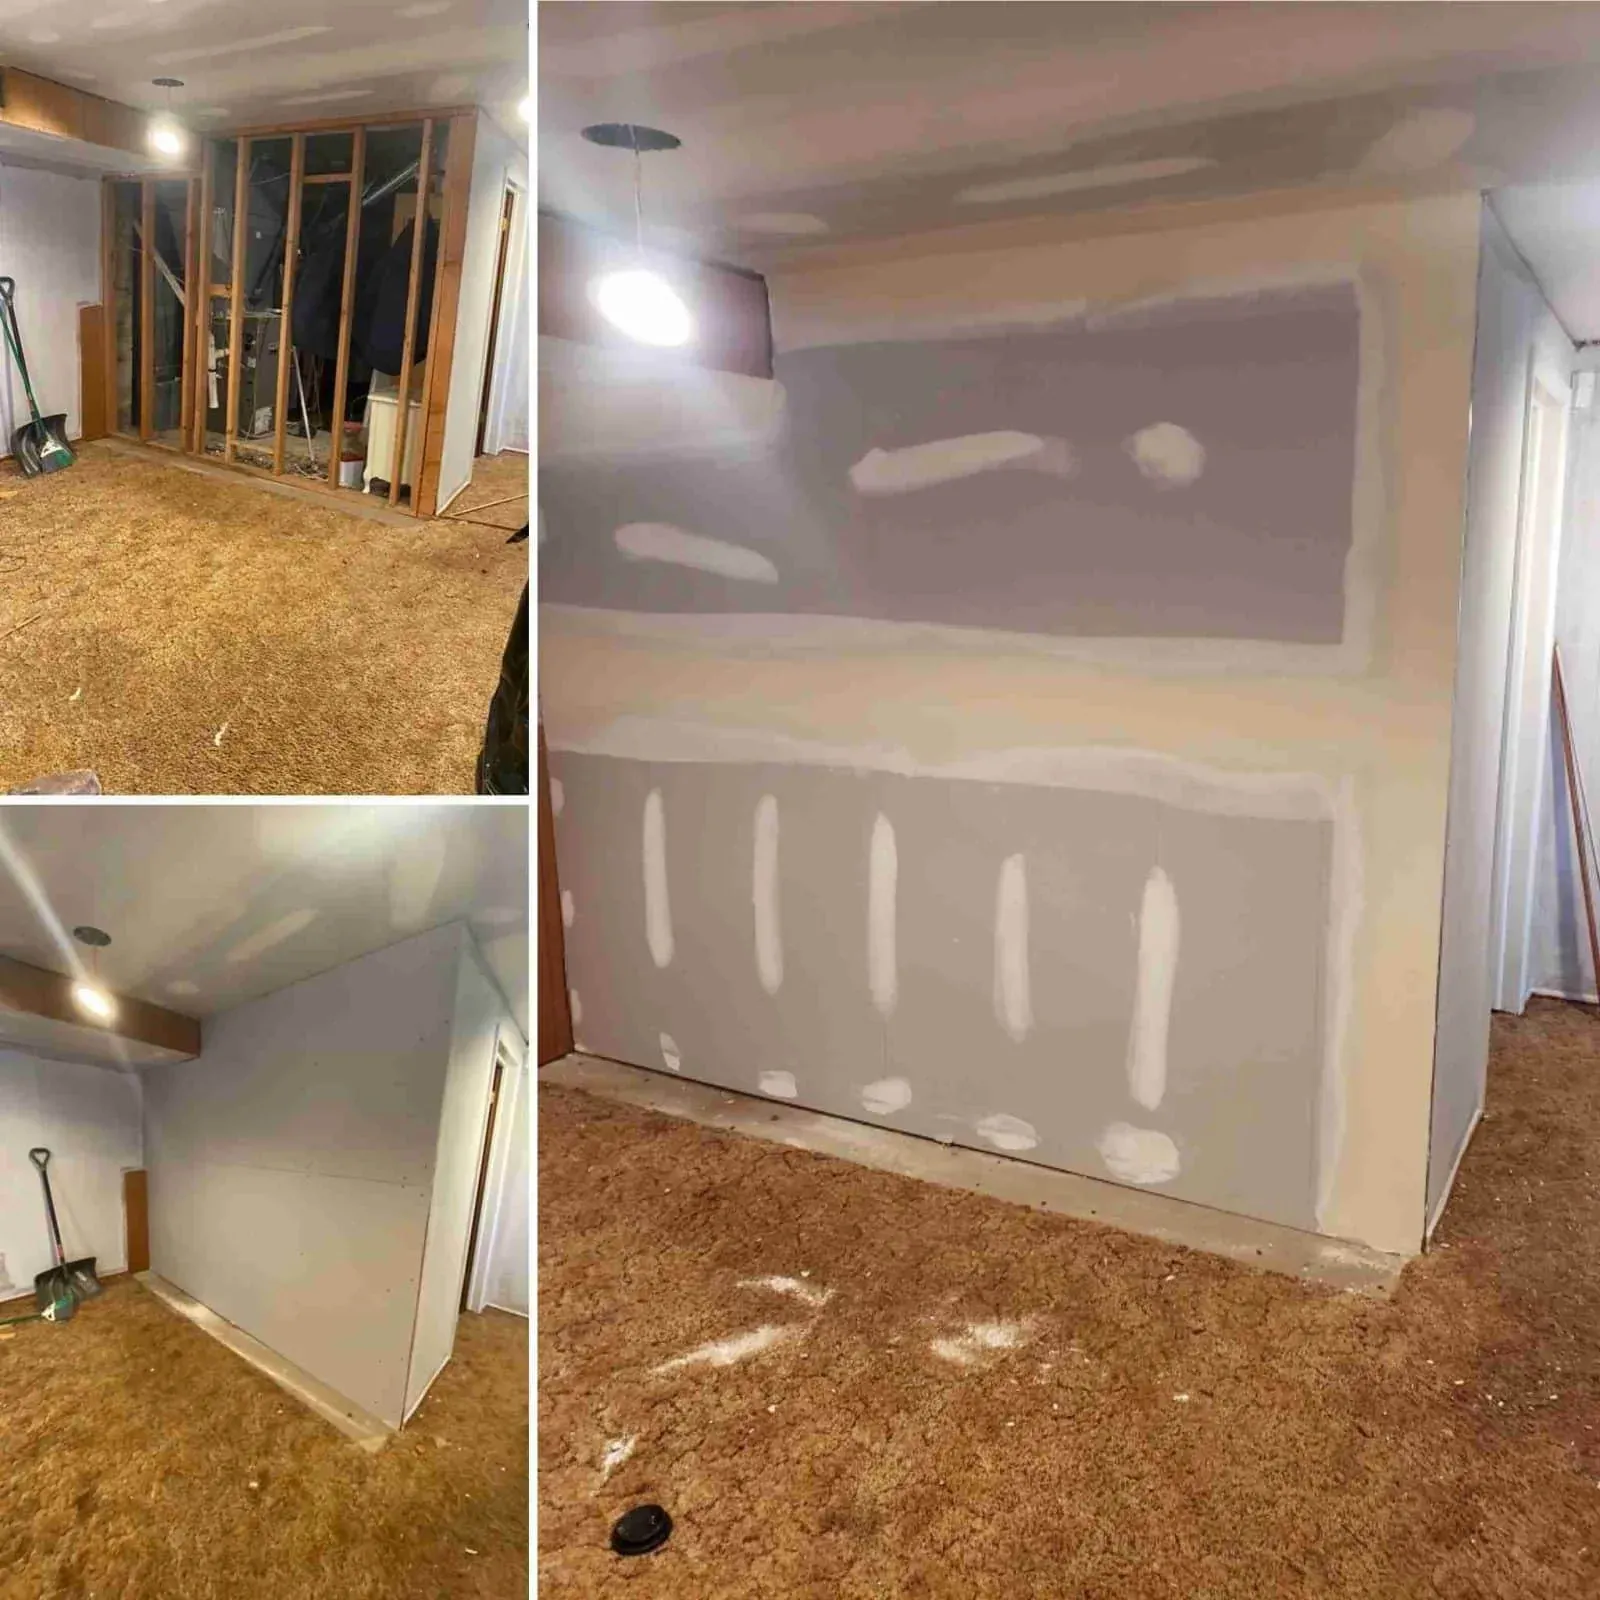
Room repair progression
Progress views showing opened surfaces, fitted board, compound work, and the room after finish preparation.
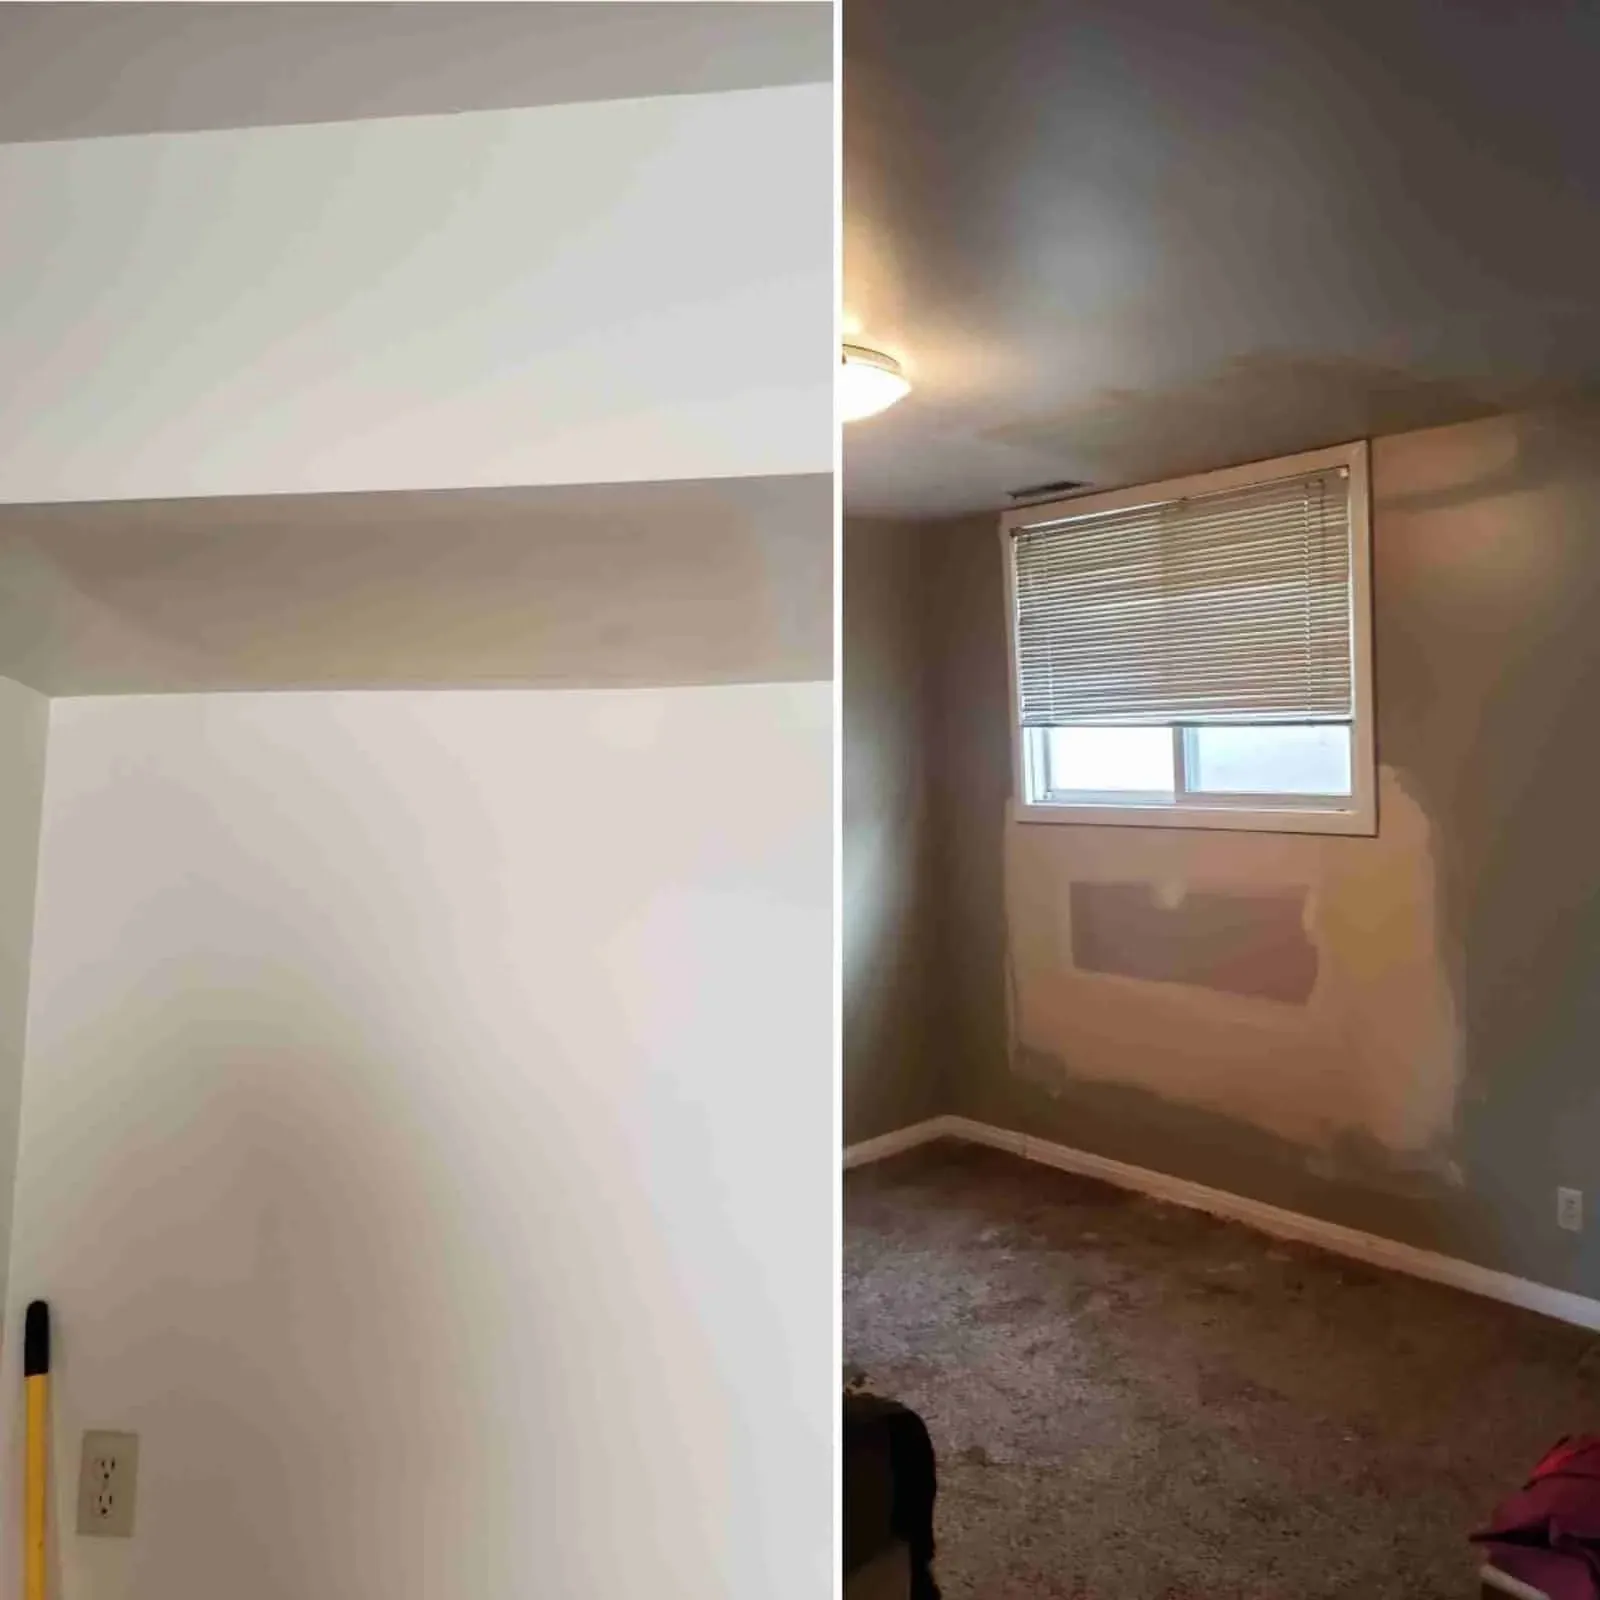
Ceiling repair progression
A ceiling opening and surrounding surface shown before repair, during finishing, and after the transition was blended.
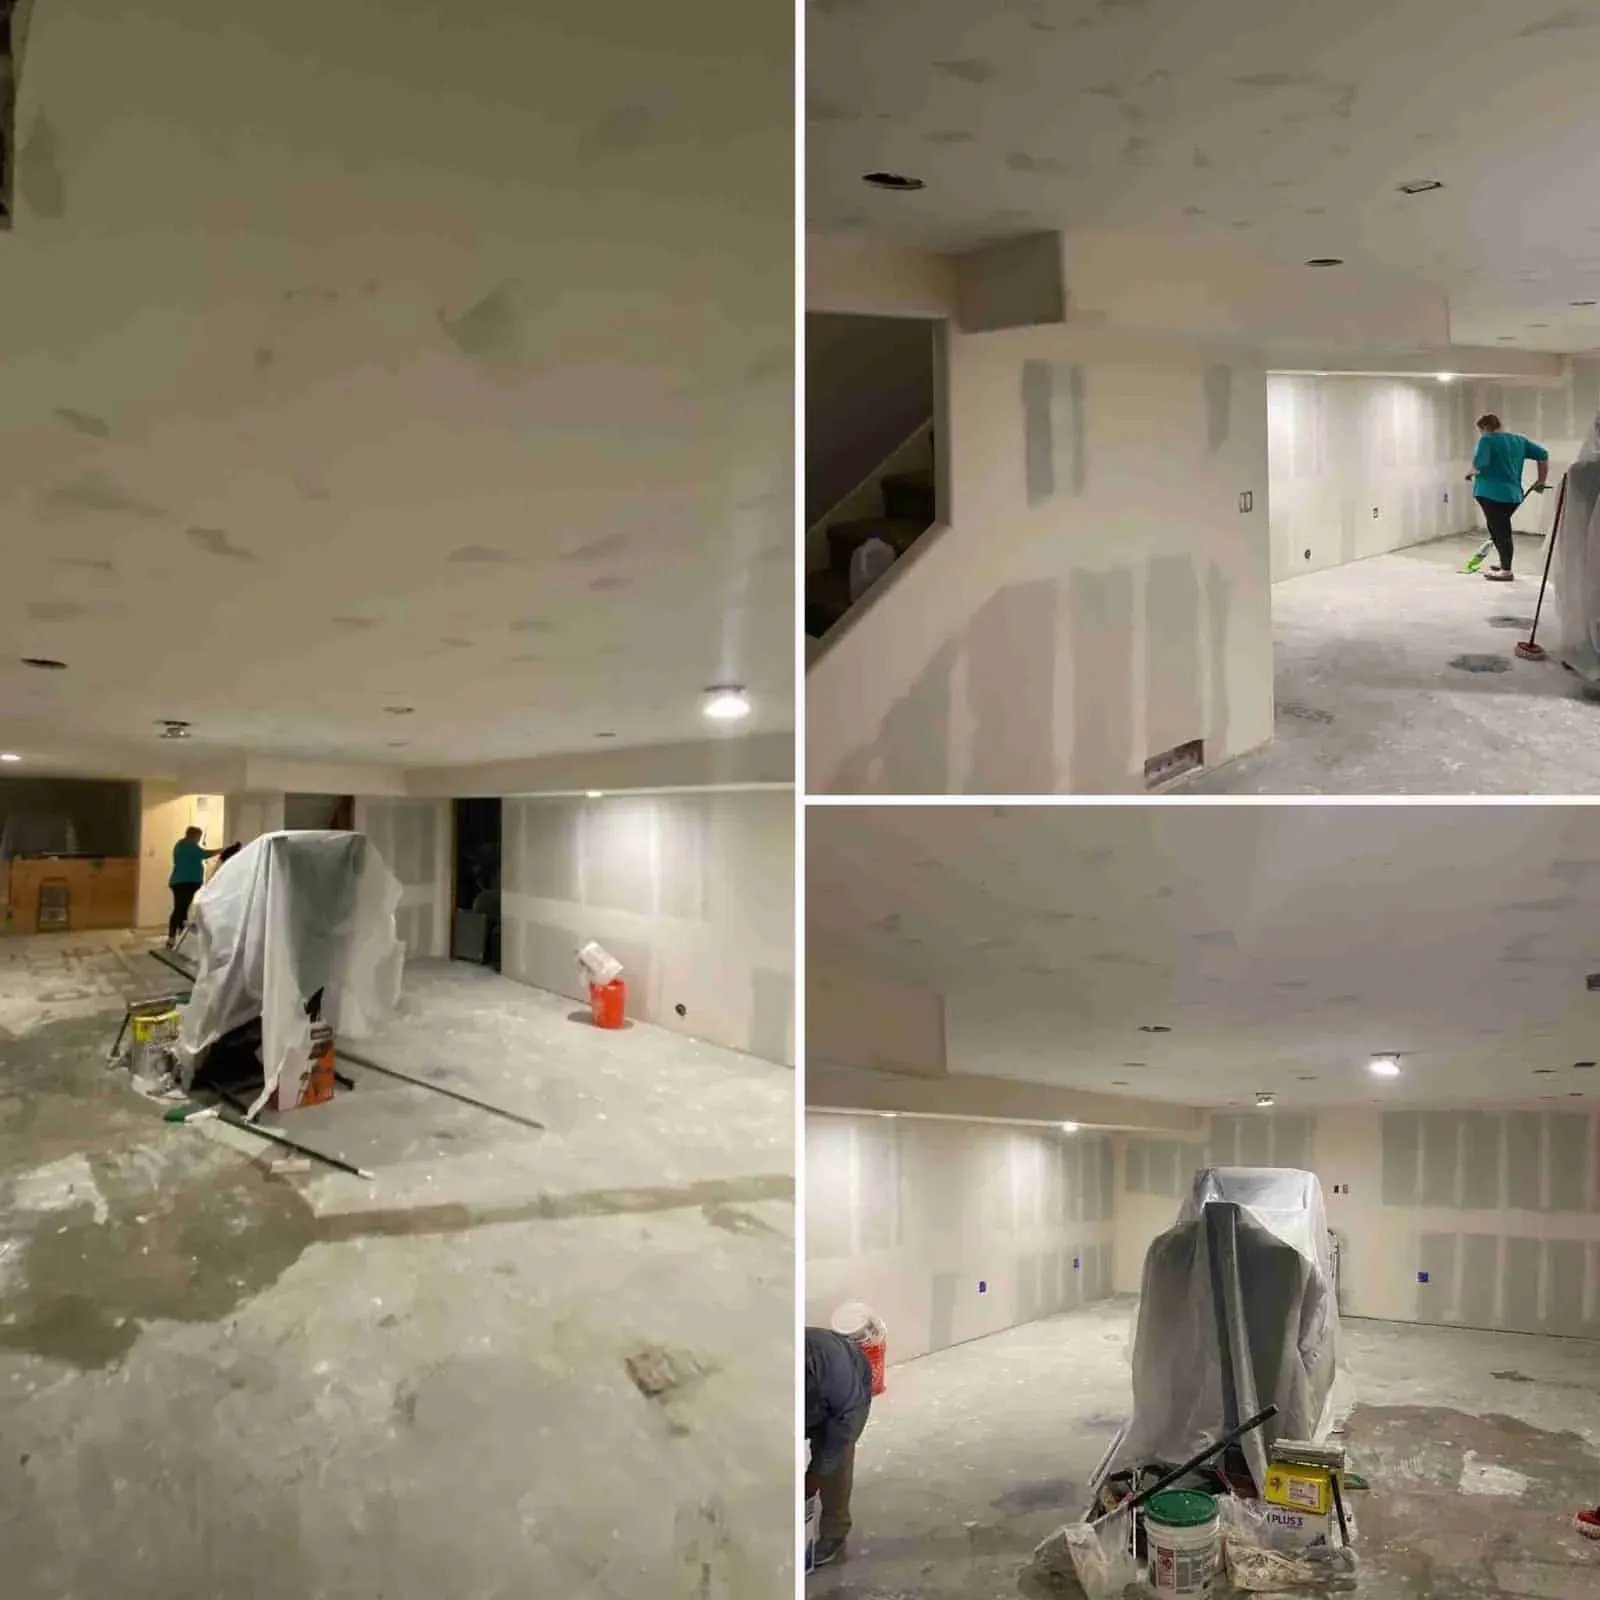
Basement installation and finish
A basement interior across board installation, joint finishing, sanding, and later surface preparation.
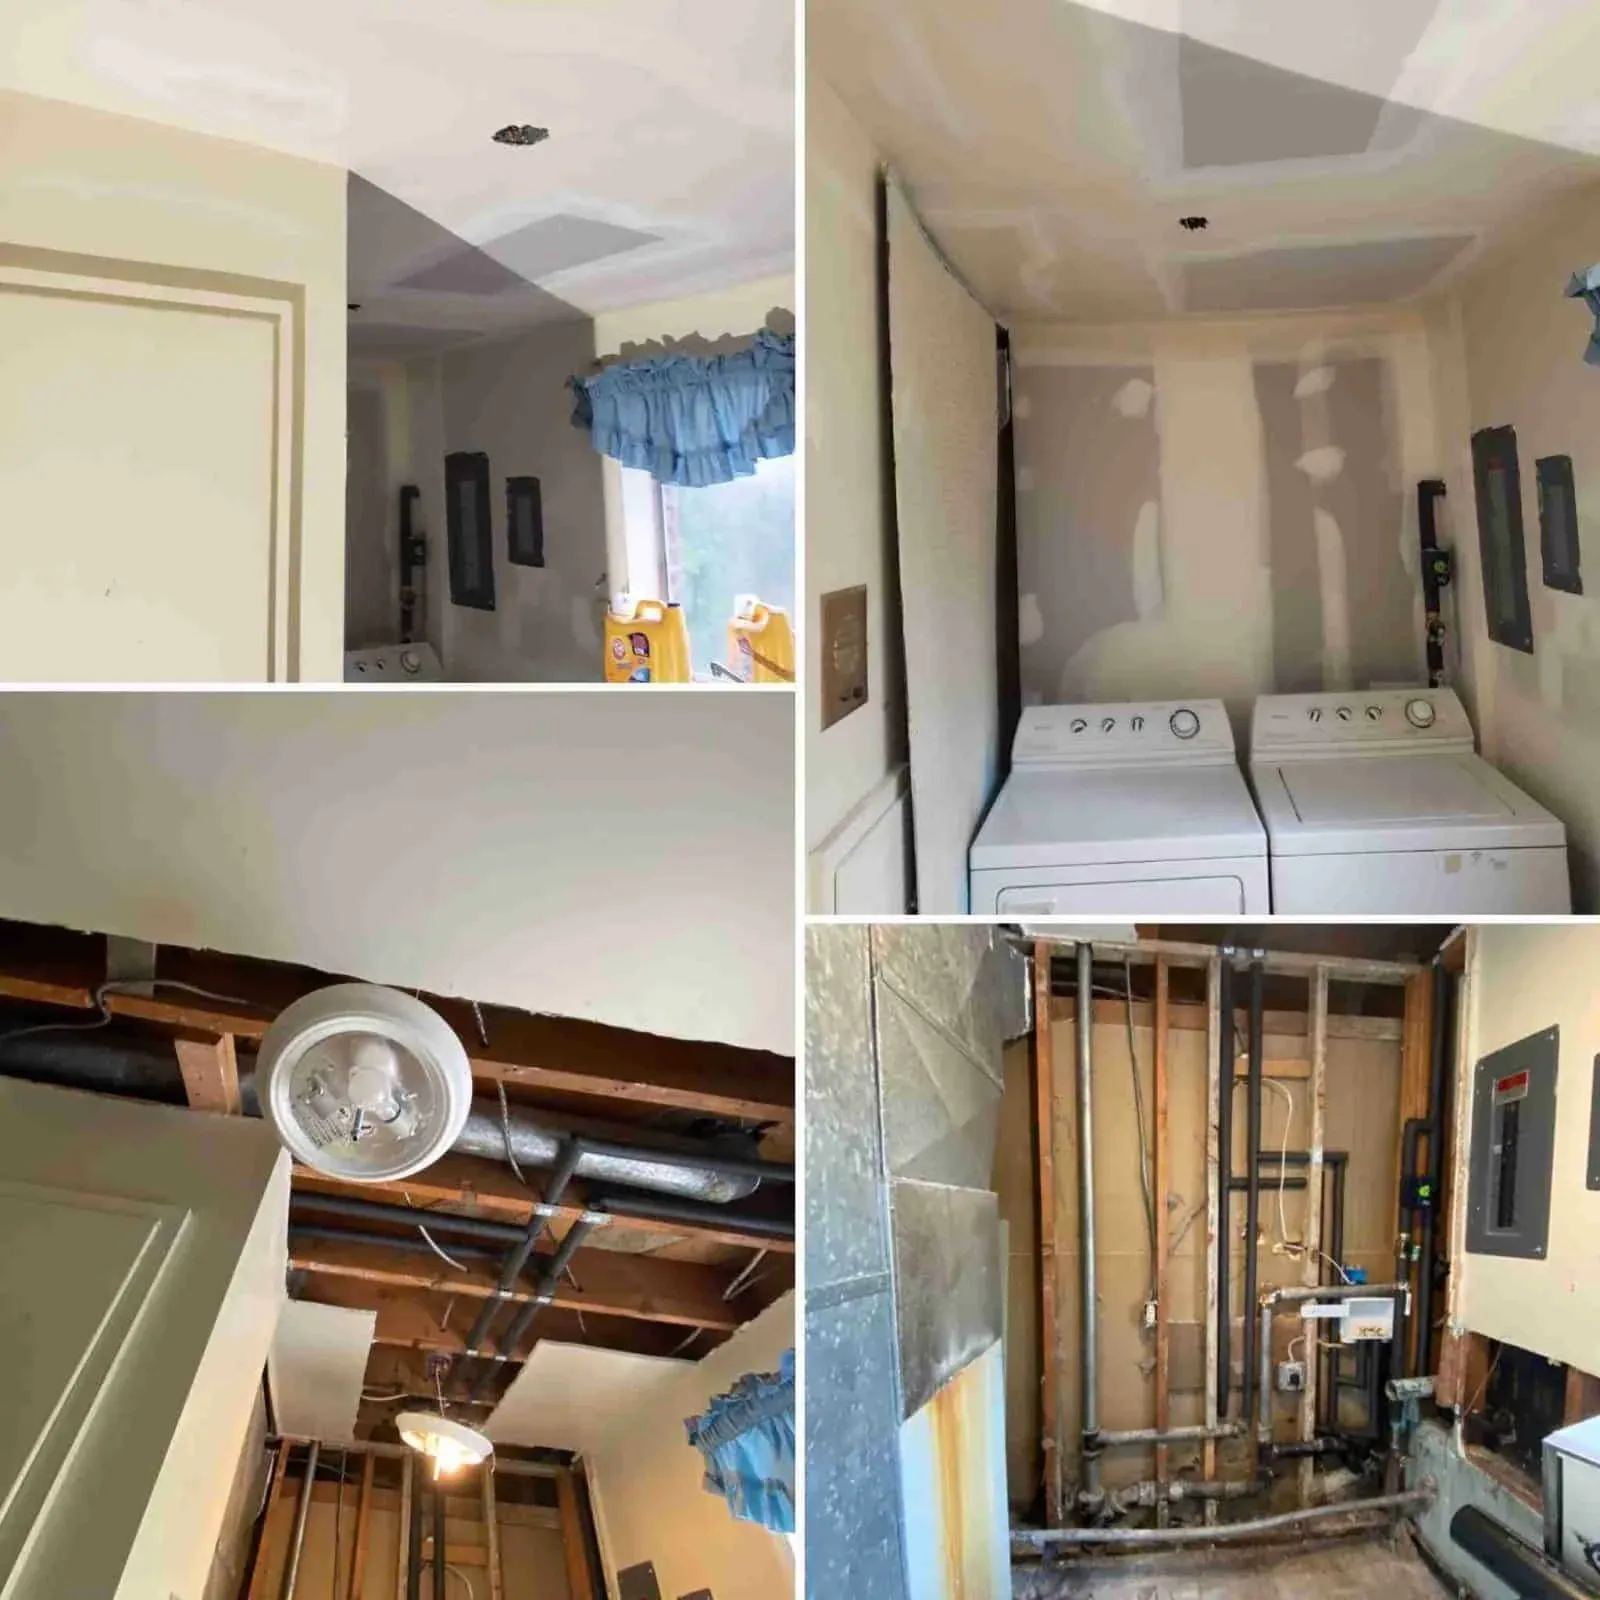
Opened surface through compound work
An access area shown from the opening and backing conditions through fitted board and compound work.
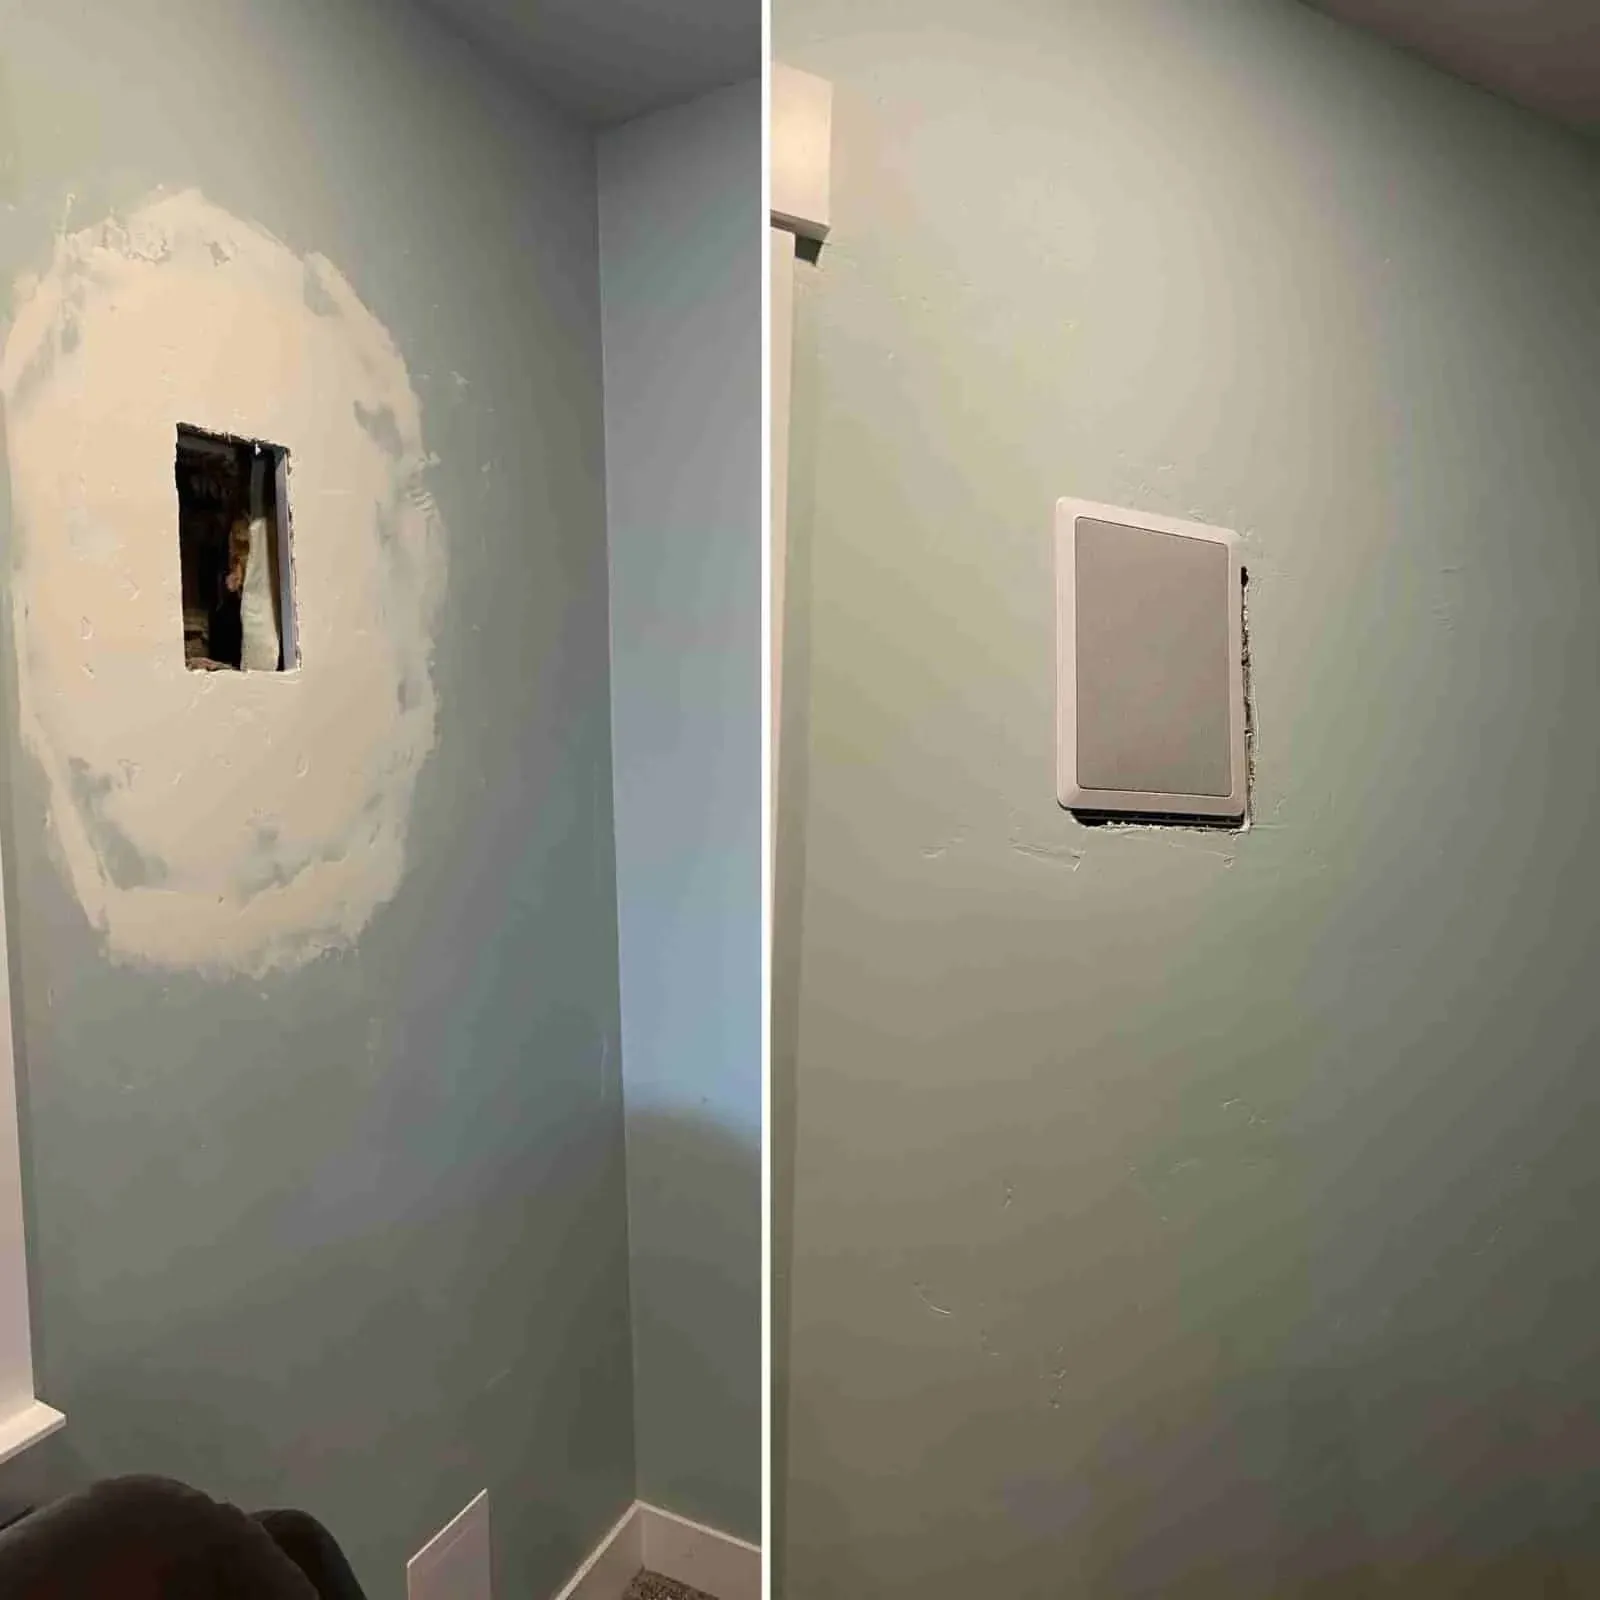
Wall patch transition
An access opening and surrounding compound work shown before the finished cover was reinstalled.
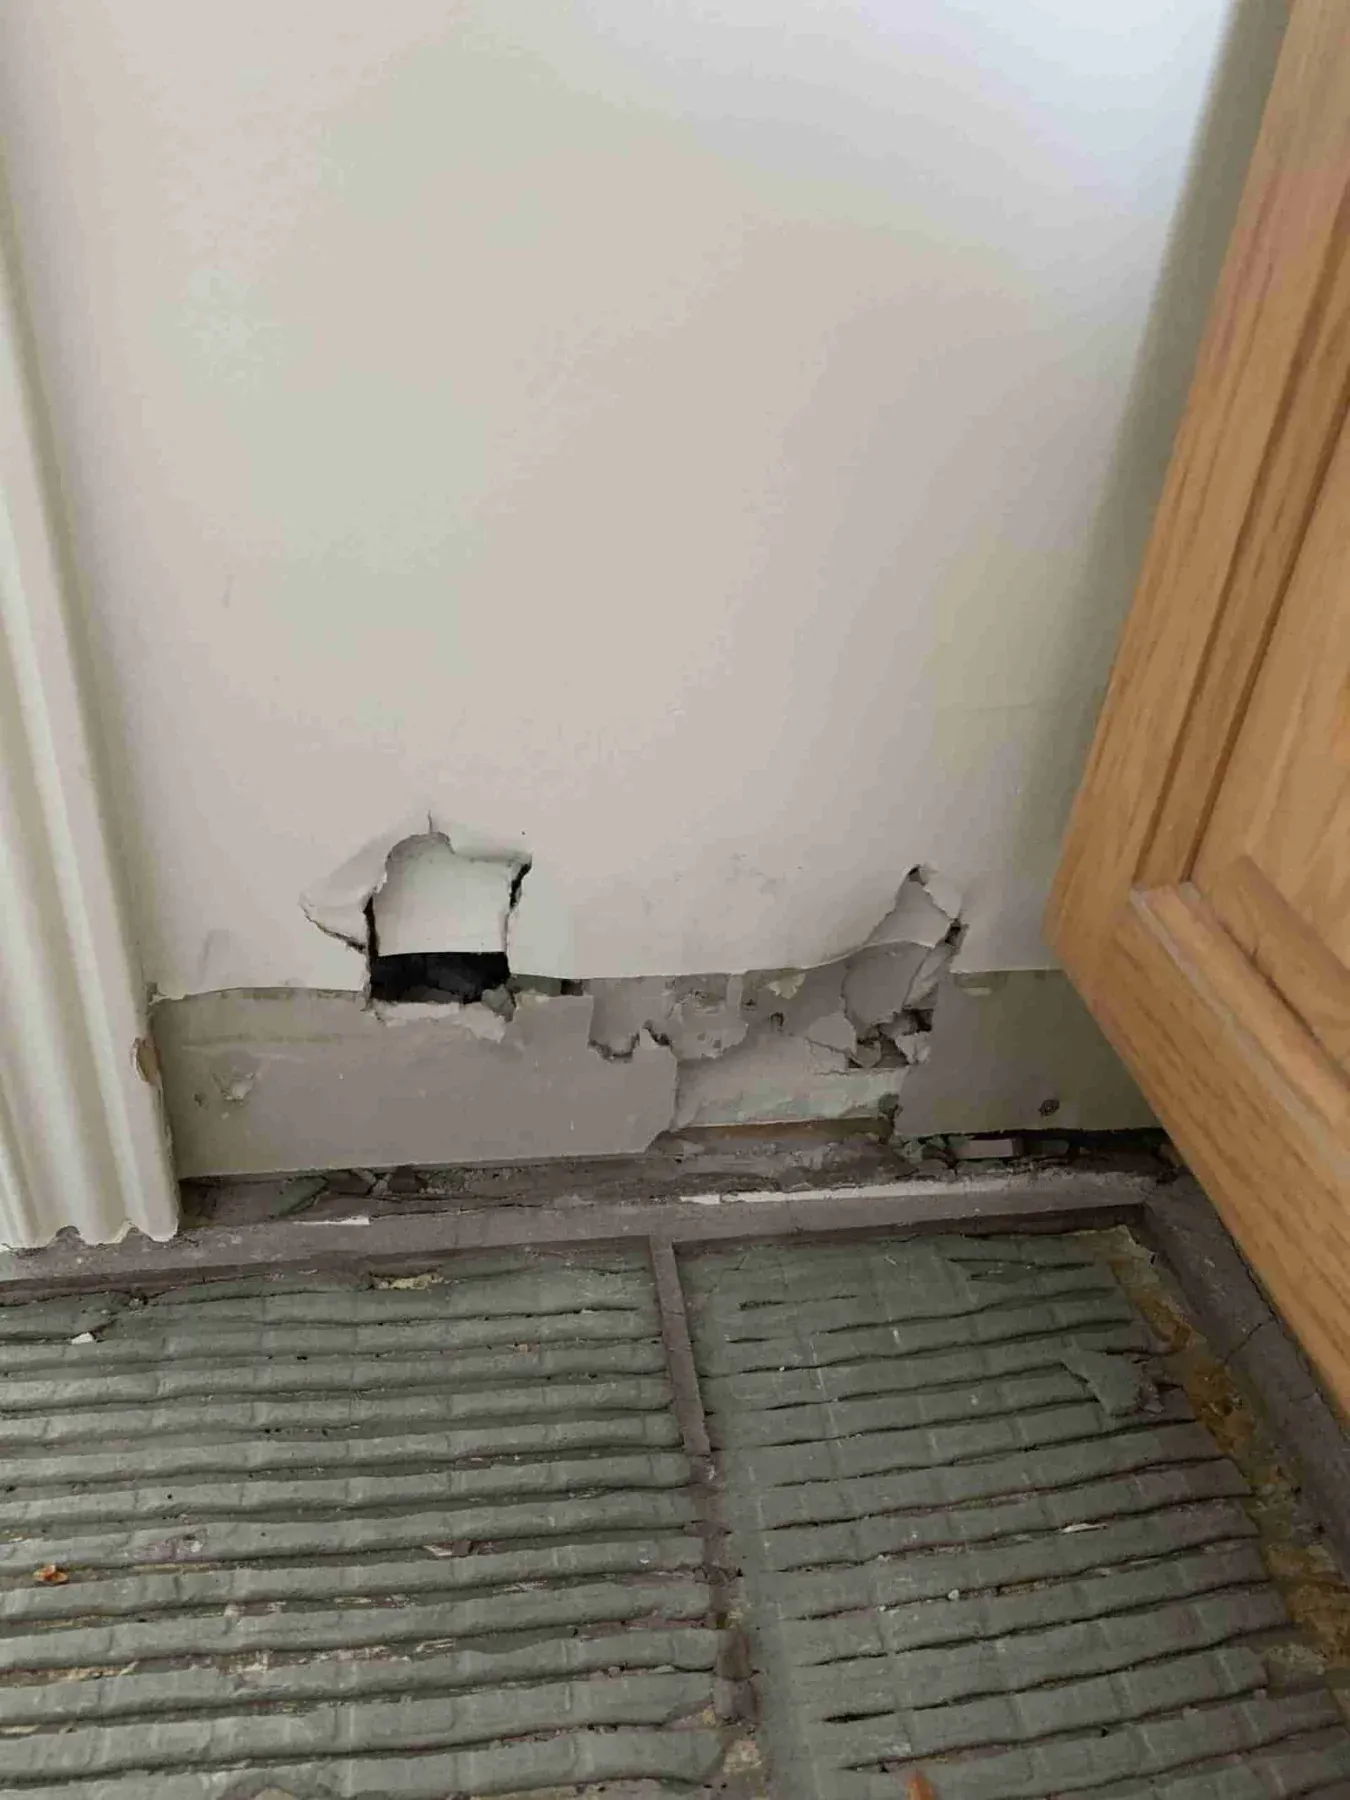
Opened back to sound board
Damaged wall material opened back to a stable boundary before replacement and finish work.
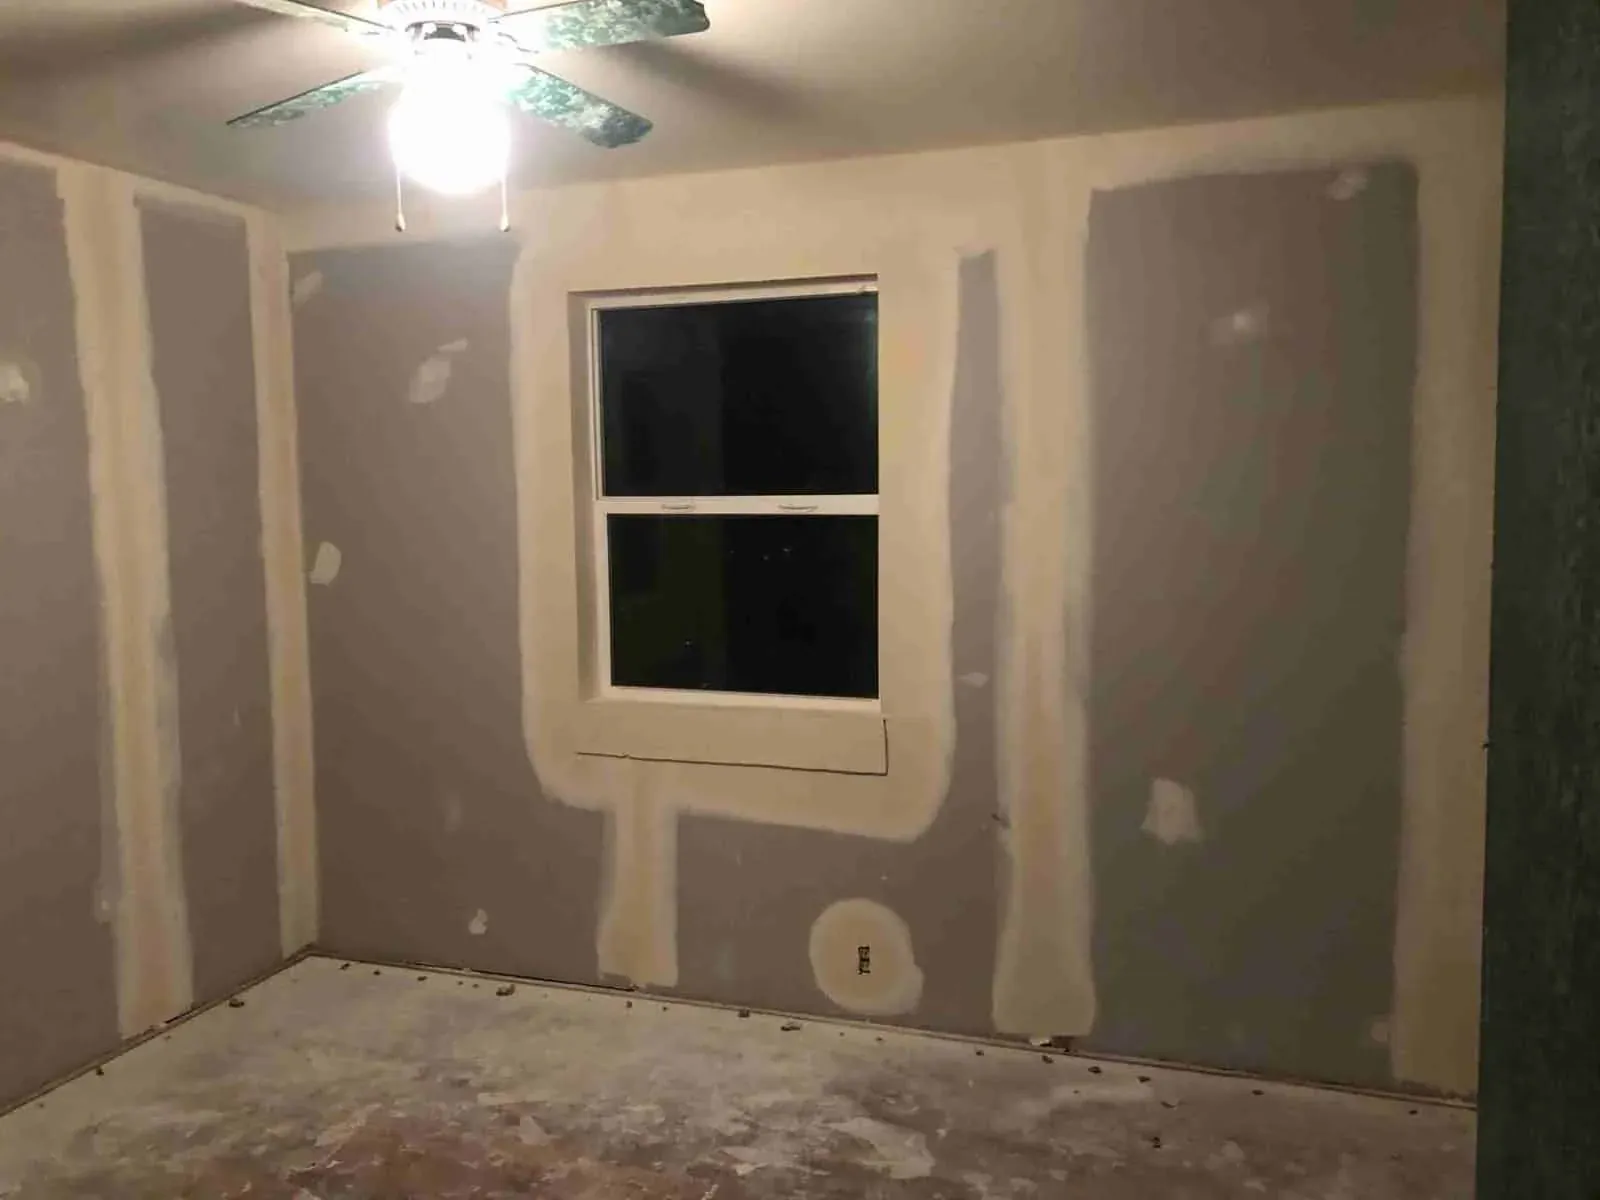
Compound carried beyond the seams
Joint-finishing work showing compound carried beyond seams before final sanding and inspection.
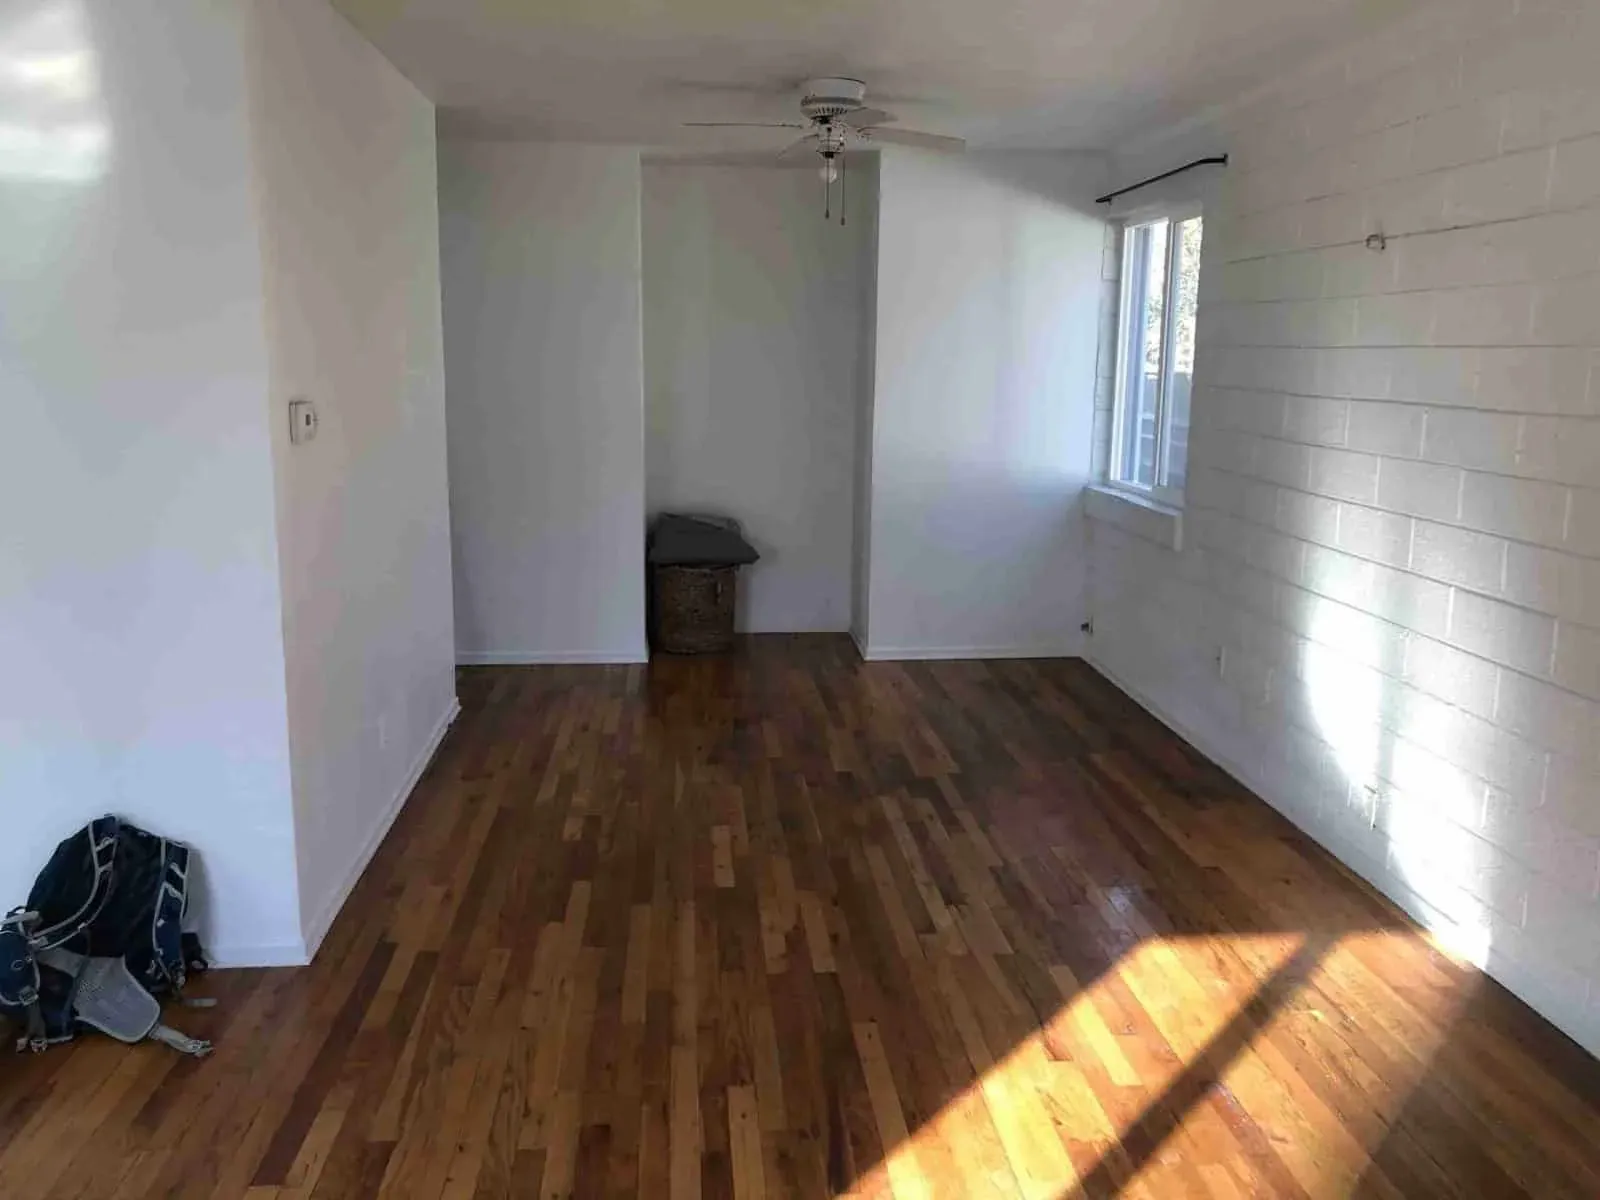
Completed interior walls and ceiling
Completed interior surfaces after installation, joint finishing, and final surface preparation.
What to Look For
The work between damage and paint matters.
What the photos show
A good drywall repair is not dramatic. The board sits flush, the edges are supported, the joints stay controlled, and the finished patch does not leave a hard picture frame on the wall.
These are real photos from Utah Drywall & Repair projects. Some show the work halfway through, while others show the finished room. The captions stick to what is visible instead of attaching a made-up project story.
Protection and preparation matter
Occupied spaces need protection before cutting, sanding, spraying texture, or moving panels. The team uses tarps and dust-containment measures when the project requires them. The exact setup depends on the room, access, furniture, flooring, air movement, and whether the work is on a wall or ceiling.
Preparation also includes confirming sound edges, backing, panel thickness, nearby fixtures, and the finish expected after texture, primer, paint matching, and final paint.
What happens after the photo
A progress image may show framing, a fitted patch, tape, compound, sanding, or texture before the surface is complete. Those phases should not be judged as finished paint work. The final sequence can include additional coats, dry time, sanding, texture blending, primer, paint matching, and cleanup.
For a scope review, send photos of the entire wall or ceiling plus a close view of the affected area. Small repairs can often be scheduled within 24 hours, and larger projects are typically scheduled within one to two weeks, subject to scope and availability.
Are these Utah Drywall & Repair project photos?
Yes. The gallery uses the company’s supplied project image library rather than stock photos presented as customer work.
Why are project addresses not listed?
Customer addresses stay private. The captions describe the visible work without attaching a location or story that does not belong there.
What photos should I send for an estimate?
Send one photo of the full wall or ceiling, one close view, rough dimensions, the room type, and what caused the opening or damage.
Request an Estimate