
Resources
Drywall resources for better repair, installation, and finish decisions
Focused reference material for the decisions that determine whether drywall work stays flat, blends cleanly, and holds up after texture, primer, and paint.
Practical Reference Library
Find the guide that matches the job.
Browse practical guides for repairs, installation, finishing, texture, ceilings, and materials. Each one explains what matters, what can go wrong, and when the project may need professional help.
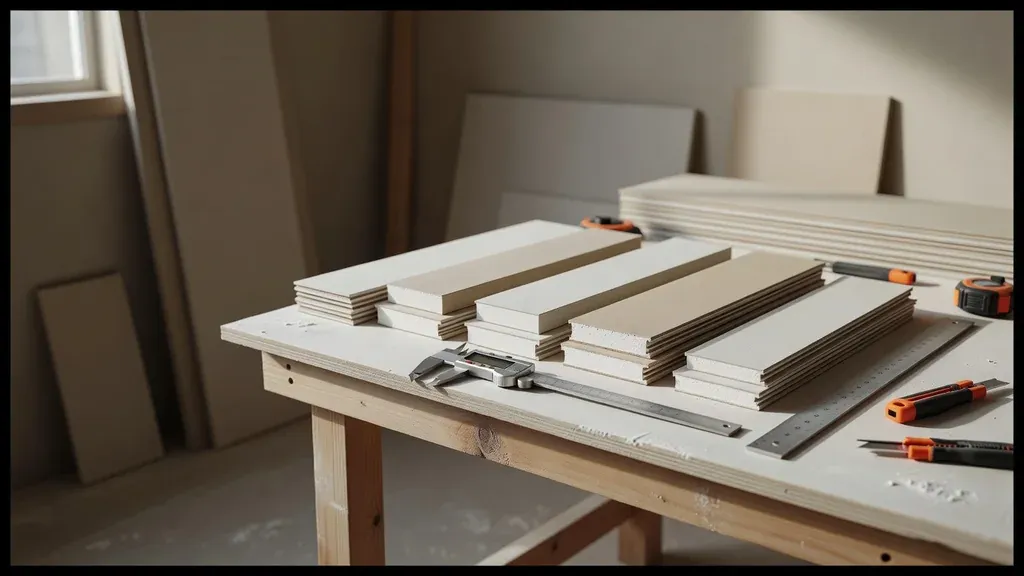 Featured Guide · InstallationUnderstanding drywall thicknessCompare common panel thicknesses and learn why repairs, ceilings, and tested assemblies need exact product planning.Read the guide
 Repair
Plan the patch before building the finish
Repair guides for stable backing, flush board, wide feathering, primer, paint, and honest expectations about how the repair will look under the room’s lighting.
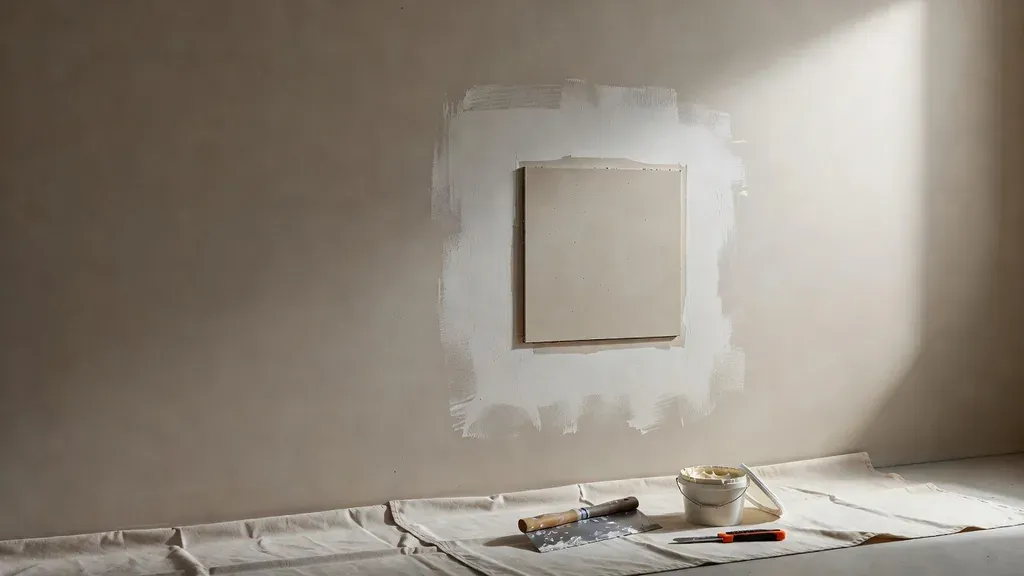 Repair GuideSeamless drywall patchingUnderstand backing, board fit, joint build, texture blending, and why a repair can still show under side light.Read guide →
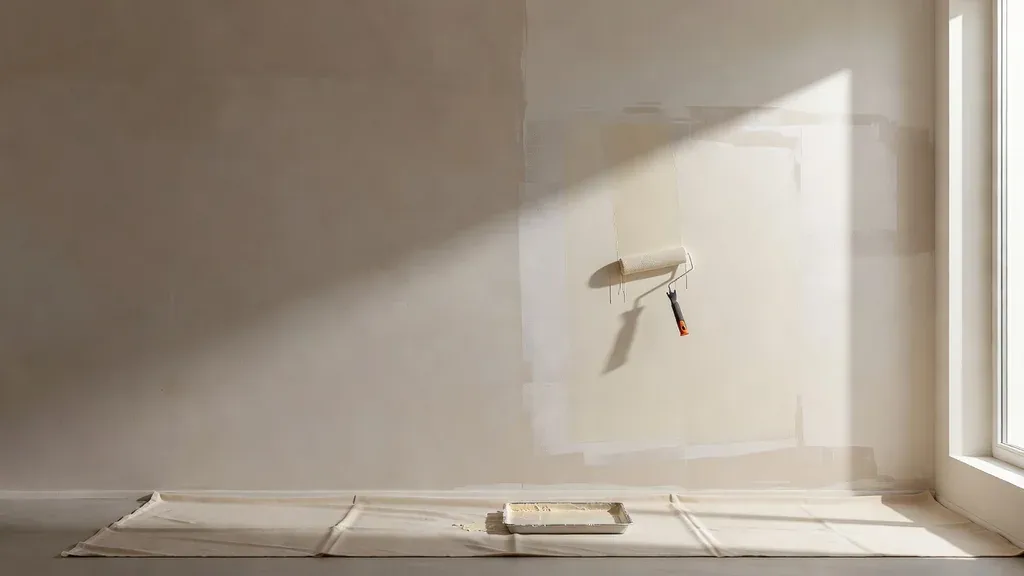 Repair GuidePainting over drywall repairsMove from compound and primer to paint matching, sheen control, and a more uniform wall or ceiling.Read guide →
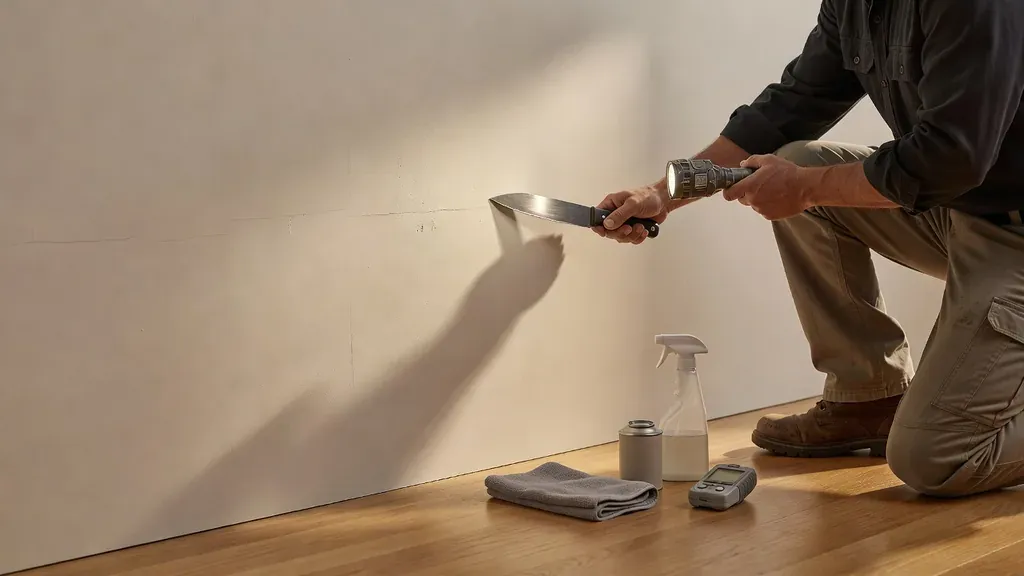 Repair GuideDrywall maintenanceClean painted walls carefully, catch moisture early, prevent repeat damage, and recognize problems that need cause-first repair.Read guide →
Installation
Get the board and layout right first
Installation decisions affect every tape joint, corner, opening, texture transition, and finish coat that follows.
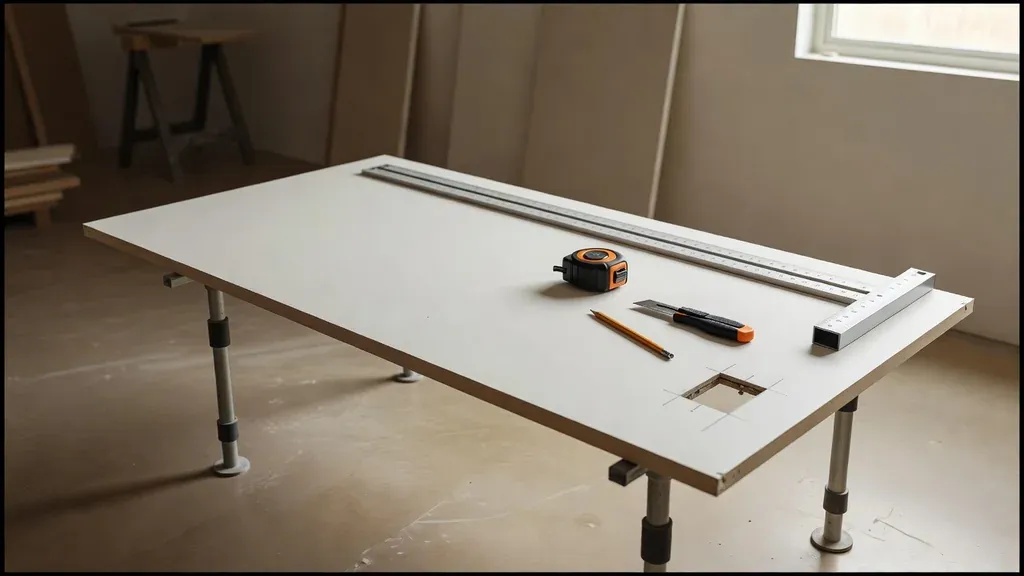 Installation GuideCutting and measuring drywallPlan measurements, openings, edge support, and dry fitting without turning a small error into finish work.Read guide →
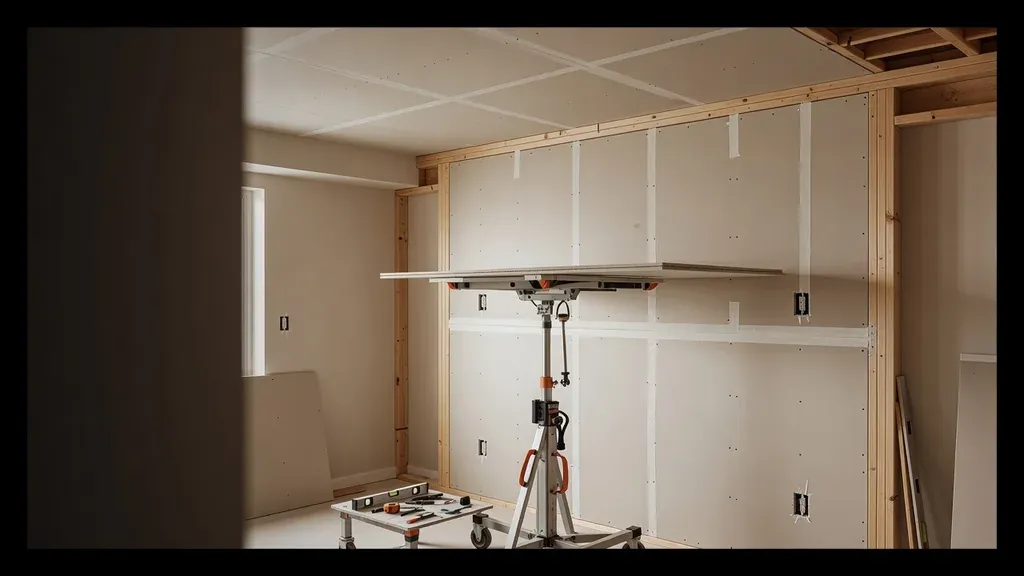 Installation GuideGypsum board installationFollow the installation sequence from framing checks and layout through fastening and finish preparation.Read guide →
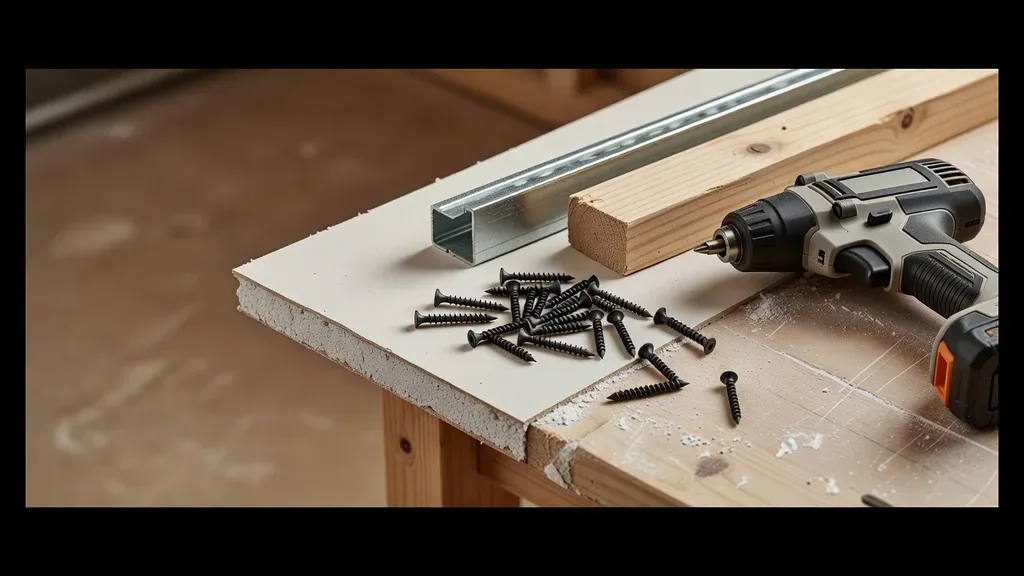 Installation GuideSelecting drywall screwsChoose fasteners around framing, panel layers, corrosion exposure, and the requirements of the complete assembly.Read guide →
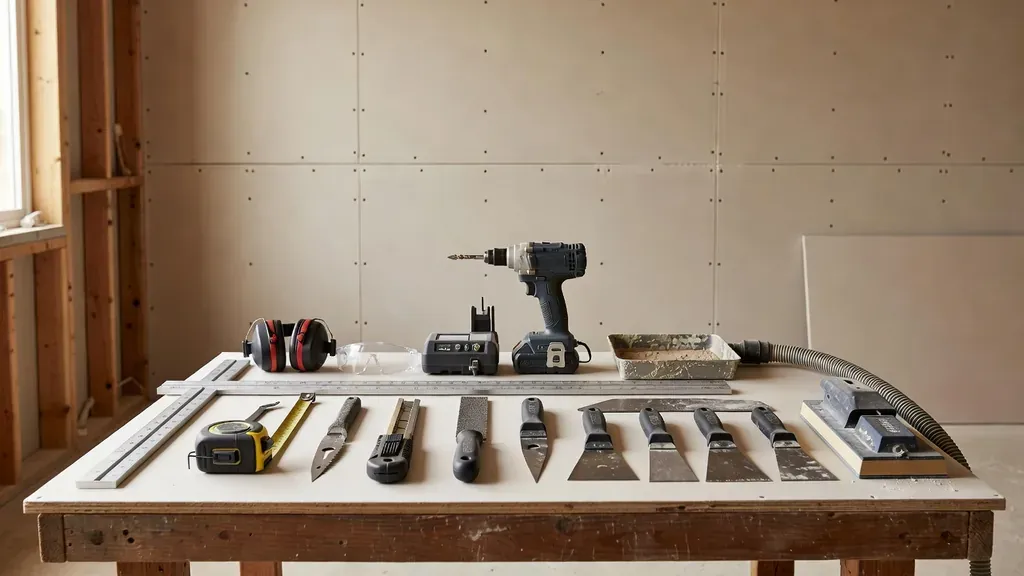 Installation GuideDrywall tools and equipmentChoose practical measuring, cutting, hanging, finishing, sanding, and dust-control tools around the work instead of the gadget aisle.Read guide →
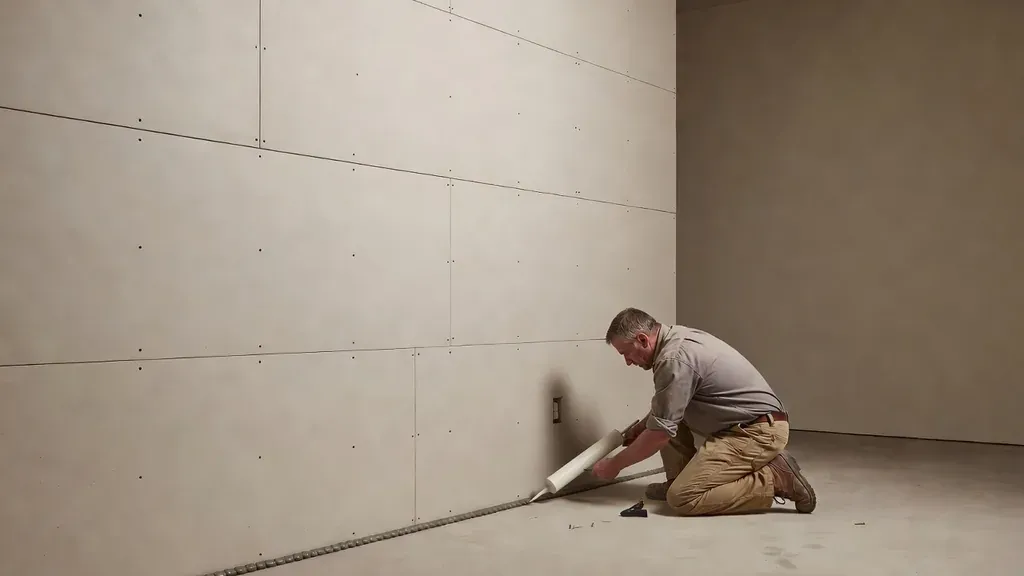 Installation GuideSound-control drywallPlan mass, cavity insulation, isolation, air sealing, and flanking paths as one documented wall and room system.Read guide →
Finishing
Build a flatter surface with controlled coats
Taping, compound selection, skim work, sanding, drying, and inspection each solve a different part of the final plane.
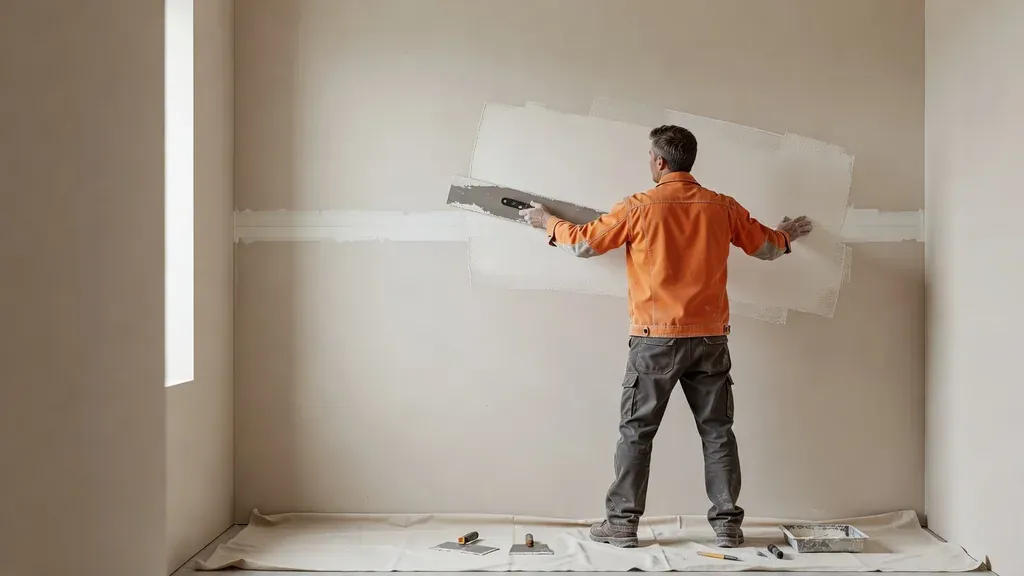 Finishing GuideSmooth drywall muddingUse controlled compound, wider coats, clean edges, and inspection light to reduce ridges and unnecessary sanding.Read guide →
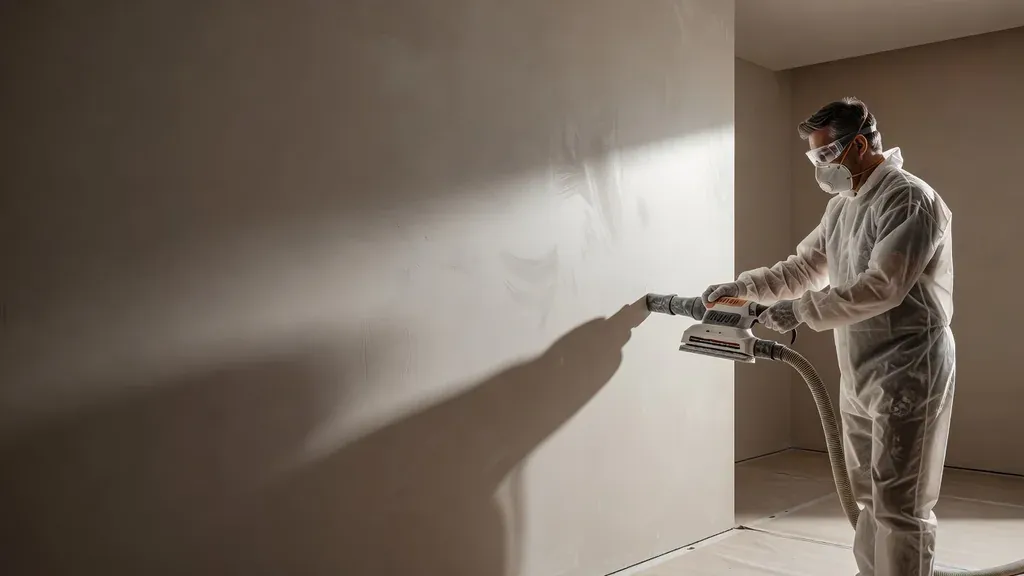 Finishing GuideDrywall sanding mistakesAvoid torn paper, exposed tape, grooves, airborne dust, and the urge to sand away a poor coat instead of correcting it.Read guide →
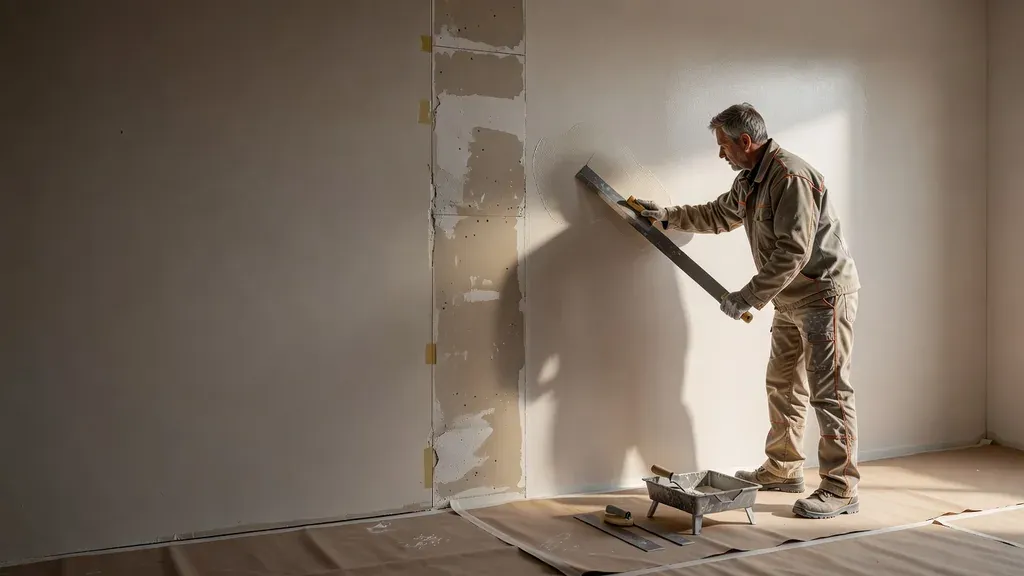 Finishing GuideDrywall skim coatingLearn when a skim coat helps, how the substrate changes the plan, and what a paint-ready surface requires.Read guide →
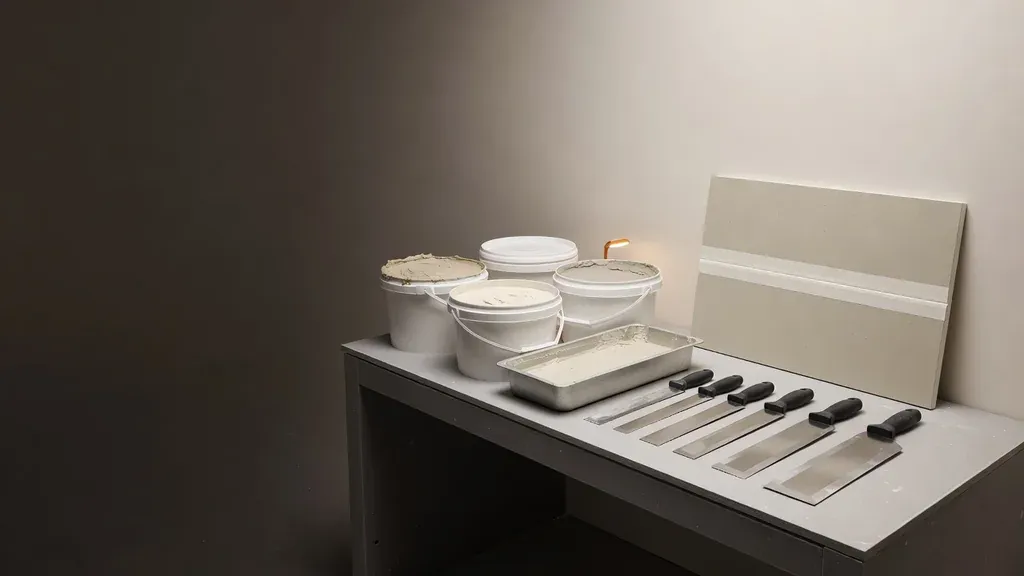 Finishing GuideSelecting joint compoundCompare drying-type and setting-type compounds by task, working time, coat, and repair condition.Read guide →
Texture and Ceilings
Treat texture as part of the repair
Pattern, droplet size, timing, pressure, blend area, and ceiling preparation decide whether texture supports the finish or exposes the transition.
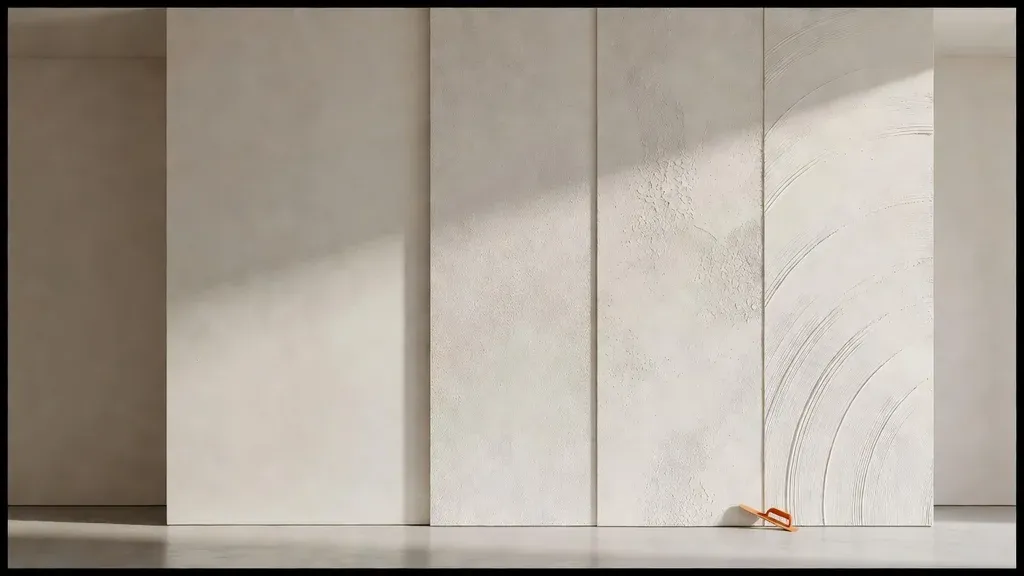 Texture and Ceilings GuideDrywall texture techniquesCompare common wall and ceiling textures, application variables, matching limits, and finish planning.Read guide →
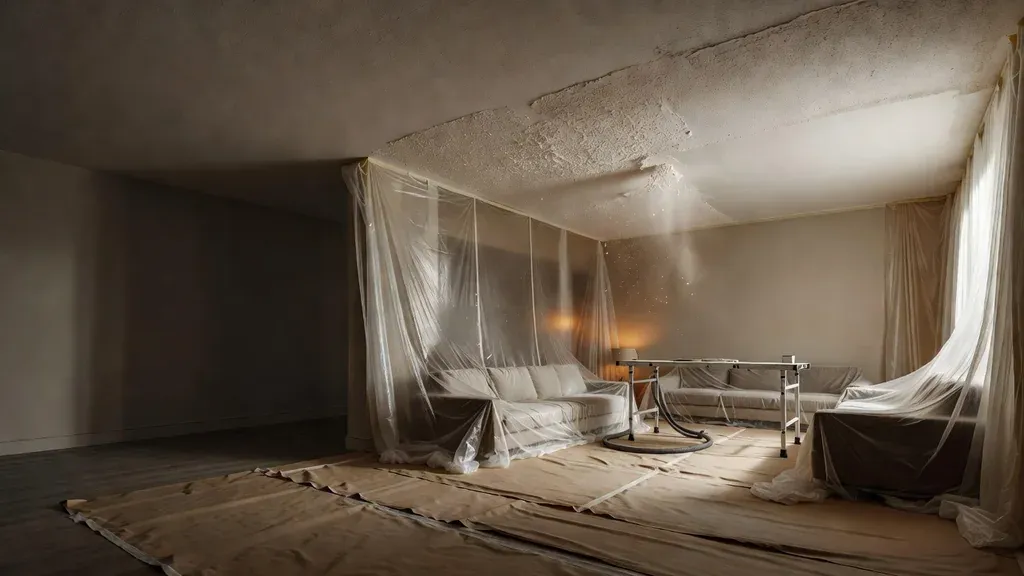 Texture and Ceilings GuidePopcorn ceiling removalPlan testing, containment, removal, repairs, skim work, primer, and the finish that replaces the old texture.Read guide →
Materials and Background
Understand what the panel can and cannot do
Product labels and drywall history are useful only when they lead to the correct material, exposure limit, and complete wall or ceiling system.
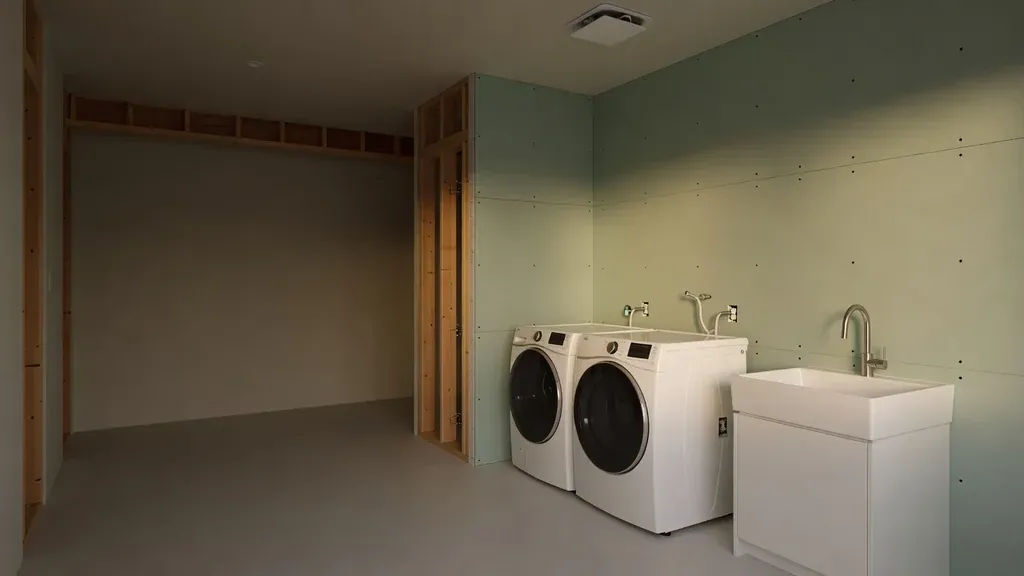 Materials and Background GuideMold-resistant drywallSeparate panel claims from moisture control, direct-wet-area requirements, and the need to correct the source first.Read guide →
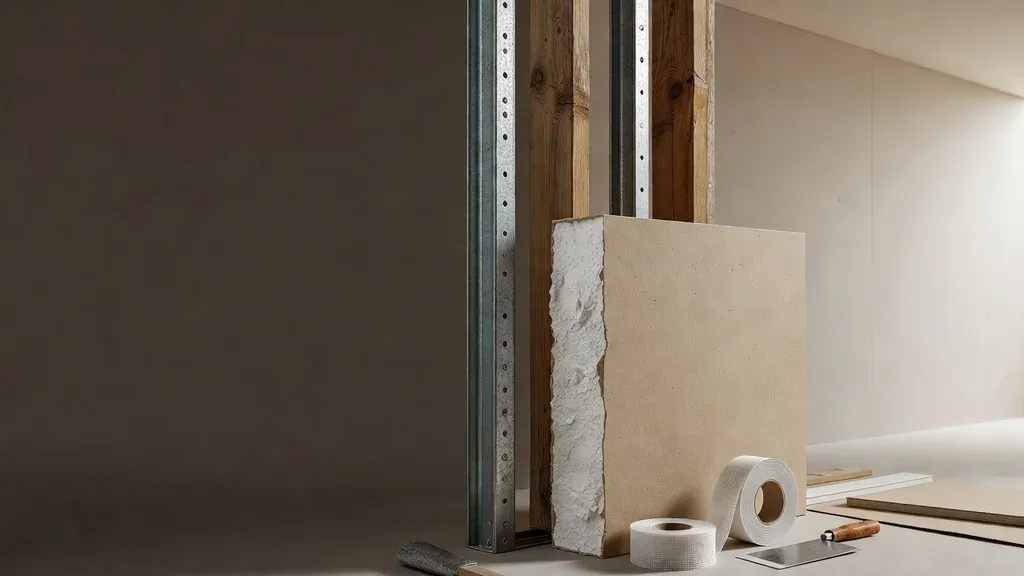 Materials and Background GuideThe ABCs of drywallA concise look at gypsum panels, common components, modern uses, and why drywall is a system rather than a single sheet.Read guide →
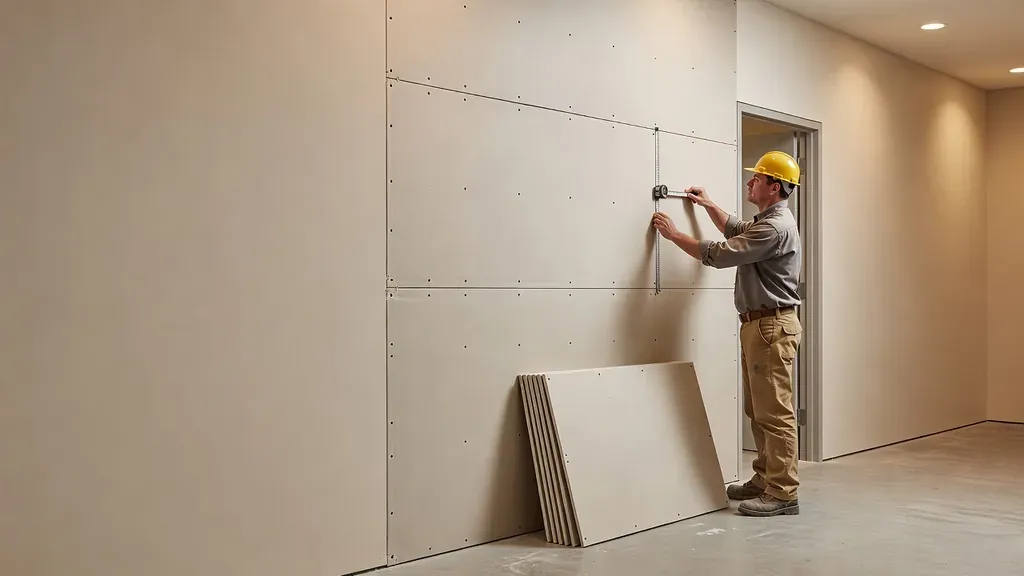 Materials and Background GuideFire-resistant drywallSeparate Type X and Type C panel labels from the complete tested assembly, penetrations, fasteners, and repair details that create performance.Read guide →
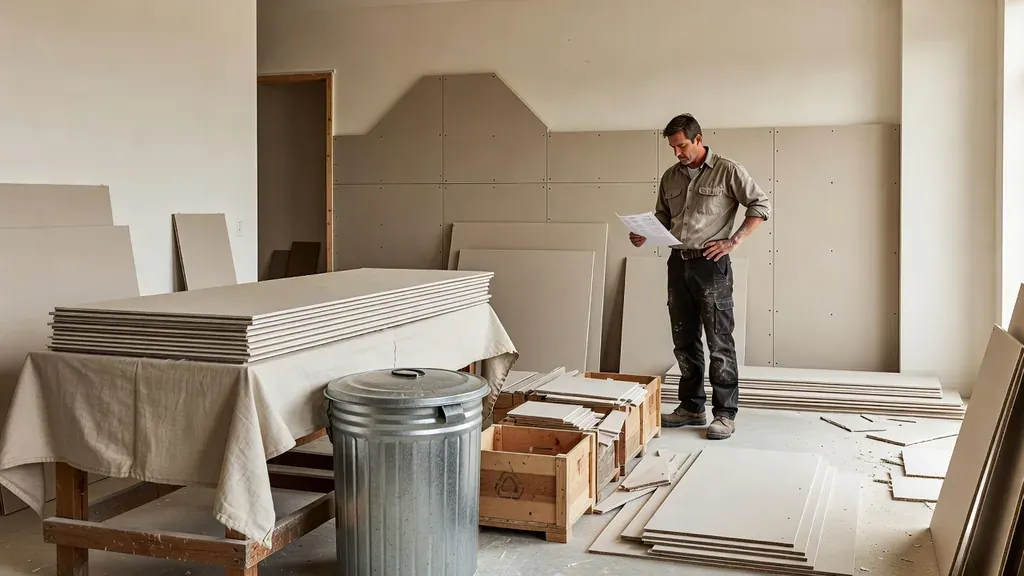 Materials and Background GuideSustainable drywall choicesUse product declarations, accurate takeoffs, durable assemblies, clean scrap separation, and realistic local recycling options.Read guide →
How these guides are organized
The library follows the order a drywall project usually takes: understand the damage or planned assembly, select the correct panel and fasteners, build the joints, control sanding and dust, match texture, then prepare for primer and paint. Each guide stays focused on one decision instead of repeating the same general advice.
Repair, installation, finishing, texture, ceilings, and materials each have a clear home. Start with the visible problem, then follow the related links when the work crosses into another phase.
Where guidance stops and project conditions begin
Drywall recommendations depend on the actual substrate, framing, panel product, assembly, moisture history, exposure, texture, and finish expectation. Guides can explain the variables, but they cannot verify a hidden wall, diagnose an active leak, or replace approved plans and manufacturer instructions.
Safety-sensitive topics link to current authoritative resources. Fire resistance, sound control, mold, asbestos, lead, and wet-area construction belong to complete systems and qualified decisions, not a casual shortcut based on one product label.
When to request an estimate
Use an estimate when the board is soft or wet, the opening lacks backing, the ceiling is sagging, texture covers a large plane, the work may affect a tested assembly, or the finish needs to match an occupied room. Photos of the full surface, a close view of the damage, rough dimensions, room type, and the reason for the opening help define the next step.
Utah Drywall & Repair is backed by more than 20 years of drywall experience. Small repairs can often be scheduled within 24 hours, while larger work is typically scheduled within one to two weeks, depending on scope and availability.
Are these guides a substitute for an on-site assessment?
No. They explain planning variables and common methods. Existing conditions, approved assemblies, product instructions, moisture, and finish expectations still need project-specific review.
How should I use the related guide links?
Start with the condition you can see, then follow related guides for the next phase. A repair may lead to texture and paint guidance, while installation may lead to fastener, compound, and sanding guidance.
Can I send photos before requesting an on-site estimate?
Yes. Include the full wall or ceiling, a close view, rough dimensions, room type, and the cause of the opening or damage.
Request an Estimate