
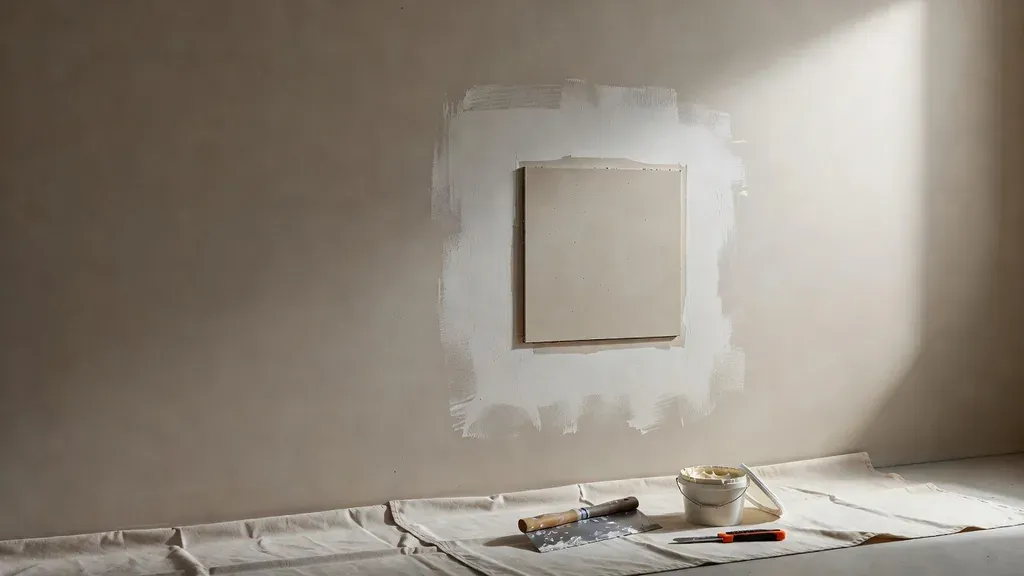
A less visible drywall patch starts behind the paint. The new piece needs sound support, the panel face needs to align with the existing surface, and the joint needs enough width to create a gradual transition. Texture, primer, paint color, sheen, and room lighting then determine how the repair reads from normal viewing positions.
That is why an “invisible” patch should be treated as a goal, not a guarantee. Old texture, repeated paint layers, faded color, glossy finishes, and strong side light can reveal even sound work. Sometimes repainting or retexturing a larger area produces a more consistent result than trying to confine every step to the damaged spot.
Pro Tip: Take one photo straight on and another with light raking across the wall. The second image often reveals the true size of a hump, hollow, or texture transition.
Diagnose the Damage Before Choosing a Patch
The visible opening does not always define the repair boundary. A doorknob puncture may have crushed gypsum beyond the torn paper. A plumbing opening may end between studs. A crack may be caused by a loose seam or ongoing movement. Water can soften material outside the stained area.
Before cutting, ask:
- What caused the damage?
- Is the board dry and firm around the opening?
- Are plumbing, wiring, blocking, or ducts behind the cut?
- Does the wall have one gypsum layer or several?
- Is it part of a fire-rated or sound-control assembly?
- What panel thickness and face material are present?
- Is the finish smooth, orange peel, knockdown, skip trowel, or another texture?
- Will matching paint be available, and has the existing paint aged?
If moisture was involved, resolve the source and confirm the area is ready to close before replacing drywall. Use water-damage drywall repair when the damaged boundary or drying condition is unclear.
Match the Repair Method to the Damage
| Damage condition | Repair approach to consider | Why it can work | Main limitation |
|---|---|---|---|
| Tiny nail or screw hole in sound board | Fill with a compatible patching material, then sand and prime as directed | Minimal disturbance | Paint sheen or color can still flash |
| Shallow dent or torn face paper | Remove loose material, seal damaged paper when required, then apply thin coats | Preserves sound board | Unsealed brown paper can bubble under wet compound |
| Small clean opening | Manufacturer-approved patch product or a carefully made gypsum plug | Limits the cut area | Peel-and-stick patches can leave a raised profile if overbuilt |
| Medium irregular hole | Square the opening, add backing, and install matching gypsum board | Creates stable supported edges | Requires checking behind the cut and widening the finish area |
| Larger damage or unsupported seams | Cut back to sound material and framing or approved backing, then replace a section | Restores reliable support | More seams, dust, texture work, and paint blending |
| Damage in a rated assembly | Repair to an approved detail that preserves the listed system | Protects assembly intent | A casual patch may not maintain the rating |
Size matters, but cause and assembly matter more. A small recurring crack can require more investigation than a larger one-time impact hole.
Build a Stable Opening
For a board patch, remove loose and crushed material until the remaining edge is firm. A rectangular opening is easier to measure and support than a ragged hole, but never enlarge a cut blindly. Use shallow, controlled cuts and identify utilities first.
New patch edges need support. Depending on the assembly and repair detail, that support may come from existing framing, added wood or metal backing, repair clips, or another approved method. Backing should hold the patch in plane without forcing it forward or allowing it to flex.
Dry-fit the patch before fastening. Confirm:
- The patch matches the existing panel thickness and type as closely as the assembly requires.
- The face is aligned with the surrounding drywall.
- There is support at the new edges.
- The fasteners will not strike hidden utilities.
- The patch fits without crushing the gypsum core.
- The planned joint treatment is compatible with the tape and compound.
For guidance on panel matching, see the drywall thickness guide.
Safety: Turn off and verify power before working near electrical boxes or suspected wiring. Stop if you cannot identify what is behind the cut. Do not disturb a bulging ceiling, an active leak, or suspect asbestos-containing texture. Painted surfaces in pre-1978 homes also require lead-safe planning.
Where a California Patch Fits
A California patch, sometimes called a butterfly patch, uses the face paper of a larger drywall piece as an integrated flange. Gypsum is removed from the back around the plug while the face paper remains attached. The flange is embedded in compound around the opening.
This method can be useful for a small, clean hole in a non-rated interior surface when the surrounding board is sound. It keeps the face profile relatively low and avoids a separate tape layer at the edge.
It also has limits:
- The paper flange is not a substitute for backing where the board needs structural support.
- It is a poor choice for large openings, loose ceilings, wet or damaged edges, or high-impact areas.
- It should not be assumed to preserve a fire-rated or tested sound-control assembly.
- The plug still has to match thickness and sit in plane.
- The repair still needs compound, sanding, primer, texture work if present, and paint blending.
When reliability matters more than minimizing the opening, a backed board patch is often easier to evaluate.
Tape and Compound Create the Transition
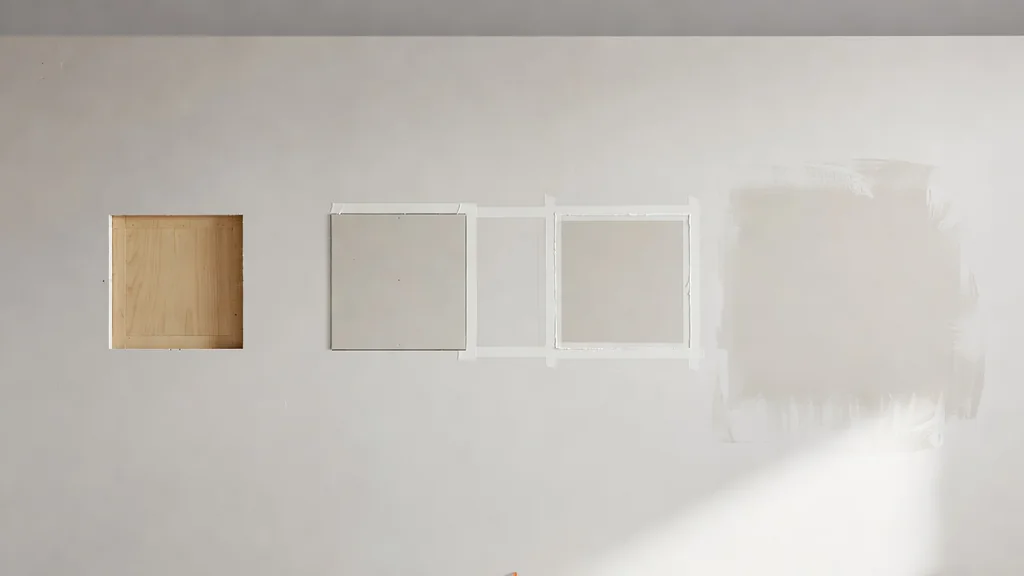
The patch should be stable before finishing starts. Joint treatment then reinforces the perimeter and spreads the buildup over a wider area.
Paper tape, fiberglass mesh, and specialty repair tapes use different compound systems. Follow the tape and compound manufacturer’s compatibility instructions. In particular, some fiberglass mesh systems call for setting-type compound in the first coat. Do not assume any ready-mixed compound is suitable.
A controlled finishing sequence
- Prefill significant gaps if the system requires it. Let the material set or dry as directed.
- Apply the specified tape system. Keep it flat, bonded, and free of bubbles.
- Cover fasteners and establish the first coat. Avoid a thick mound over the patch.
- Let the coat dry fully. Scrape high ridges before the next coat.
- Apply a wider fill coat. Keep the center controlled and feather the outer edge.
- Add a thin finish coat as needed. Widen the transition rather than building height.
- Inspect under angled light. Fill low areas and lightly remove high areas.
- Sand only what is necessary. Do not expose tape or roughen the surrounding face paper.
The smooth drywall mudding guide explains compound control and feathering in more detail.
Feather Wider, Not Thicker
A patch becomes obvious when its edges create a short, steep change in plane. Feathering spreads that change over a longer distance. The final coat may extend well beyond the opening, especially over a butt joint, heavy tape, or raised patch.
Use a wider knife for later coats and keep the blade clean. Pressure on the outer edge leaves less compound where the repair meets the existing wall. Long passes usually produce a calmer plane than many short corrections.
If the center remains low, add compound. Do not sand the surrounding drywall down to meet it. If the center is high because the patch itself sits proud, correct the backing or patch fit before adding more mud.
A straightedge and low-angle light help separate a true hump from a texture difference. Touch can also reveal a ridge that is hard to see under diffuse room light.
Texture Matching Is a Separate Skill
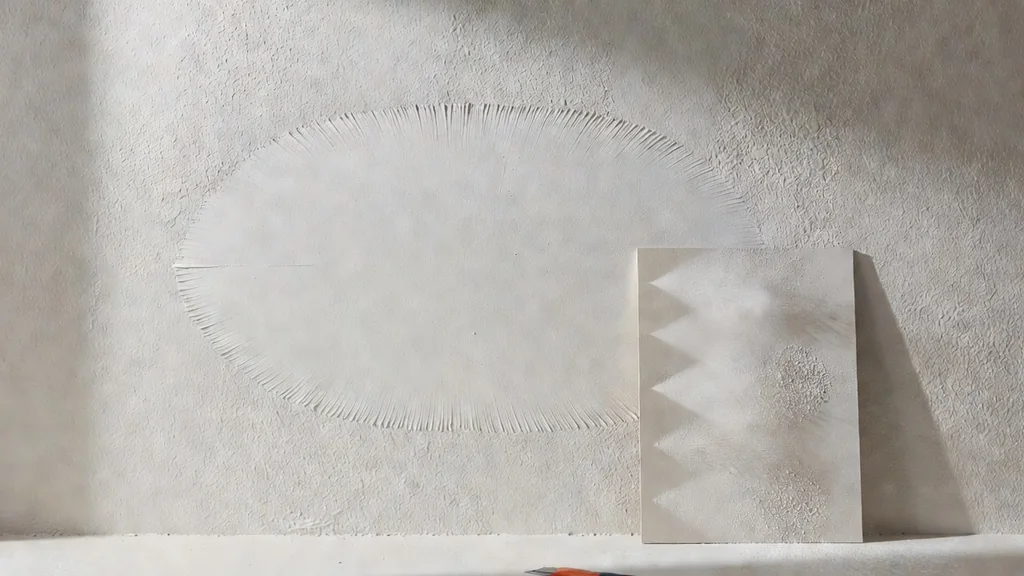
A smooth patch on a textured wall looks like a blank spot. Texture should be assessed before the final finish coat so the blend area and surface profile are planned together.
Orange peel
Droplet size, compound consistency, air pressure, nozzle setting, distance, and coverage affect the pattern. Test on scrap and let it dry before deciding whether the pattern fits. A wet sample can look heavier than the cured texture.
Knockdown
Knockdown adds timing and tool pressure to the spray variables. The sprayed droplets must reach the proper firmness before they are flattened. Working too early smears the pattern; too late can leave high islands and hard edges.
Hand-applied texture
Skip trowel and other hand textures reflect the applicator’s tool, angle, material, and movement. A small isolated imitation may stand out because the surrounding pattern was created with a broader rhythm.
Paint buildup and previous repairs make any pattern harder to reproduce. Blending beyond the taped joint helps, but a whole-wall or larger ceiling section may be the cleaner option when texture varies heavily.
Utah Drywall & Repair handles proper finishing, texture work, and paint matching. A blend still depends on the existing surface and available coating, so results should be evaluated under the room’s actual lighting rather than promised in advance. See drywall texturing services.
Prime Before Judging the Paint
Joint compound and exposed drywall paper absorb paint differently from an existing painted surface. A drywall primer or other coating approved for the substrate helps equalize porosity. Without it, the patch may show as a dull or uneven area called flashing.
Primer does not hide a hump, sanding scratch, pinhole, or texture mismatch. Use the primed surface as an inspection stage:
- shine a light across it;
- check the transition from several angles;
- fill pinholes and scratches;
- re-prime corrected spots as required;
- confirm texture before applying finish paint.
Color matching is only part of paint blending. Sheen, product line, application method, film thickness, and age all affect appearance. Touch-up paint may remain visible, especially with darker colors or higher sheens. Repainting to a natural break, such as the whole wall from corner to corner, can give a more uniform result.
Dust and Occupied-Room Protection
Repairs spread beyond the hole once cutting, sanding, texture, and paint begin. Move or cover belongings, protect floors, isolate the work area, and keep dust away from occupied rooms. Utah Drywall & Repair uses tarps and protection as required for dust containment.
Vacuum-assisted sanding can reduce dust, but it does not make the process dust-free. Review the compound safety data sheet, use suitable eye and respiratory protection, and clean with methods that capture fine dust rather than redistributing it.
For more detail, read drywall sanding mistakes to avoid.
When a Professional Repair Makes Sense
Professional help is sensible when:
- the damage reaches a ceiling or high wall;
- moisture, mold-like growth, or recurring cracking is present;
- the opening exposes unknown utilities;
- the wall is part of a rated or shared assembly;
- the texture is difficult to identify or extends through several old repairs;
- strong side lighting or glossy paint raises the finish expectation;
- the repair is in an occupied office, restaurant, or other active commercial space;
- a previous patch is raised, loose, or much larger than the original damage.
The drywall repair service covers holes, access cuts, damaged panels, cracks, and finish blending. To get a useful scope, send a full-wall photo, close-up of the damage, rough dimensions, texture detail, and the cause through the estimate request.
Frequently Asked Questions
Can a drywall patch be completely invisible?
It can often be made much less noticeable, but no responsible process can guarantee invisibility. Texture age, paint sheen, color fade, repair location, and lighting can reveal a transition.
Does every drywall hole need wood backing?
No. Very small fills and some approved patch systems use other methods. A cut-in board patch usually needs reliable support at its edges, and rated assemblies may require a specific repair detail.
Should I use mesh or paper tape for a patch?
Either may be appropriate as part of a compatible system. Paper tape is commonly embedded in joint compound. Some fiberglass mesh products require setting-type compound for the first coat. Follow current product instructions.
Why does my patch look like a raised circle after paint?
The patch may have too much compound over a narrow area, a proud repair panel, a thick patch product, or an abrupt texture edge. Check the plane with angled light and a straightedge before adding more material.
Do I need to prime a small drywall repair?
Fresh joint compound and exposed paper should be sealed with a primer suitable for the substrate and finish system. Primer helps manage porosity, but it will not correct surface defects.
Resources and References
- USG Sheetrock Brand Installation and Finishing Guide (PDF)
- Gypsum Association GA-216, Application and Finishing of Gypsum Panel Products
- Gypsum Association GA-225, Repair of Fire-Rated Gypsum Panel Product Systems
- US EPA: What the Renovation, Repair and Painting Rule Requires
- US EPA: Protect Your Family From Exposures to Asbestos